How to test the microphone on Windows 11
There is a useful way to check an audio input device and its operating status in the Windows Settings app..
If the microphone connected to your Windows 11 PC is picking up sound too loud, too loud, or not working, there's a useful way to check the audio input device and its working status in the app. using Windows Settings. Find out below!
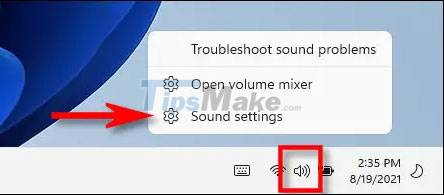
First, make sure that the microphone you want to test is connected to your PC — usually via Bluetooth or a USB port. You can also check your device's built-in microphone. Next, right-click the speaker icon in the bottom right corner of the taskbar. In the menu that opens, select 'Sound Settings'.
You will immediately be taken to the System > Sound settings page. Scroll down to the 'Input' section and click the arrow next to the microphone you want to test.

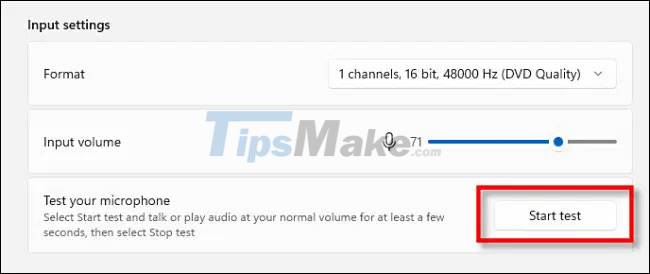
On the microphone's 'Properties' screen, scroll down and find the 'Test Your Microphone' section. Click the 'Start Test' button, then try speaking normally into the microphone.
If everything is working properly, you should see a blue line on the 'Input Volume' slider that swings left and right as you speak into the microphone. If you don't see it, it's possible that the microphone isn't being recognized properly by Windows, or worse, there's a problem.
When the test is completed, the system will announce the results next to the 'Start Test' button. The results are displayed as a percentage of the total input detected by Windows.
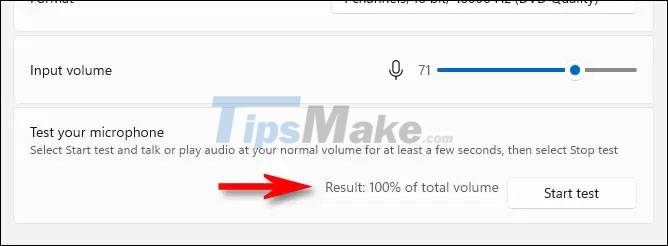
The ideal result would be about 75% of the volume when you speak normally. If it reaches 100%, the sound will be distorted.
If your microphone is too loud, click the 'Input Volume' slider and increase the volume. Similarly, if the microphone is picking up the sound too loud, turn down the 'Input Volume' slider volume.
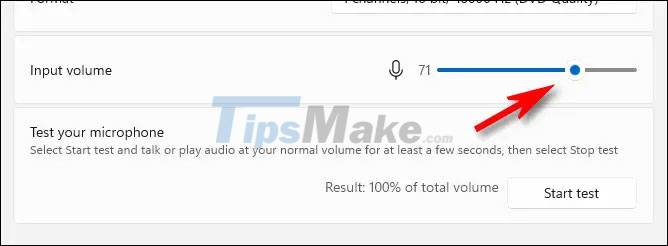
Then click 'Start Test' to test again if needed.
Resovle problem
If you don't see any microphone activity during the above test, try disconnecting and reconnecting the microphone first (if possible). If this doesn't work, try restarting your PC and test again.
In some cases, you may need to install a driver for the microphone. Check your microphone or headset documentation to see if a driver is needed. You can get the driver from the manufacturer's official support site. However, before downloading the driver, make sure it's the product's official support site, and then scan the downloaded files for malware before you install the driver. Good luck!