Instructions for setting up and installing Microphone on computer
When setting up connecting a Microphone to a Windows computer, we can easily record our voice, even sing karaoke easily without using other expensive devices.
Table of Contents
Installing a Microphone setup has now become extremely popular on Windows computers. With only Microphone, we can turn it into a karaoke device on a computer without having to use another support device. Or you can turn Microphone into a voice recorder of your own. And in order for the Microphone to be highly efficient on the device, we need to set up some extra steps, in addition to the usual wiring.
1. Set up Microphone on Windows 10:
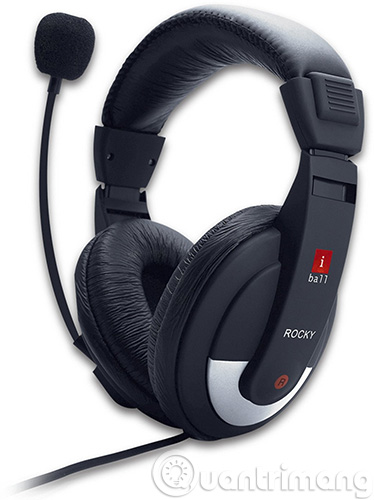
There are now many types of microphones to connect to a computer, a separate microphone or a headphone with a microphone. In this article, I will use a Headphone device with a microphone attached.
First of all, you need to use a laptop that works normally to connect to the Microphone. How to plug the Microphone jack, Headphone you refer to the tutorial article Why does my computer have no sound ?.
Step 1:
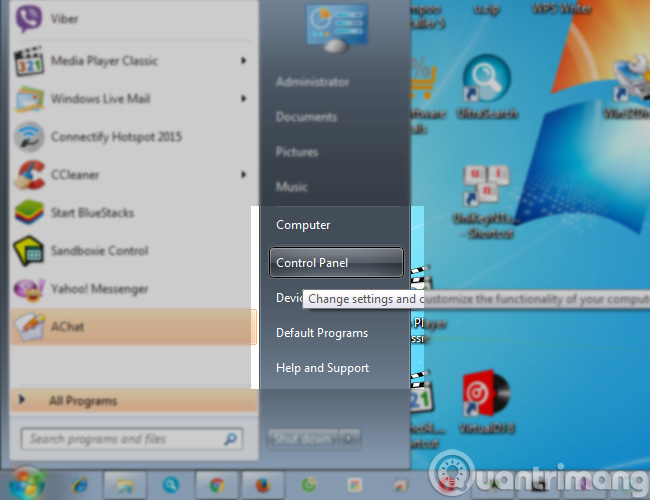
On a Windows computer, we open the Control Panel .

Step 2:
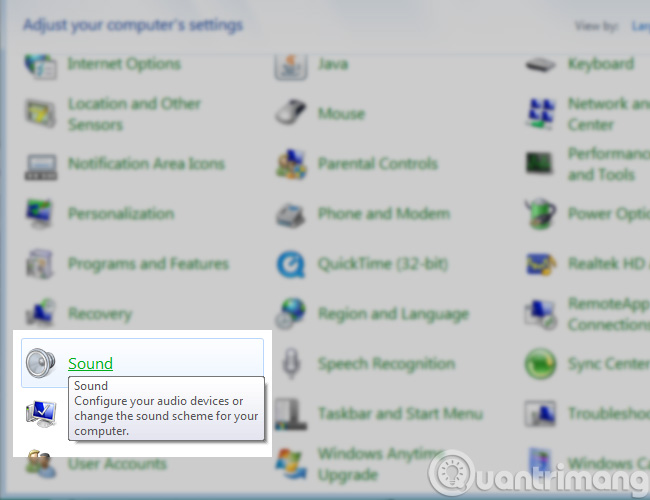
Next, in the Control Panel interface, click on Hardware and Sound .

Then click on the Sound item as shown below.

Step 3:
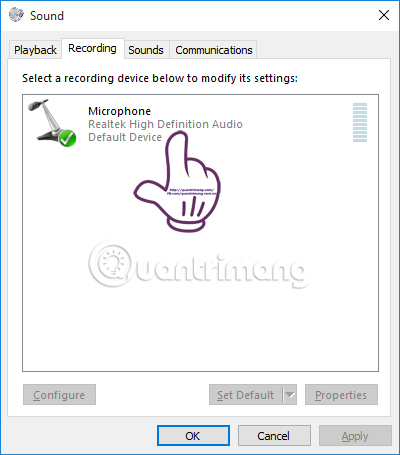
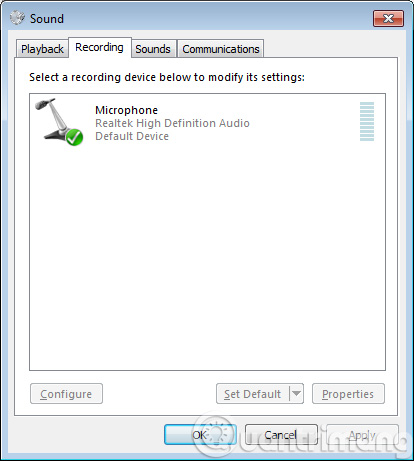
The Sound dialog box appears. Here, you select the Recording tab will see the Microphone device is connected to the computer.
Step 4:
If you want to use a microphone to sing karaoke, you must have a sound card for karaoke. However, if we do not buy the sound card, or there is no virtual sound card software, you will download the audio driver according to the link below.
- Realtek High-Definition Audio Driver
Step 5:
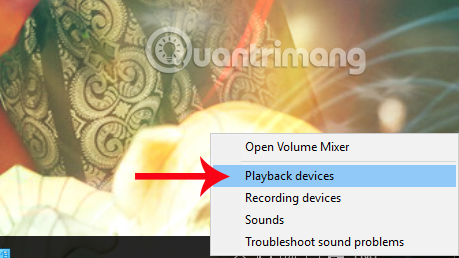
Back on the desktop interface, right-click the speaker icon and select Playback devices .
Step 6:
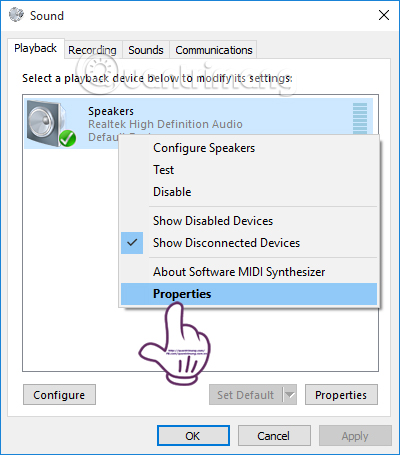
At the speaker icon, right-click and select Properties .
Step 7:
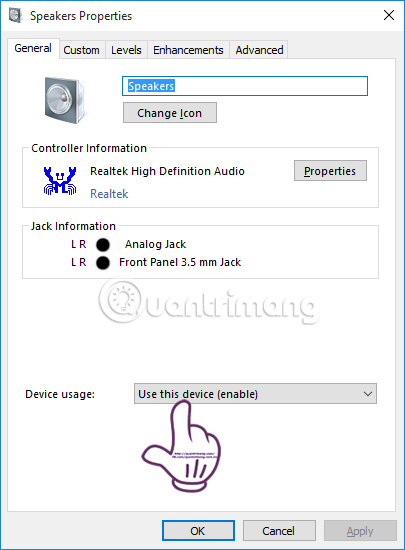
Switch to the Speakers Properties interface, and look down at the Device usage section and select Use this device (enabled) as shown.
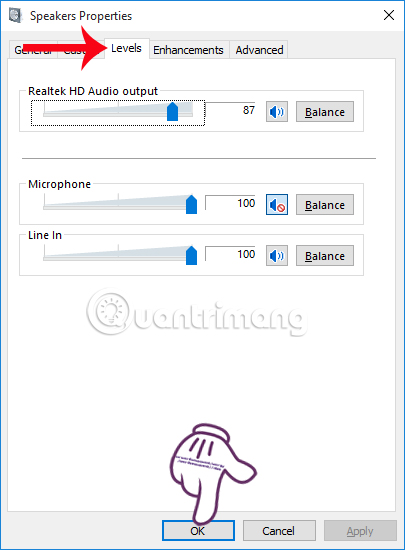
Step 8:
Also in that dialog box, click on the Levels section , then adjust the speaker to the appropriate level for each person that can set 65 to 80. Click OK to save.
Step 9:
Go back to the Sound dialog interface, click Configure .

Step 10:
At the Speaker Setup interface, the Audio channels item clicks Stereo and click Next .

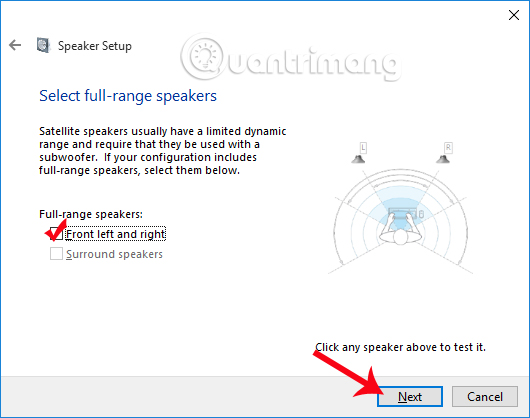
Continue to select the Front left and right item and click Next at the bottom. This step we should select so that the sound can reach the maximum level.
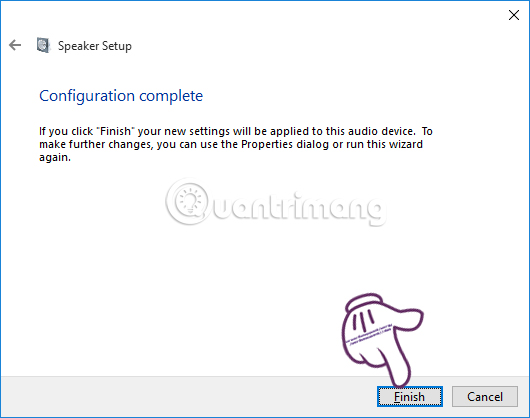
Finally click Finish .
Step 11:
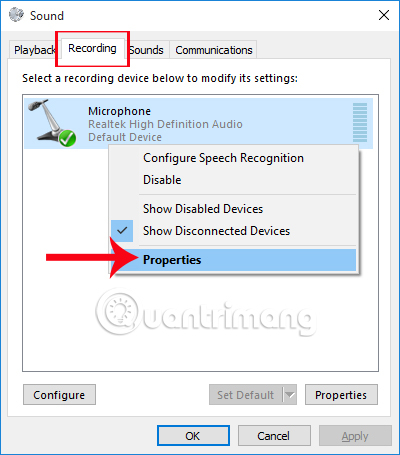
At the Sound dialog interface, click the Recording tab and see that the Microphone is on the On connection icon. We right- click on Microphone and select Properties .
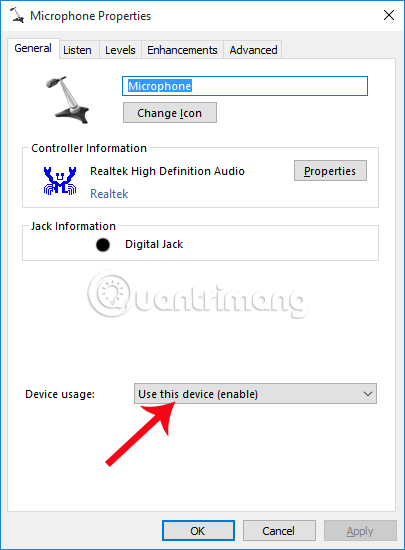
Step 12:
In the new interface Device usage item will select Use this device (enable) .
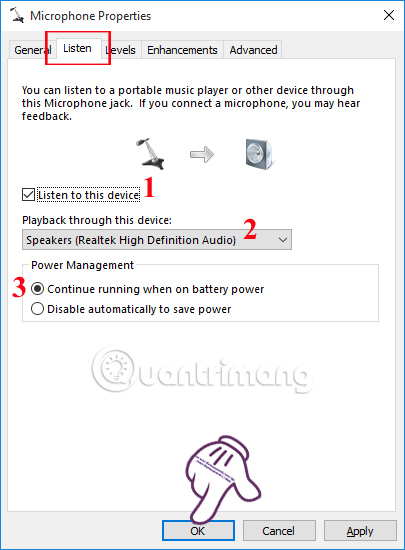
Then click on the Listen tab and set up the steps including:
- Select to Listen to this device
- Click Speakers (Realtek High Definition Audio).
- Select Continue running when on battery power.
Once you have adjusted the items as above according to the image, click Apply then click OK to save.
Step 13:
Clicking on the Level tab , the Microphone section we should put 97 is reasonable. Below the Micrphone Boost to 10.0 db. Click Apply and OK to save.

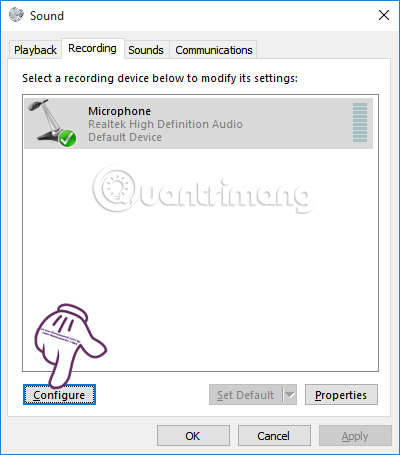
Step 14:
Return to the Sound dialog box in the Microphone section, click Configure .
Step 15:
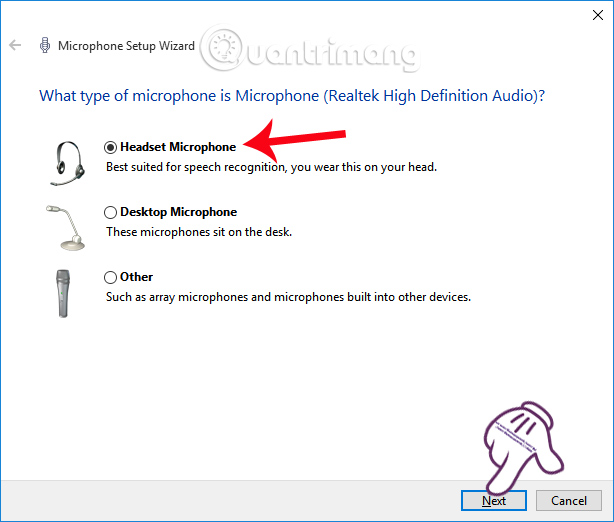
In the Speech Recognition window interface, click Set up microphone . The next steps will be the same as when we set up the Microphone on Window 7 according to the tutorial below.

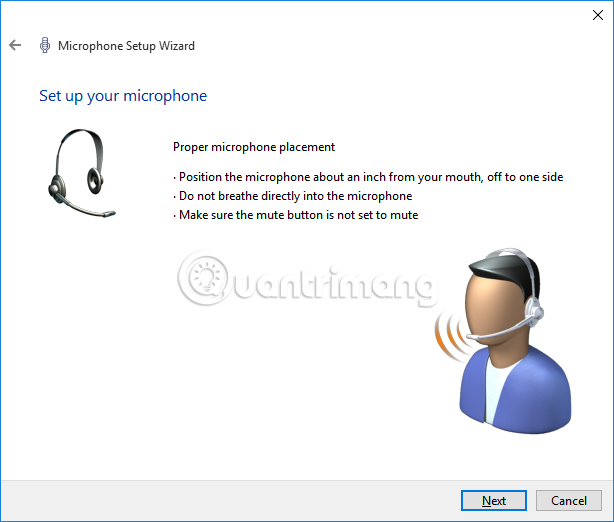
Next select the Headset Micrphone item and click Next .
Step 16:
Continue to click Next to step to check the Microphone.
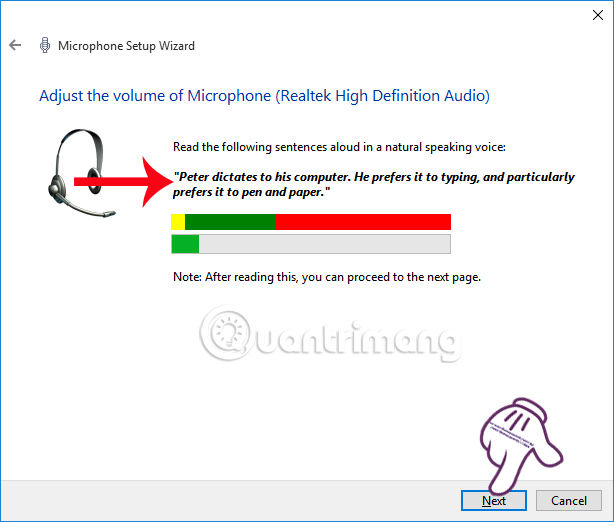
To this interface, you just need to read aloud and clearly the English text is bold . The last thing is to click Next and Finish to completely finish installing the Microphone on Windows 10.
2. Set up Microphone on Windows 7:
Adjust Microphone, Headphone on computer to listen to music, watch movies, sing karaoke
First, we will need a computer and a laptop to function normally. Next is a separate Microphone, or a Headphone with a microphone (as shown above). How to plug the Microphone jack, Headphone you refer to this tutorial article.
Step 1:
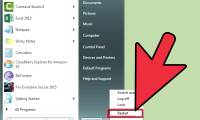
On Windows computers, open Control Panel by selecting Start Menu> Control Panel;
Or open Run > type Control Panel > press Enter
Step 2:
In the Control Panel , open the Sound section as shown below:
Step 3:
In the Sound window, you'll see a lot of Small Tab, select Recording :
Step 4:
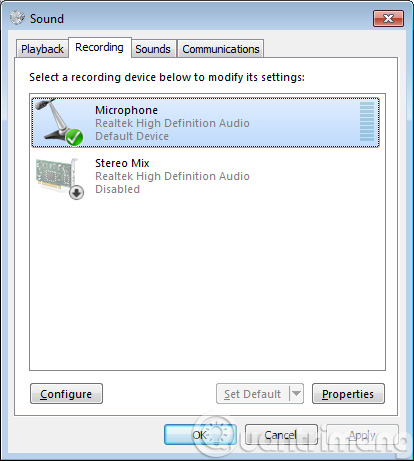
On the Recording tab, select the device you just plugged into your computer (like this example I am using Tako Headphone, cheap Vietnamese goods 150k), then Set Default :
Step 5:
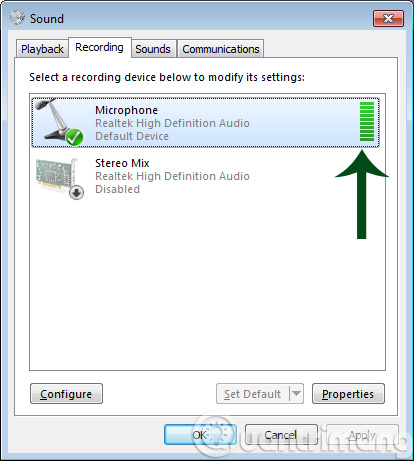
Now, test and see if it works, tap the microphone head a few times (or whisper the Mic head). If you see the green signal line as shown below, the Microphone works normally, and if there is no signal, it means there is a problem:
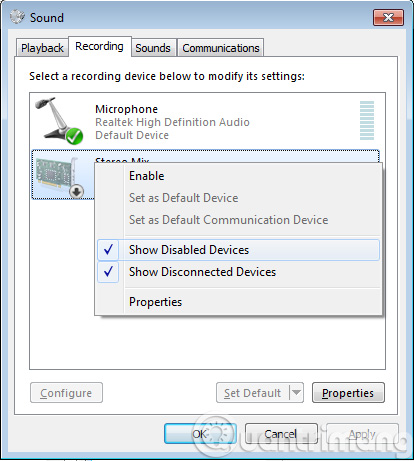
Step 6:
If you are in the Recording tab and cannot see your microphone device, click on any device displayed in the Recording tab. In the menu that appears, check Show Disabled Devices if it is not marked.
If you still can't see your microphone, this may not be the case or you need to install the driver to work. In the first case, just check if it is plugged in correctly, plug it back in. If it uses a USB port, you can spit it and plug it into another port (because on the computer, laptop usually has at least is 2 USB ports). In the second case, use the driver from the manufacturer's website or from the accompanying CD to install.
- How to update drivers on the computer
Step 7:
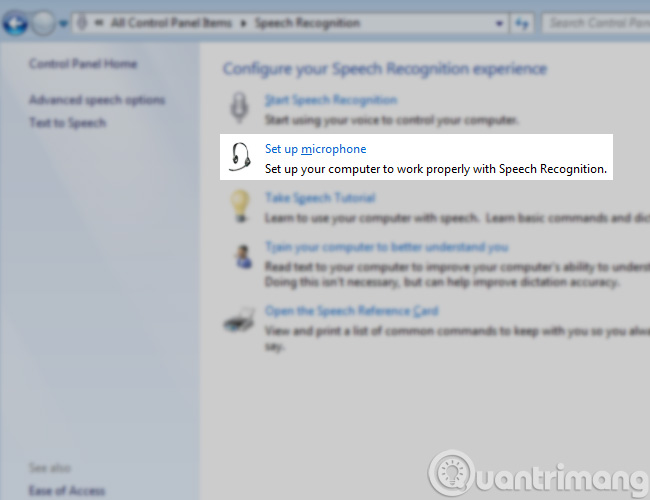
For some reason, Windows may not "recognize" all the Microphone devices connected to computers or laptops. Therefore, we need to make Windows know that there is a Microphone on the computer. To do so, open the Control Panel window> Ease of Access Center or Control Panel> Speech Recognition (depending on the version of Windows Vista, 7 or 8, 10):

Step 8:
Now, in Speech Recognition , select Set up microphone as shown below:
Step 9:
Select the microphone device you are currently using and click the Next button.
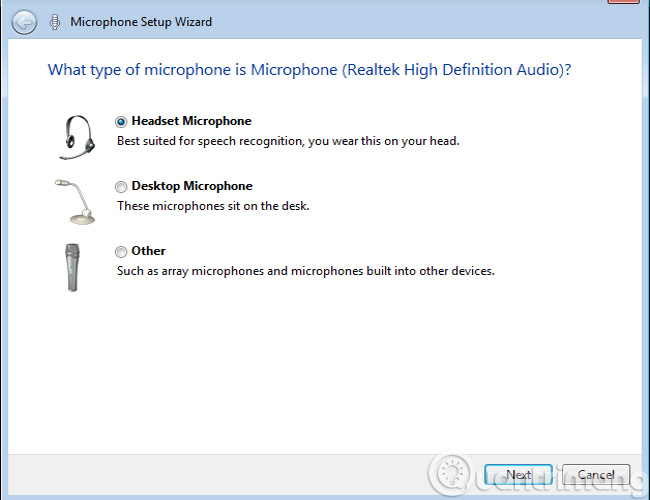
As this example, I am using headphone Tako, selecting the first item - Headset Microphone .
The instruction here indicates that, for Headset Microphone (we call it headphone), the user needs to wear the device on the head, put the Microphone about 1 inch from the mouth (range 2 - 3 cm), should not breathe directly into the microphone head (saliva, steam in the mouth will stick to it and affect recording quality), Volume key is not in Mute mode. Click Next to continue:
Step 10:
Read loudly and clearly the sentence in the picture (highlighted in black) for the system to receive and process your voice. Then, click Next:

The system displays the checked message and Microphone setup is complete. Everything works fine.

Click the Finish button and start using the Microphone to record your voice. If in case of an error, please review the instructions from step 1 to see where the problem is.Good luck!
Was this article helpful?
Your feedback helps us improve.
Related Articles
 Instructions for installing and setting up the microphone on the computer4 minutes read
 How to set up a microphone for karaoke, recording, and speaking on a computer or laptop.5 minutes read
 How to Connect Microphone to Computer9 minutes read
 How to choose a good computer recording microphone to use7 minutes read
 5 simple ways to connect microphone to PC5 minutes read
 How to fix computer not recognizing microphone effectively6 minutes read
Reader Comments 0
Sign in with email or Google to join the discussion.