How to Use Brushes in Inkscape
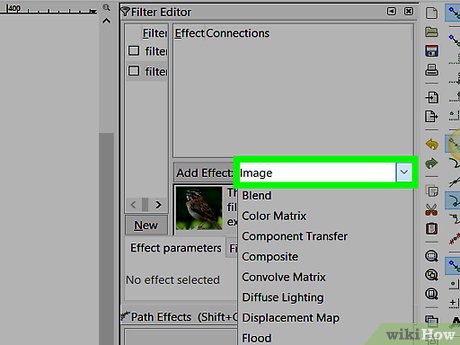
Brushes are handy in any graphic program, and Inkscape is no different. This article shows you some ways to use them. In this article, you will learn how to quickly create a brush. Import a PNG.
Method 1 of 3:
Pattern along Path
This is using an extension included with Inkscape 0.45, in future version its name and location may be changed.
-
 Draw a bézier curve as a guide, modify its shape at will.
 -
 Select the path stamp (it should be a single path, not a group) and the guide and use Effects > Generate from Path > Pattern along Path.
- For a nicer effect, the result is colored with a simple gradient.
Method 2 of 3:
Interpolation
This is using an extension included with Inkscape 0.45, in future version its name and location may be changed.
-
 Create two copies of your path, use different colors if you like.
 -
 Select both of them and use Effects > Generate from Path > Interpolate.
 - If the start and end paths have different colors, check the "Interpolate style" box.

Method 3 of 3:
Cloned Tiles
-
 Select the path and use Edit > Clone > Create Tiled Clones.
 -
 Play with the parameters as you will. In this case, Scale, Rotation and Opacity were randomized.
- For a "messy" look, use the Unclump button (not illustrated here).


 How to install and add FFmpeg to the path in Windows 10/8/7
  Did you know Windows 10 solved the path problem longer than 260 characters? Read the article below
  How to set the JAVA_HOME path in Debian 10
  How to make the script executable anywhere in Linux
  How to compress and decompress files with PowerShell on Windows
  How to increase the number of undo in Word, Excel, PowerPoint