How to Create an Eye Catching Banner With Inkscape
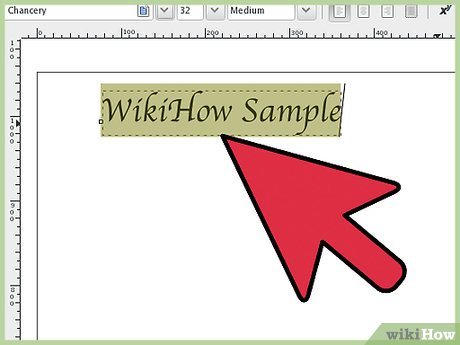
Having a distinctive banner at the top of your webpage or paper can add a lot of 'pizzazz' to what you are trying to present. Read this wiki to learn how to do it with Inkscape. Choose a distinctive font and type something with it.
Method 1 of 1:
Alternate Method
There is a better way of doing it, so the text remains text: by using clones.
-
 Start the same way, writing the desired text at the desired size and using the desired font face.
- This is the master text, source for cloning, you don't want it to show in the final design so it has to be placed outside of the canvas.
-
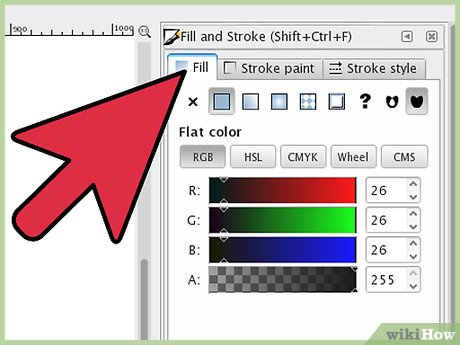
 Open the "Fill and Stroke" dialog and unset paint for both fill and stroke, this is a needed step in order to be able to alter the attributes for clones.
 -
 Create a clone of the initial text (Edit > Clone > Create clone) and put it on the canvas:
 -
 Change the stroke color and width as you like.
 -
 Adjust the font thickness by changing its stroke width.
 -
 Make the fill color the same as the stroke color.
 -
 Then create another clone of the initial text and use a temporary color (it will become the white border):
 -
 Increase its width for the large border.
 -
 Move it under the title text and make it white.
 -
 Get another clone of the initial text, with both fill and stroke color set as black and the same stroke width as the white border:
 -
 Move it under the entire stack, shifted one or two pixels down and to the right, for a drop shadow:
 -
 Add some blur, decrease the opacity.
- The difference between the two methods are:
- We can change the initial text and the clones are updated automatically:
- Also you can change the font face or size, it will work perfectly:
- The difference between the two methods are:


 How to Make It Look Like You Are Hacking
  How to Redline a Document in Microsoft Word
  4 best Pastebin alternatives for sharing code and text
  How to Truncate Text in Excel
  How to Change from Lowercase to Uppercase in Excel
  How to write text in Paint