How to combine photos in Photoshop from 2 different images
Imagine, your friend has just visited. The scene is beautiful, and of course you don't forget to save those memories with your digital camera. More than 100 photos were copied to the computer. " God, among those 100, there are lots of photos you want to put them into 1 to create a wider space for your photos. How to do this? ".
In fact, there are many ways to mix 2 images together, each of which you will have to use different methods. In this exercise, I only offer the simplest, but equally effective method, to help you complete the photo-collage.
Here are the detailed steps to combine photos from 2 different images and the corrections to the post-merged image look the most natural. This article is done on Photoshop CS.
If you want to delete the background, delete the object in the image you can see these two articles:
- Remove automatic background images with Photoshop Action
- Delete any object from the image
Example 1: Collage of students riding bicycles into Hue ancient capital
Step 1 : Start Photoshop CS, open 2 photos that you intend to merge them into one.
Here I give the following two pictures: hue.jpg , hocsinh.jpg
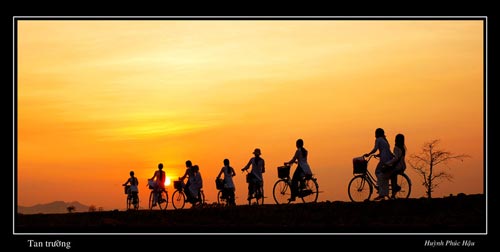
Figure 1
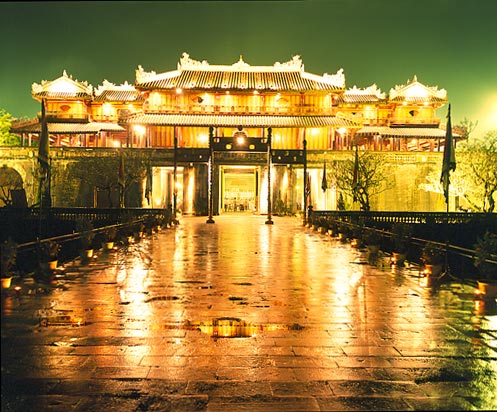
Figure 2
Note: you must choose 2 images with the corresponding color gamut. If one of the two images is different in the color gamut, you will have to proceed with the color correction so that the two images fit together, otherwise the image will be revealed.
Step 2 : Ctrl + N to create a new document. But before doing this step, you should check the size of the two original images to set the size for the new document.
In this exercise, I put a new document in size: 600 x 240 pixels, Background: #ffffff (white)
Step 3 : Use the Crop or Marquee tools to cut the most appropriate edges of the 2 images as you like.
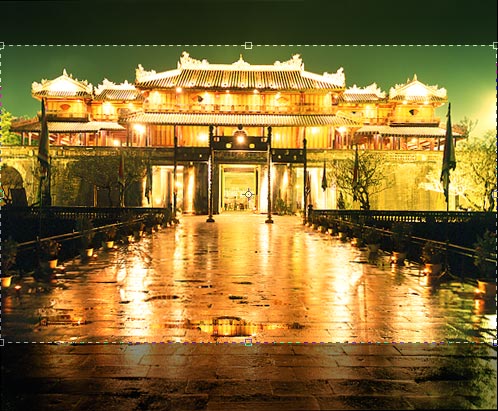
Figure 3
Step 4 : Copy the hue.jpg images, hocsinh.jpg to the new document one after another.
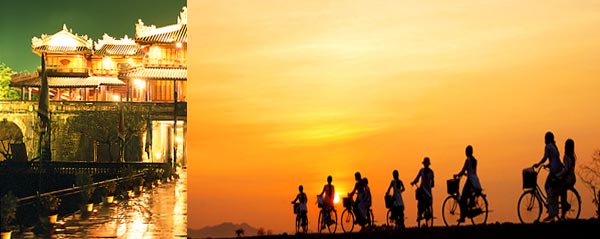
Figure 4
Name the layers: Hue, Hoc.
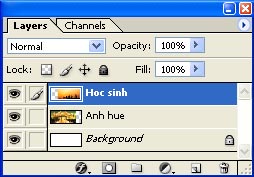
Figure 5
Step 5 : Mix 2 pictures.
Note : the arrangement of the previous and next layers is very important, it determines whether you intend to blend any layer into any layer to make it natural.
For this example, I arrange the "student" layer above the "Hue" layer.
My next job now is to blur the "student" Layer.
- Click on the "student" layer (If you intend to blur any layer, click on that layer)
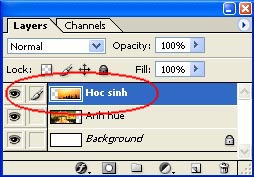
Figure 6
- Using Rectangular Marquee , or Elliptical Marquee choose Feather : 20-50 px, depending on the angle and size of the image.

Surround the corners you want to delete on the "student" layer.
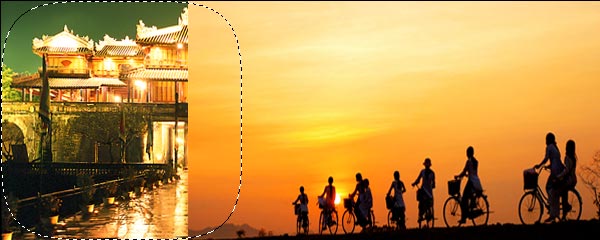
Figure 7
- Press the "Delete" key on the keyboard to delete the selected area.
- Repeat the steps to select and delete the image corners as you like. until you feel the two images are relatively mixed.
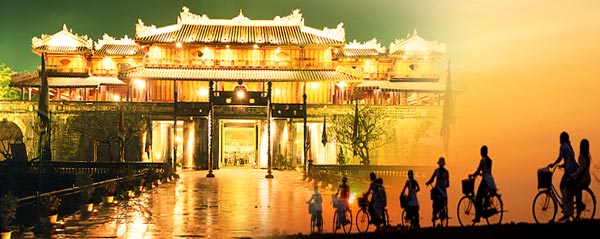
Figure 8: The image after the transplant is completed
This result is not yet a complete image. We will need to correct the color of the image hocsinh.jpg so that it matches the image hue.jpg . But how to adjust the color in PS, I will introduce you to the following articles.
Example 2: How to blend lotus photos in Photoshop
In this example, I skip steps 1- 4. The purpose is to help you better use the marquee tool to blur the layers as needed and why there are cases where you have to erase both layers.
- I have: "Lotus 1" and "Lotus 2" Layer on the same new document (500 x 250 px)
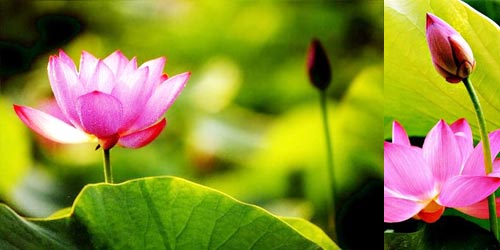
Figure 9
Step 5 : Blur the lotus layer 2.
- Click on the lotus layer 2
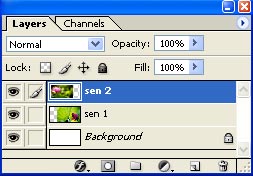
Figure 10
- Using Rectangular Marquee , set Feather : 30px (This Feather level increases and decreases with image size, and image selection area)
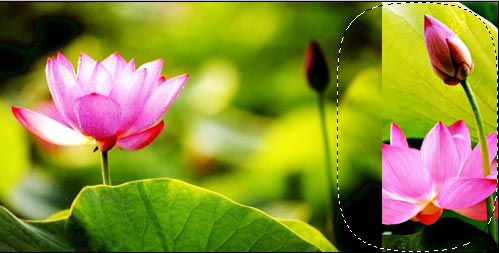
Figure 11
- Delete the selected area with the "Delete" key on the keyboard
- Repeat steps 5 -> Results
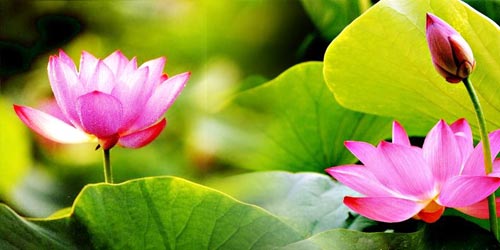
Figure 12
You might be wondering, because you see a blurry line separating the two images. Do not worry! That's the edge of the lotus image. Now we will proceed to blur the lotus layer 1.
Step 6 : Blur the lotus layer 1
- Click on the lotus layer 1
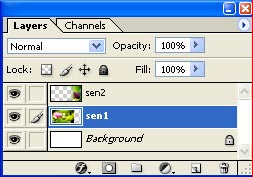
Figure 13
- Next you also use the Rectangular marquee to perform the deletion steps as Step 5 (but you have to remember to increase or decrease the Feather to match the image size.)
The end result you will see.
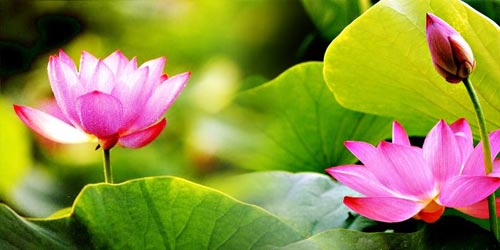
Figure 14
Hopefully this article can help you understand the basic skills to combine photos with Photoshop.
If you're using Photoshop CS5, please refer to this basic to advanced tutorial series:
- How to use Photoshop CS5 - Part 1: Toolbox