How to Sharpen an Image in Photoshop
How to Sharpen an Image in Photoshop. Today's TipsMake will show you how to use Adobe Photoshop to sharpen (remap) photos on a Windows or Mac computer.
Table of Contents
Prepare photos for focus

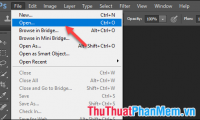
Open the image you want to remap in Photoshop. With Photoshop open, click File in the top menu bar, click Open. and select the image.

Click Layer in the menu bar.

Click Duplicate Layer… (Duplicate layer…) and then click OK .
You can give the new layer a different name, otherwise the layer will be named "[Original Layer Name] copy."

Click on the duplicated layer in the "Layers" window in the lower right part of the screen.

Click the "Opacity:" field in the upper right of the Layers window.

Set transparency to 50%.

Click the padlock icon at the top of the Layers window to lock the layer.
Click Layer in the menu bar.
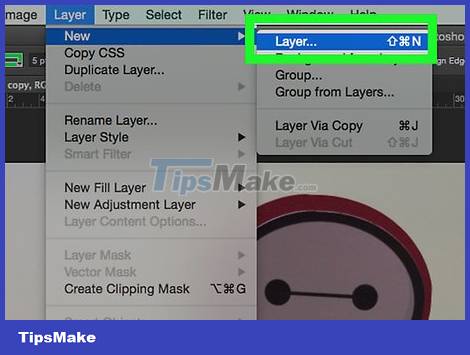
Click New and then click Layer… .
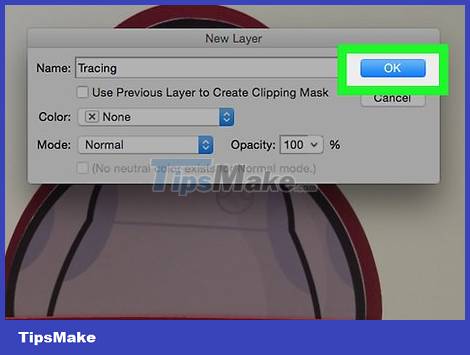
Name the new layer "Tracing" and then click OK .
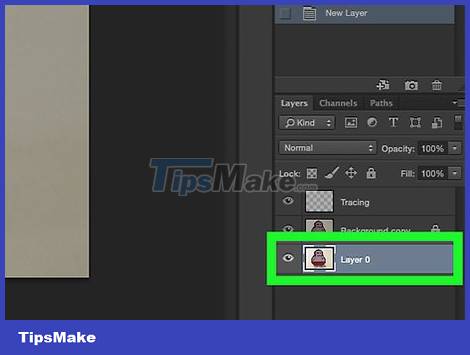
Click on the layer labeled "Background" in the Layers window.
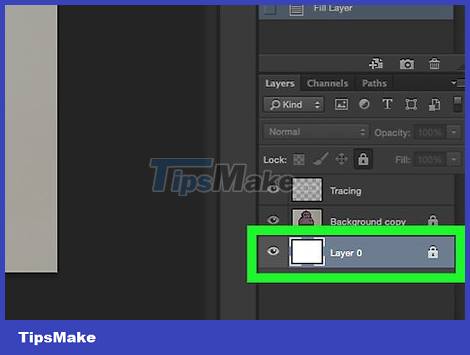
Press Ctrl+← Backspace (PC) or ⌘+Delete (Mac). The layer will be filled with a white background.
You should now have three layers in the layout window: The "Tracing" layer at the top; locked layer with your photo in the middle and a white layer at the bottom. If the layers are not in this order, drag the mouse to arrange them in the same order as above.
Take pictures
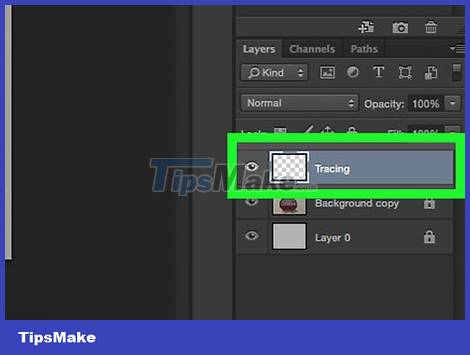
Click the "Tracing" layer at the top of the window.
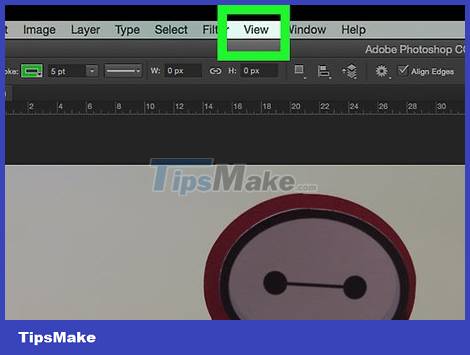
Click View in the menu bar.
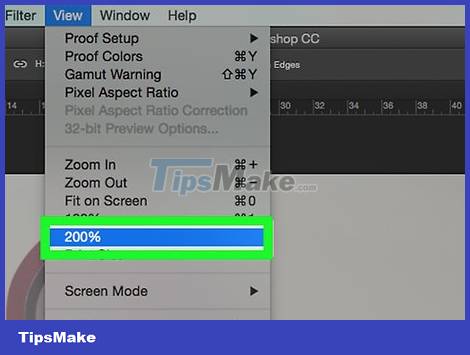
Click 200% to enlarge the photo. Click Zoom In or Zoom Out in the View drop-down menu and set the image to the appropriate size for easy focus.
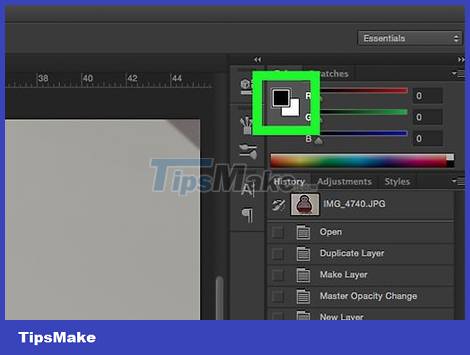
Choose a color for the stroke. Click the overlapping square button in the color menu at the top right of the screen, then click a color in the spectrum below the squares. Click on the remaining square and then click on the same color.
White and black are on the right side of the spectrum.

Select the tool in the tools menu on the left side of the window.
Pencil Tool: create ink strokes of the same thickness and size from beginning to end. This tool is suitable for small strokes at the end. The Pencil Tool has a pencil shape and is located near the top of the second item of the tools menu. If you see a brush icon instead of a pencil, long click on the brush image, then click the Pencil Tool.
Brush Tool: make strokes lighter and narrower at the end, darker in the middle. This tool is suitable if you want to go with soft brush strokes. The Brush Tool has a brush icon and is located near the top of the second section of the tools menu. If you see a pencil icon instead of a brush, long click on the pencil icon and then click the Brush Tool.
Pen Tool: creates editable paths with anchor points that you can move or adjust. The Pen Tool is suitable for tracing objects that you want to change or refine a lot after creating strokes. Click the fountain pen icon below the T in the tools menu to select the Pen Tool.
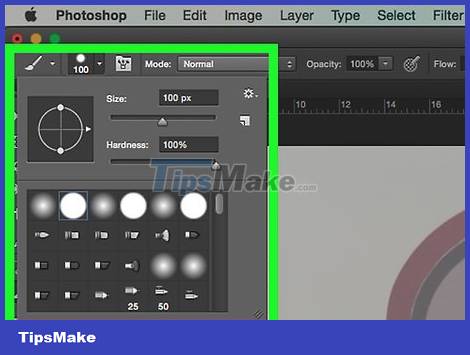
Adjust the settings of the Pencil and Brush Tool in the upper left part of the window.
Click the drop-down box next to the tool icon to adjust the strength and gradient (increase/decrease or hardness) of the stroke. The higher the gradient, the more like drawing with a real pencil or brush.
Click the folder icon to the right of the size menu to adjust the shape and character of the brush or pencil.
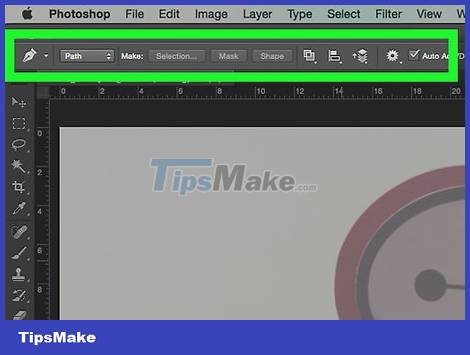
Adjust the Pen Tool settings in the upper left part of the window.
If you want to use the Pen Tool to create paths when you stroke, click the drop-down box to the right of the icon and click Path.
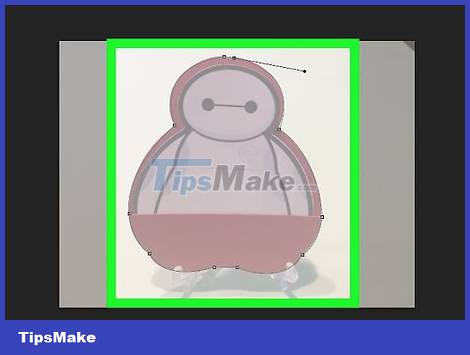
Start to focus. Use the mouse or trackpad to move the tool over the line you want to trace.
To use the Pencil and Brush tools, hold down the mouse and drag the tool over the stroke. Release the mouse to move the tool and start a new stroke.
To use the Pen Tool, you click and release the mouse along the stroke of the image you want to trace, a line will appear between the beginning and the end points. With highly detailed curves or strokes, you'll need to click more.

Hide the original image. To see your results, click the eye icon next to the middle layer (the layer containing the original image). The original image will disappear, the image you have mapped will appear on a white background.
Once done, click View in the menu bar, then click 100% to see the image in actual size.

Save photo. Click File in the menu bar and select Save As…. Then give the file a name and click Save.
Was this article helpful?
Your feedback helps us improve.
Related Articles
 How to sharpen images in Photoshop in 2 ways5 minutes read
 How to sharpen images in Photoshop2 minutes read
 How to sharpen images using Photoshop3 minutes read
 Use Photoshop Mix to delete details in the image5 minutes read
 How to rotate a photo in Photoshop2 minutes read
 How to Nest an Image Inside Another Image in Photoshop5 minutes read
Reader Comments 0
Sign in with email or Google to join the discussion.