Instructions to disable Control Panel on Windows 7
If you share a computer for everyone in your family or friends, but don't want people to interfere with important settings, you may want to disable the Control Panel feature on your computer. In the article below, Network Administrator will show you how to disable Control Panel on Windows 7.
Table of Contents
If you share a computer for everyone in your family or friends, but don't want people to interfere with important settings, you may want to disable the Control Panel feature on your computer.
In the article below, Network Administrator will show you how to disable Control Panel on Windows 7.
1. Disable Control Panel with Group Policy
To disable Control Panel on Windows 7 using Group Policy, first on the Start Menu, type gpedit.msc into the Search box and press Enter.

When the Local Group Policy Editor window opens, navigate to the following: User Configuration Administrative Templates and then select the Cotrol Panel in the left pane.
Next in the right pane, double-click the Prohibit option to access the Control Panel .

On the next window, select Enable , then click OK to close the Local Group Policy Editor window.

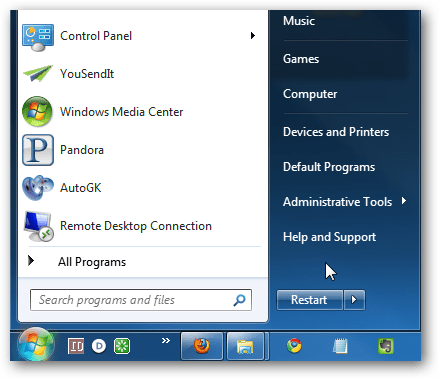
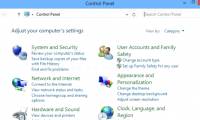
After Control Panel is disabled, on the Start Menu you will no longer see the Control Panel on the Start Menu.
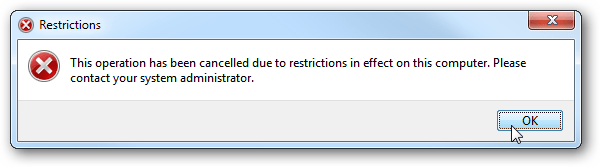
If you find the Control Panel on the Search frame you will get a message like the one below:
2. Disable Control Panel with Registry Tweak
You can disable Control Panel with Registry Tweak. However, this only works on Windows7, Vista and Windows XP versions.
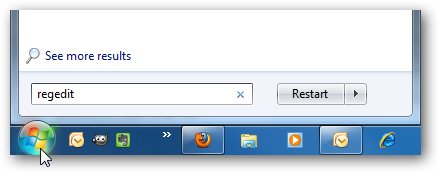
First on the Start Menu, type the keyword regedit into the Search box and press Enter.
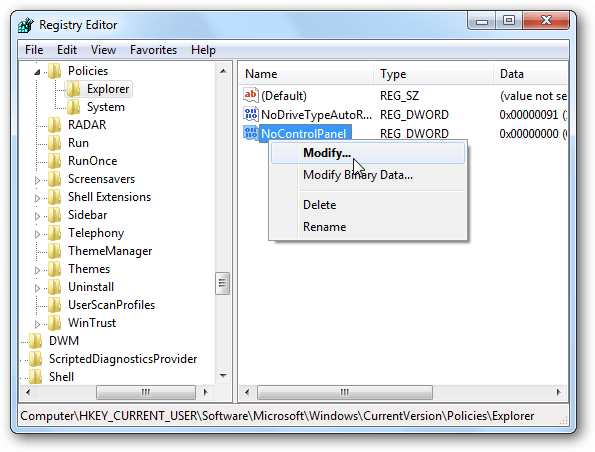
In the Registry Editor window, navigate to HKEY_CURRENT_USERSoftwareMicrosoftWindowsCurrent VersionPoliciesExplorer.
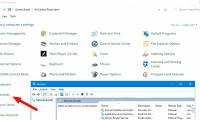
From Explorer, right-click any space in the right pane, select New> DWORD (32-bit) Value to create a new key.
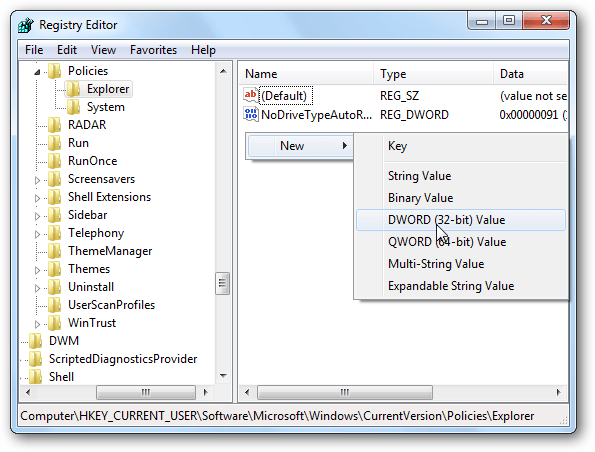
Name this key NoControlPanel.
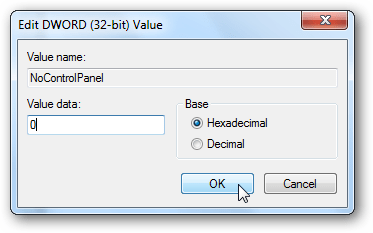
Then right-click this new key and select Modify .
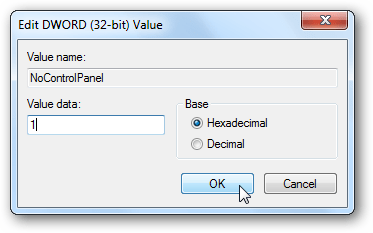
In the Value data frame, change the value to 1 and then click OK. Close the Registry Editor window then restart your computer to complete the process.
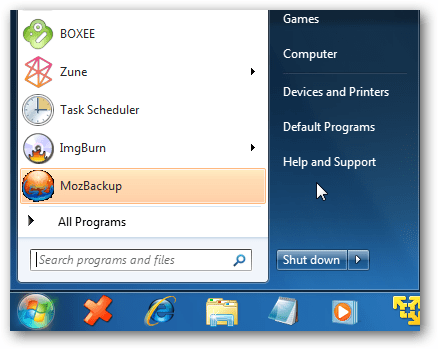
After your computer has finished booting, you will now see the Control Panel no longer appear on the Start Menu.
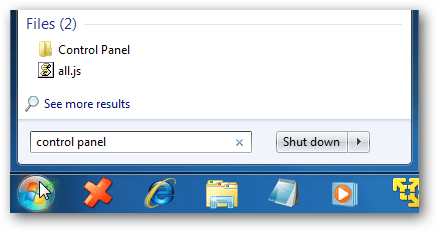
If you find the Control Panel on the Search frame you will get a message like the one below:

If you want to re-enable Control Panel, go back to the Registry, change the value in NoControlPanel to 0 and then restart your computer.
You can refer to some of the following articles:
-
Instructions to divide and merge drives right in Windows 7
-
4 Ways to Reset Windows to its original state
-
Get all 4GB of RAM on Windows 7 32-bit
Good luck!
Was this article helpful?
Your feedback helps us improve.
Related Articles
 How to open Control Panel on Windows 10, 8.1, 711 minutes read
 Control Panel will soon disappear on Windows 102 minutes read
 How to add Services to Control Panel in Windows 7, 8 and 102 minutes read
 How to add or remove Control Panel from Navigation Pane on Windows 74 minutes read
 Change the default Control Panel view to a Windows computer5 minutes read
 Hide Control Panel on Windows 10 using Group Policy2 minutes read
Reader Comments 0
Sign in with email or Google to join the discussion.