How to Add a Printer to Windows 8
Method 1 of 3:
Connecting the Printer Via USB
-
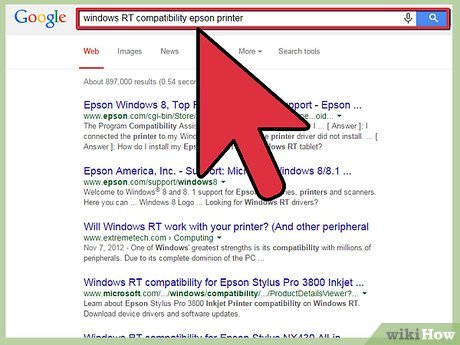
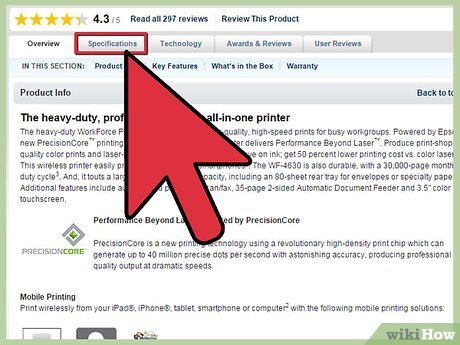
 Check compatibility if using Windows RT. Certain devices are not compatible with Windows RT, the mobile version of Windows 8 (mainly found on the Surface RT tablet). Check the manufacturer's website. Enter your printer model online to see if Windows RT supports it.
 -
 Read the documentation. Most printers can just be plugged into your computer's USB port and you're good to go, but some require the installation of drivers before the printer is plugged in. Check the manual or quick-start guide to see the recommended installation procedure.
- You can get the documentation and necessary software from the printer manufacturer's support website if you can't find the physical copies.
-
 Plug in the printer. In most cases Windows 8 will automatically detect the printer and install the correct drivers. Updated drivers may be downloaded through Windows Update during the installation process.
- Make sure to plug the printer into a USB port directly connect to your computer. Do not plug it into a USB hub, or the printer may not work.
-
 Search for a printer. If the printer is connected, but is still not showing up, you can try manually adding it. This may be required for older printers that aren't automatically detected by Windows.
- Open the Control Panel. You can access the Control Panel by pressing ⊞ Win+X and selecting Control Panel.
- Select "Devices and Printers". If you are in Category view, click the "View devices and printers" link. The window will display all of your connected devices.
- Click Add a printer. This is located at the top of the window.
- Select your printer from the list. The list of available printers may take a few moments to load.
- Verify that unlisted printer is properly connected, has the correct software installed, and is compatible with your computer.
Method 2 of 3:
Connecting the Printer to the Network
-
 Connect the printer to your router. When connecting a printer to the network, you will need to connect it to the router, either via Ethernet or wirelessly. If you are using an older printer, you can use a print server to allow the printer to connect to the network.
- Ethernet - Many printers can be connected via Ethernet to the router. This may only be practical if the printer and router can be in the same general location.
- Wireless - Most new printers have built-in wireless, which allows them to connect to your wireless home network. Check the documentation for your printer to see the specific instructions for connecting to the wireless network.
-
 Install the printer software on your computer (if necessary). Some printers require you to install the software before adding the printer. Other printers will be automatically detected and installed by Windows.
 -
 Search for a printer. If the printer is connected, but is still not showing up, you can try manually adding it. This may be required for older printers that aren't automatically detected by Windows.
- Open the Control Panel. You can access the Control Panel by pressing ⊞ Win+X and selecting Control Panel.
- Select "Devices and Printers". If you are in Category view, click the "View devices and printers" link. The window will display all of your connected devices.
- Click Add a printer. This is located at the top of the window.
- Select your printer from the list. The list of available printers may take a few moments to load.
- Verify that unlisted printer is properly connected, has the correct software installed, and is compatible with your computer.
Method 3 of 3:
Connecting to a HomeGroup Printer
-
 Open the HomeGroup menu. A HomeGroup is a collection of Windows computers on a network, and is designed to make sharing files and printers between them easier than a traditional network. Only Windows 7 and 8 computers can join a HomeGroup.
- Open the Charms menu. You can access this by swiping in from the right side of the screen with your finger or by moving your mouse to the lower-right corner of the screen.
- Tap or click "Settings". This option has a Gear icon.
- Tap or click "Change PC settings". This is is located at the bottom of the menu.
- Tap or click "Network"
- Tap or click "HomeGroup"
-
 Join the existing HomeGroup. Enter in the HomeGroup password and then tap or click "Join". The creator of the HomeGroup can find the password on his or her HomeGroup menu. If there is no HomeGroup detected, then you may not be properly connected to the network.
 -
 Print to the shared printer. Once you are connected to the HomeGroup, you can print to the shared printer without having to actually install the printer. The PC that is sharing the printer must be turned on to print.
Share by
David Pac
Update 04 March 2020


