Table of Contents
This practical guide explains how to Schedule Messages on Instagram through clear, ordered steps. It also covers useful settings, common mistakes, and checks that can improve the final result.
Instagram now lets you schedule messages to be sent at a time of your choosing. This way, in special cases, you can with minimal effort schedule Instagram messages without missing work. Currently, users can only schedule text messages, not photos, GIFs, videos, or images. Here's how to schedule messages on Instagram.
Instructions for Scheduling Messages on Instagram
Step 1:
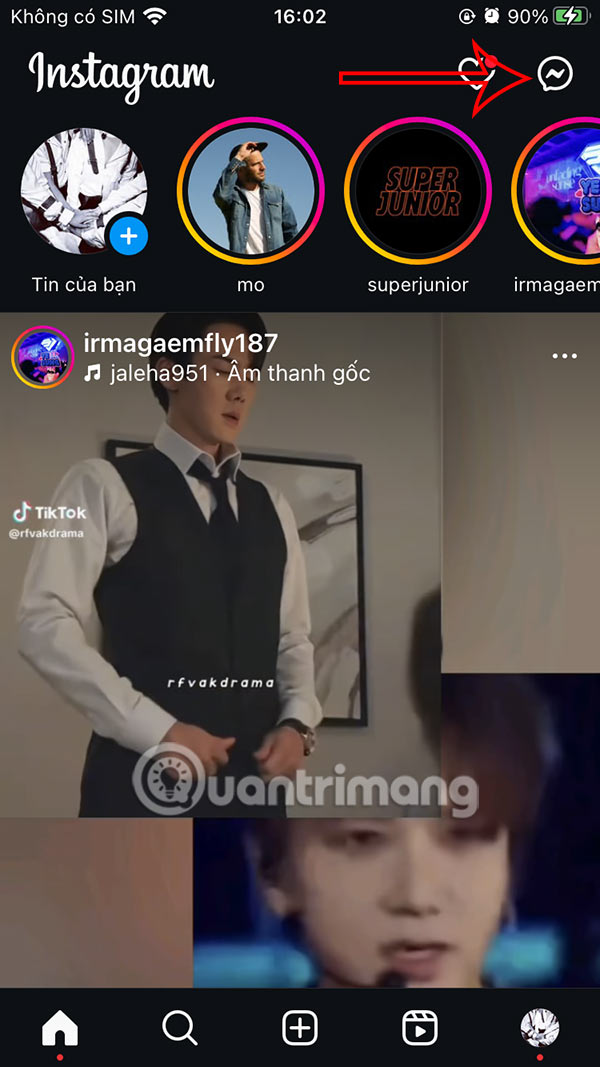
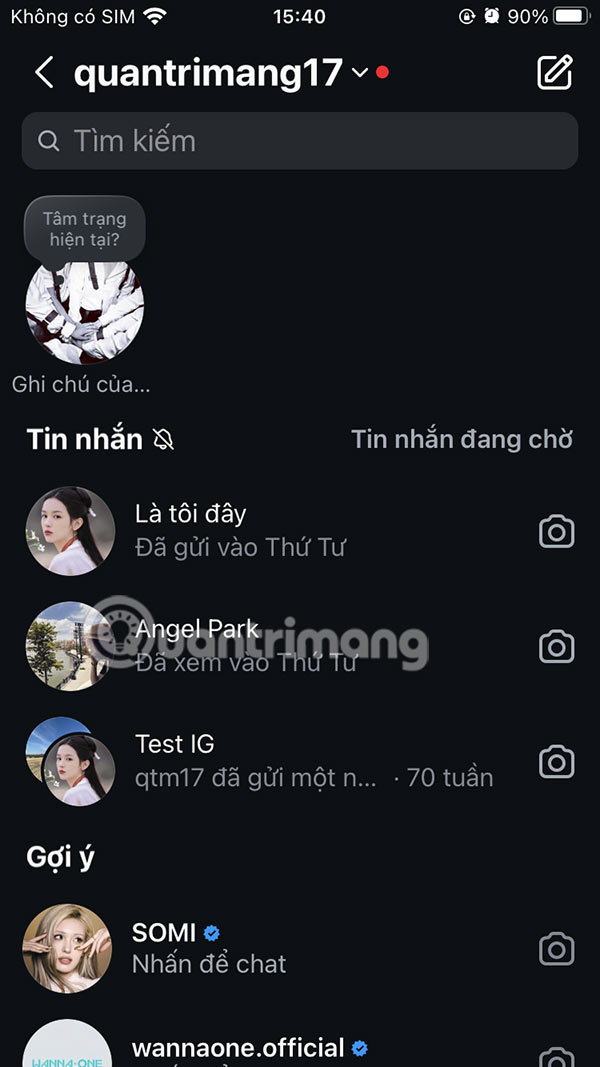
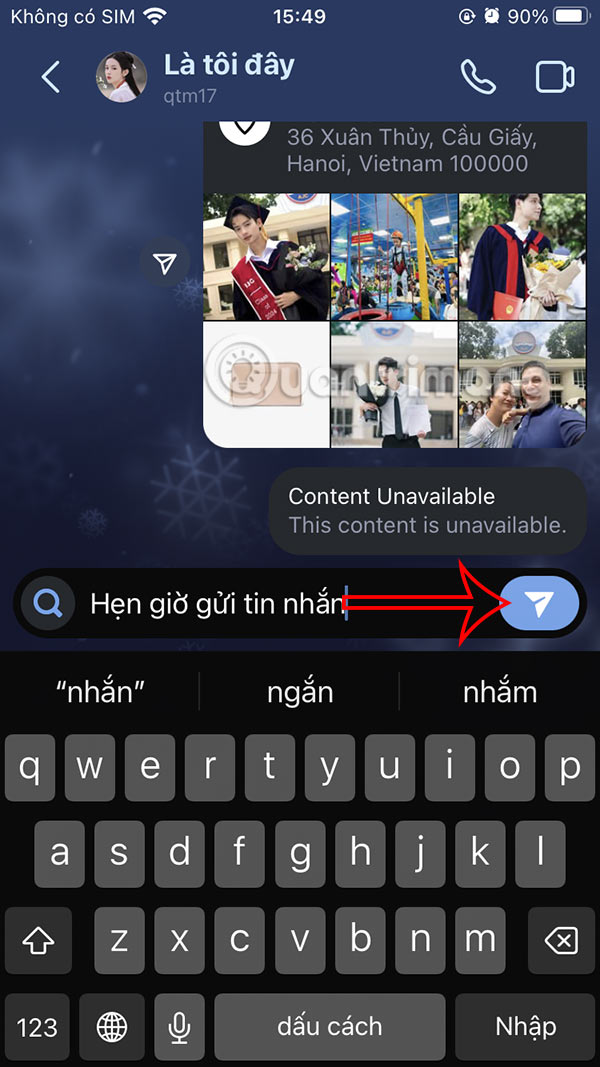
You click on the send message icon and then open the conversation on Instagram as usual. Next, we Enter the message In the box and then Press and hold on the send icon .
Step 2:
Now you will see The option to schedule According to the time you need. We swipe to the time we want to schedule to send Instagram messages, up to 29 days before sending the message. Finally, Press Send .

Step 3:
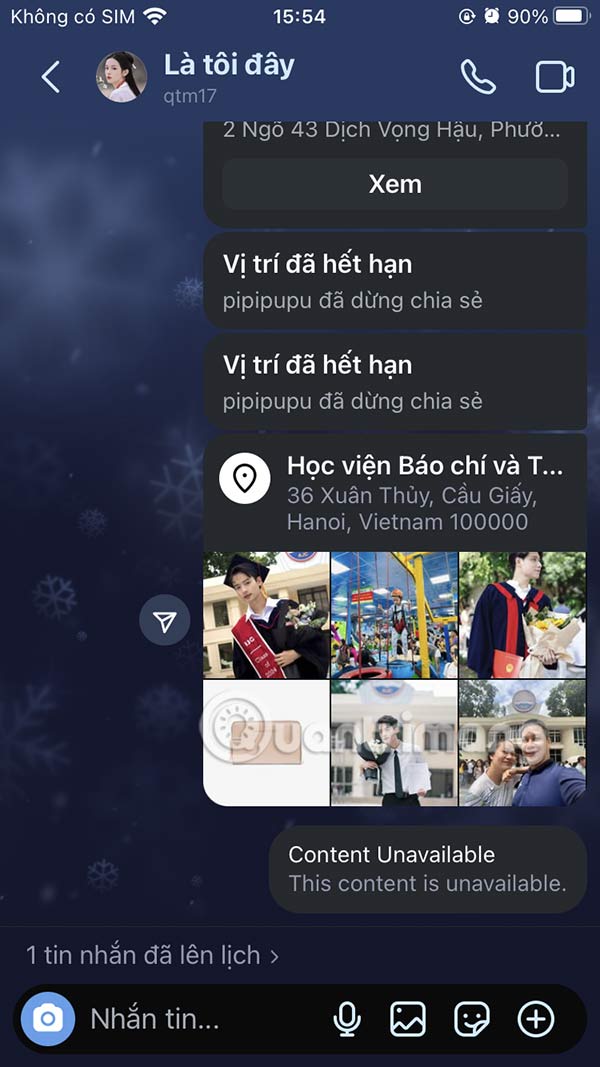
After scheduling an Instagram message, you will see the scheduled message in the chat box interface. We continue to set up other message schedules in Instagram if needed.

How to Manage Instagram Message Scheduler
Step 1:
We Click on the scheduled schedule , then we will see The list of Instagram messages scheduled to be sent . You Touch the message you want to change .

Step 2:
Here we can send the message immediately without following the created schedule. Or if we no longer need to schedule sending Instagram messages, click Delete.

Hopefully in the next Instagram version, the option to edit scheduled messages will be updated.
FAQ
How do I Schedule Messages on Instagram?
Follow the steps in this guide in order, verify each setting before continuing, and check the result after every major change.
What should I prepare before I Schedule Messages on Instagram?
Confirm compatibility, install current updates, save important work, and back up data before changing system or application settings.
What can I do if schedule Messages on Instagram does not work?
Review permissions and requirements, restart the relevant device or app, repeat the steps carefully, and use official support resources when the issue continues.
Related Articles
 How to Recall Instagram Messages3 minutes read
 How to Schedule Posts on Instagram3 minutes read
 Instagram Brings Direct Messages to the Web Version3 minutes read
 Schedule Automatic Posts on Instagram5 minutes read
 Instagram Adds a Feature to Send Text Messages2 minutes read
 How to Send Voice Messages on Instagram4 minutes read
Reader Comments 0
Sign in with email or Google to join the discussion.