How to Resize a Photo (on Mac)
With Preview – a free image utility built into the OS X operating system – resizing images is very simple. Preview helps you crop and adjust image size easily without needing to install additional software. Let's learn how to control image size, remove unwanted areas, and adjust resolution for different uses on Preview.
Table of Contents
Change the image size on Preview
Navigate to the photo you want to resize. This method helps you resize the entire image. If you want to crop part of the photo to resize it, see the next method.
To search for an image's name or tag, open Finder, then click the magnifying glass icon in the menu bar. Type in the search keyword and click ⏎ Returnto display the results.
Drag the photo and drop it onto the Preview icon in the Dock or Finder. The photo will open in Preview.
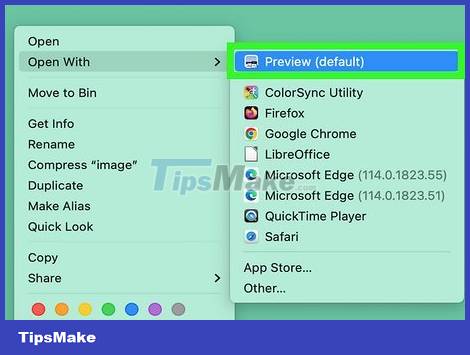
You can also right-click on the photo and select 'Open With' and then click 'Preview.'
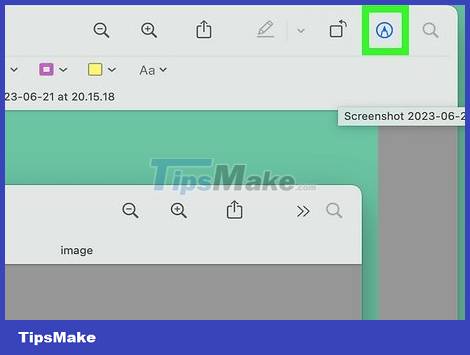
Click the edit button (square with a pencil) to switch to edit mode. A new toolbar will appear at the top of the Preview window.

Click the 'Tools' menu and select 'Adjust Size'.

Change resolution. Resolution is calculated in pixels per inch (also called 'dots per inch' or 'dpi'). If you plan to print photos or want them to maintain the highest quality possible, you'll need to increase the resolution.
If you want to use photos on the web or applications like Facebook, the default resolution (72) is just right. If the image inherently has a higher resolution, when you reduce the size, the file size will be smaller.
If you want to print photos in high-quality formats, such as for advertising or other business communications, set the resolution to at least 600. Note: file size will increase significantly. tell.
If printing on glossy paper, parameter 300 is suitable. The file size will be much larger than the default resolution of 72 dpi, but the final quality will satisfy you.
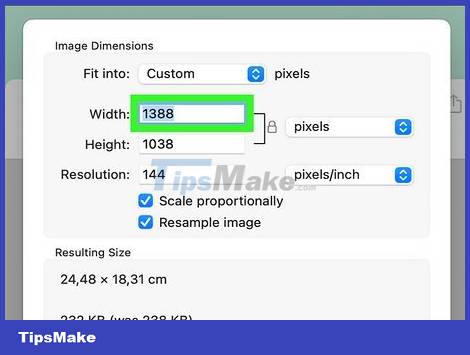
Enter the desired width and height in the specified frame. The higher the parameter, the larger the file size will be.
It would be helpful if you changed the unit of measurement to make it easier to visualize. For example, you can change it to 'cm' if you want to specify the width in centimeters. Click the drop-down box to the right of each Width and Height section to set it.
If you want, you can choose the size as a percentage of the current size. Select 'Scale', then select a percentage in the drop-down box.
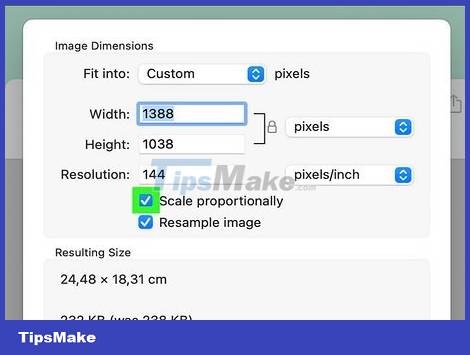
Check the box next to 'Scale proportionally' so the image is not imbalanced. Although not required, you can use this option to ensure that when you change the width, the height also changes. The image will always retain its original symmetry.
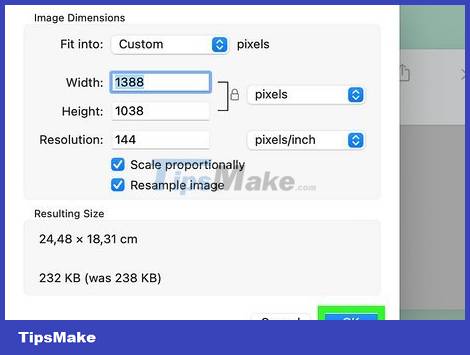
Click OK to view the image in the new size. If you are not satisfied with the change, you can press ⌘ Cmd+ Zto return to the previous operation.

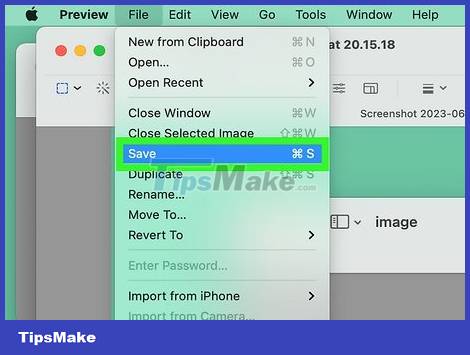
Press ⌘ Command+S to save changes. After adjusting the image size, don't forget to save your work.
If you want to save the image at this new size as a completely different file, click 'File', select 'Save As', then name the file.
If after saving you realize you made a mistake in any step, click 'Revert To' in the File menu and select 'Browse All Versions…'. You can select an earlier version of the image that you want to return to.
Crop the image on Preview

Click the edit button (square with a pencil) to go into edit mode.
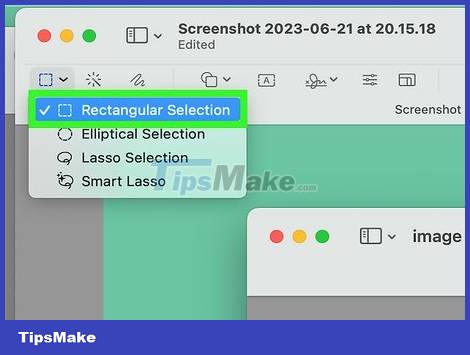
Click the dotted rectangle icon in the editing toolbar, then select 'Rectangular Selection'.
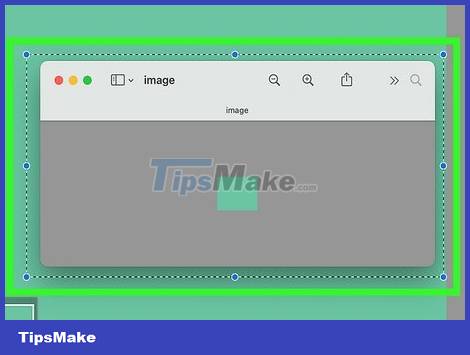
Click and drag your mouse over the part of the image you want to keep. After you release the mouse, a dotted rectangle will appear on the image area.
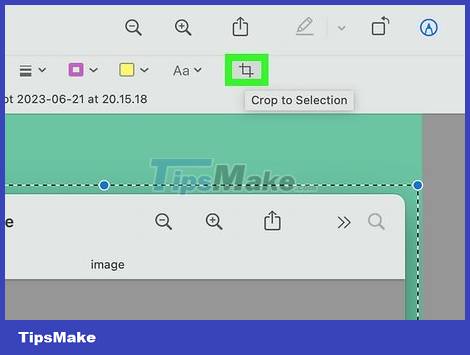
Click the Crop button . All parts of the image outside the rectangular selection will be cut off.
You can adjust the crop area size like any image.
If you are not satisfied, press ⌘ Cmd+ Zto return.
Press ⌘ Cmd+S to save the file.
If you want to save the cropped image area as a completely new file (and keep the original image), click 'File', select 'Save As' and name the new file.
If after saving you want to return to a previous version of the image, click 'File', click 'Revert To' then select 'Browse All Versions…' You can then select the older version of the image image.
Was this article helpful?
Your feedback helps us improve.
Related Articles
 What is the difference between Crop and Resize? When should you crop and when should you resize an image?5 minutes read
 Some online photo resize services5 minutes read
 Top 3 photo resize applications on your phone3 minutes read
 Instructions for resizing photos with Pic Resize online4 minutes read
 How to resize images properly in Photoshop9 minutes read
 How to reduce photo size in batches with High Quality Photo Resize4 minutes read
Reader Comments 0
Sign in with email or Google to join the discussion.