How to reset the status to expand the File Explorer navigation pane on Windows 10
You can use the navigation pane in File Explorer to access locations like Quick access, OneDrive, Libraries, This PC, Network and Homegroup. You can also move or copy items directly to another location in the navigation pane.
When opening folders in the right pane of File Explorer, the navigation pane will not automatically expand the current open folder by default.
When you expand a folder in the File Explorer navigation pane, this extension status is saved to the registry. The next time you open File Explore, you'll see the state of the last navigation extension.
Although you can set the expanded state of this navigation pane manually, you can also reset it to the default state. This article will show you how to reset the expanded state of the navigation pane in File Explorer to the default state on Windows 10.
- Restore lost File Explorer icons on Windows 10 Start Menu
- How to share files from File Explorer quickly
- Fix File Explorer error not working on Windows 10
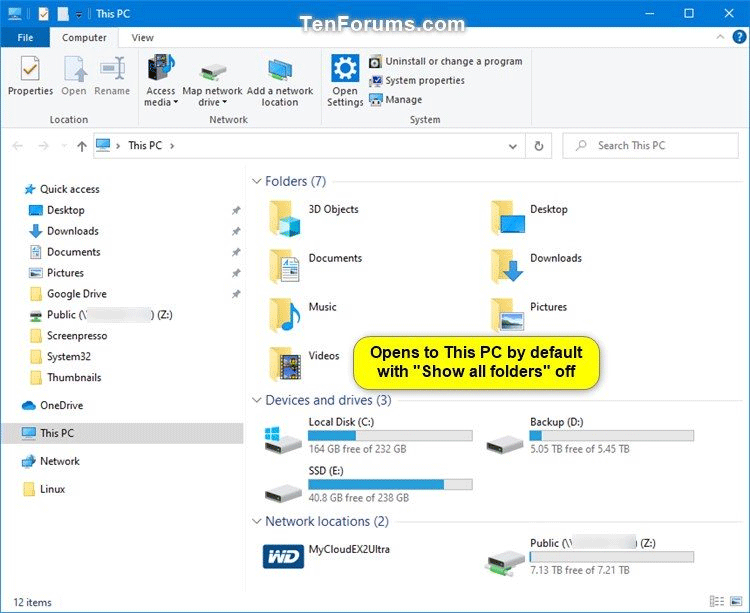
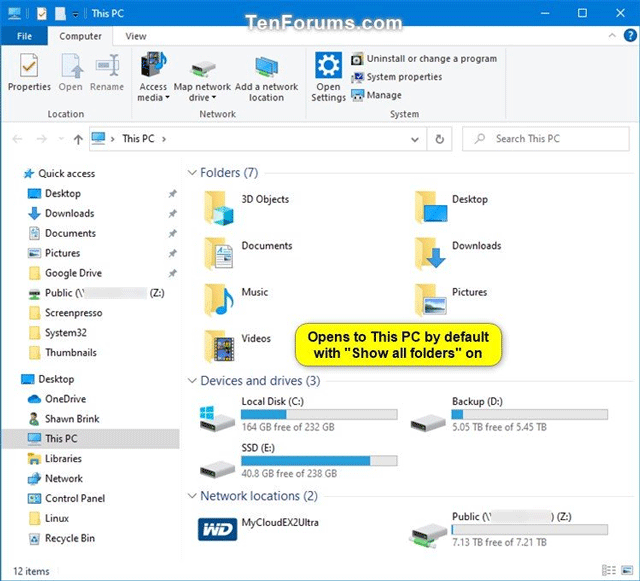
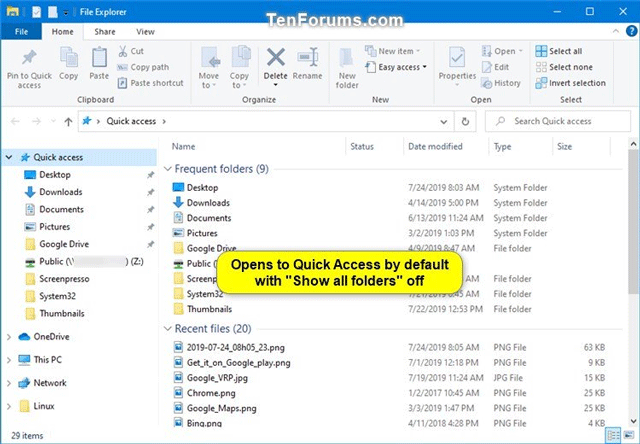
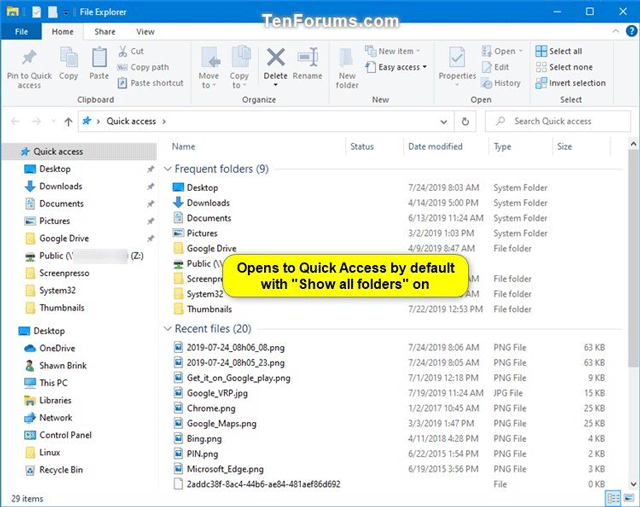
Below is an example of the navigation drawer expansion state.


1. Reset status to expand navigation pane in File Explorer with REG file
Step 1 . Download the file according to the link below.
https://www.tenforums.com/attachments/tutorials/241199d1564001273-reset-navigation-pane-expanded-state-windows-10-file-explorer-reset_file_explorer_navigation_pane_expanded_state.reg Code:
Windows Registry Editor Version 5.00 [HKEY_CURRENT_USERSOFTWAREMicrosoftWindowsCurrentVersionExplorerModulesNavPane] "ExpandedState"=- Step 2 . Save the .reg file on the desktop.
Step 3 . Close all versions of the opened File Explorer window.
Step 4 . Double click on the downloaded .reg file to merge it.
Step 5 . When prompted, click on Run, Yes (UAC), Yes and OK to agree to merge.
Step 6 . Now you can delete the downloaded .reg file if you want.
The next time you open File Explorer ( Win + E ), the expanded state of the navigation pane will be reset to the default view.
2. Reset status to expand navigation pane in File Explorer by using Command Prompt
Step 1 . Close all versions of the opened File Explorer window.
Step 2 . Open Command Prompt or PowerShell.
Step 3 . Copy and paste the following command into the command line window and press Enter .
REG DELETE HKCUSOFTWAREMicrosoftWindowsCurrentVersionExplorerModulesNavPane /V ExpandedState /F 
Step 4 . You can now close the Command Prompt or PowerShell window.
When opening File Explorer, the expanded state of the navigation pane will be reset to the default view.
I wish you all success!