How to Repair Bad Sectors
This wikiHow teaches you how to fix a disk error on a corrupted or damaged hard drive. You can do this on both Windows and Mac computers. Keep in mind that hard drives which have been damaged physically cannot be repaired with software,....
Method 1 of 2:
On Windows
-
 Connect the drive to your computer if necessary. If you're trying to repair a malfunctioning external hard drive or flash drive, plug it into one of your computer's USB ports.
- Skip this step if you're attempting to fix a built-in hard drive.
-
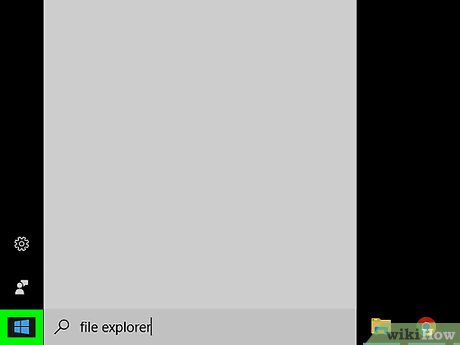 Open Start. Click the Windows logo in the bottom-left corner of the screen. You can also press the ⊞ Win key to open Start.
-
 Open File Explorer. Click the folder-shaped icon on the left side of the Start window. This will open the File Explorer window.
-
 Click This PC. It's a folder on the left side of the File Explorer window. Doing so opens the This PC window.
 -
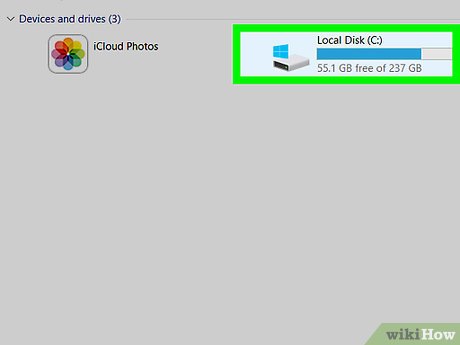
 Select a hard drive. Beneath the "Devices and drives" heading, click the hard drive that you want to repair.
- Generally, the computer's built-in hard drive is labeled OS (C:).
-
 Click the Computer tab. It's in the top-left corner of the window. A toolbar will appear.
 -
 Click Properties. This red checkmark icon is in the far-left side of the toolbar. Doing so opens the Properties window.
 -
 Click the Tools tab. It's at the top of the window.
 -
 Click Check. This option is on the far-right side of the "Error checking" section near the top of the Properties window.[1]
 -
 Click Scan drive when prompted. Your computer will begin scanning for bad sectors.
 -
 Wait for the scan to complete. Once the scan completes, a pop-up with the results will appear.
 -
 Click Scan and repair drive when prompted. It's at the bottom of the pop-up. This will prompt Windows to attempt to fix the disk errors, which can mean anything from reformatting the bad sectors to moving the bad sectors' files onto new, uncorrupted sectors.
- You may have to click Scan and repair drive several times to resolve all errors.
Method 2 of 2:
On Mac
-
 Connect the drive to your computer if necessary. If you're trying to repair a malfunctioning external hard drive or flash drive, plug it into one of your computer's USB ports.
- Skip this step if you're attempting to fix a built-in hard drive.
- You may need a USB 3 to USB-C adapter if your Mac doesn't have traditional USB ports.
-
 Click Go. It's a menu item at the top of your Mac's screen. A drop-down menu will appear.
- If you don't see Go at the top of the screen, click the Finder app icon in your Mac's dock (or click the desktop) to force it to appear.
-
 Click Utilities. You'll find this option near the bottom of the drop-down menu.
 -
 Open Disk Utility. Double-click the Disk Utility app icon, which resembles a grey hard drive with a stethoscope on it.
 -
 Select a hard drive. In the upper-left corner of the window, click the hard drive that you want to fix.
 -
 Click the First Aid tab. It's an image of a stethoscope at the top of the Disk Utility window.
 -
 Click Run when prompted. Doing so will prompt Disk Utility to begin scanning (and repairing) your selected hard drive's bad sectors.
 -
 Wait for the repairs to complete. Once the Disk Utility finishes repairing your drive, you should see a pop-up explaining what was repaired.
- If you don't see any repairs listed, your hard drive doesn't have any bad sectors to repair.
-
 Run Disk Utility again. For each time that a repair (or series of repairs) is listed, run Disk Utility again to scan for further issues. Once Disk Utility no longer reports repairs upon completing the scan, your Mac's hard drive is fixed.[2]