How to Repair USB
Today's WikiHow teaches you how to fix a malfunctioning flash drive. For software or driver problems, you can scan and repair the flash drive using your computer's built-in repair utility. If the USB doesn't work because of improper formatting or data corruption, you can reset the drive, but remember that reinstalling the USB will erase all the files inside. Finally, if the flash drive still does not work due to hardware damage, you should take the USB to a repair center or professional data recovery service; If that's not possible, you can still fix it yourself by soldering the broken USB circuit to the active USB cable end. However, we do not recommend trying to repair it yourself because you are very likely to destroy the flash drive.
Table of Contents
Scan and fix
Windows operating system
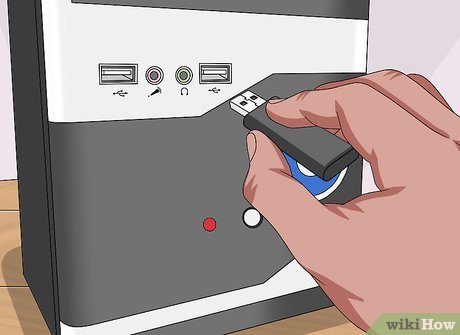
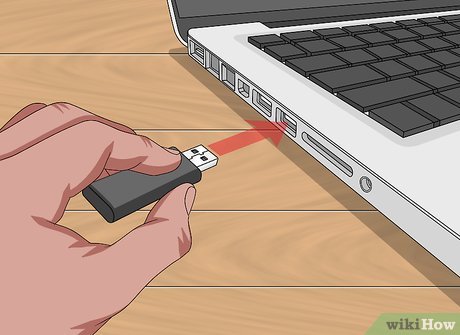
Plug the USB into the computer. The flash drive must fit into one of the rectangular ports on the computer chassis. If the device reports a USB error or the drive does not display its contents, you need to update the driver or software using your computer's repair feature.

Open Start . Click the Windows icon in the bottom left corner of the screen.

Click the File Explorer task in the left corner of the Start window.
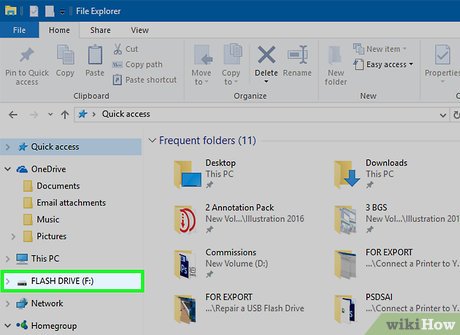
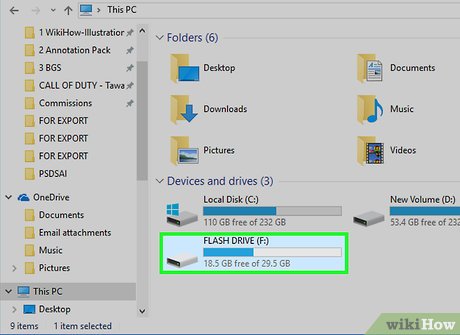
Click on your flash drive icon. The USB will display in the options column on the left side of the File Explorer window. The drive will open.
You may need to click > next to This PC first for the drive to appear.
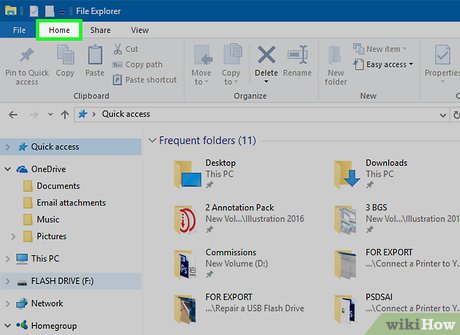
Click the Home tab at the top left of the File Explorer window.
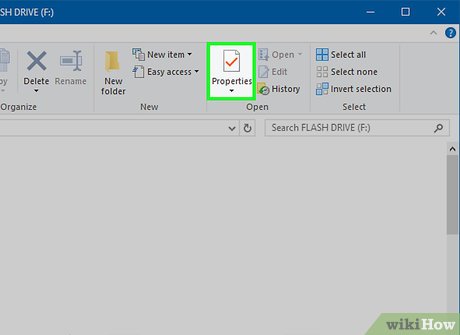
Click Properties . The option is an icon of a white frame with a red check mark, located in the "Open" section of the toolbar.
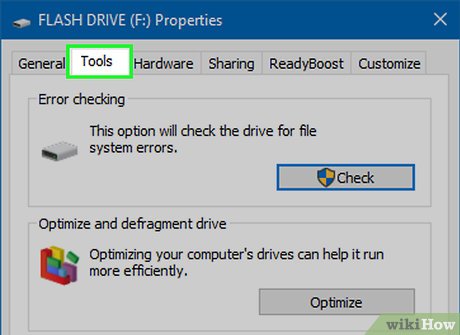
Click the Tools tab . It's at the top of the Properties window.
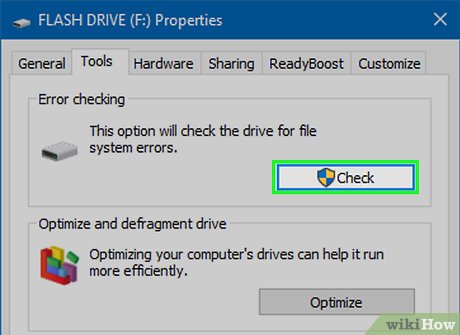
Click Check . It's at the top of the Tools tab in the "Error checking" section.
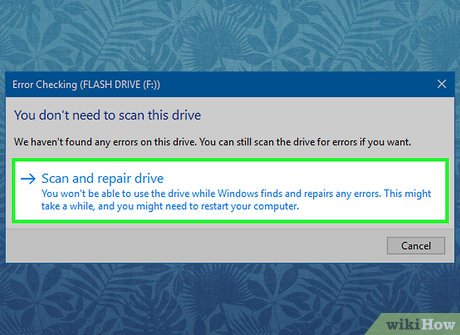
Wait for Windows to repair the drive. You may need to follow some instructions that appear on the screen during processing.
For example, you may have to click Scan & Repair to confirm that you want to repair the drive.
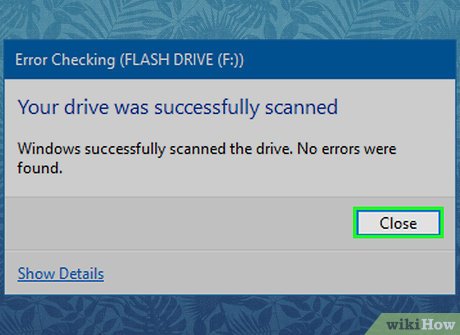
Click Close when prompted. If the USB error lies in the driver or software, the problem is solved.
Mac OS
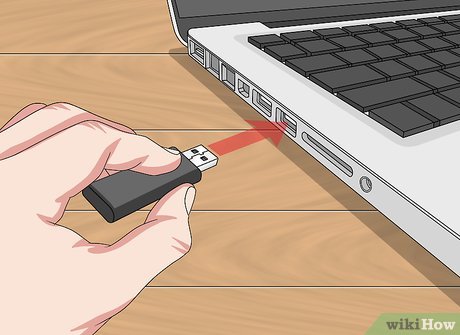
Plug the USB into the computer. The flash drive must fit into one of the rectangular ports on the Mac computer chassis. If the device reports a USB error or the drive does not display the content, you need to update the driver or software using your computer's repair feature.
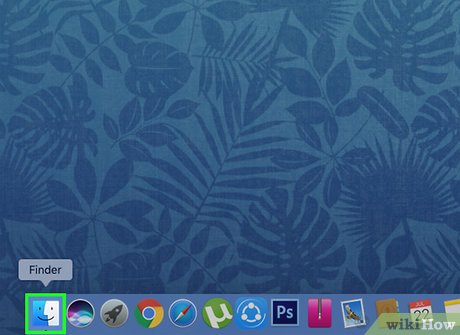
Open Finder. The app is in the Dock and looks like a blue face.
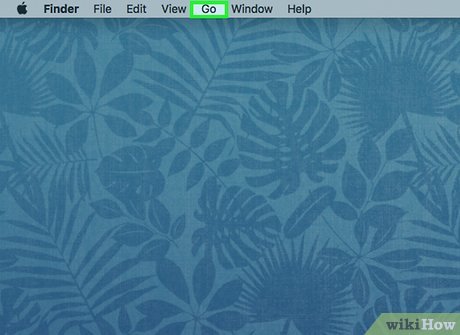
Click the Go menu . It's at the top right of the screen.
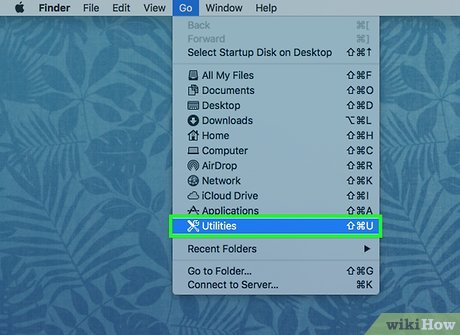
Click Utilities . This folder is near the bottom of the Go drop-down menu .
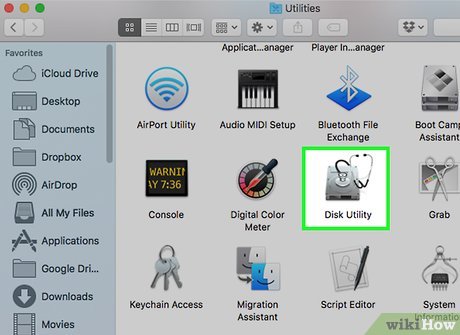
Double-click Disk Utility . The app looks like a stethoscope above the drive icon.
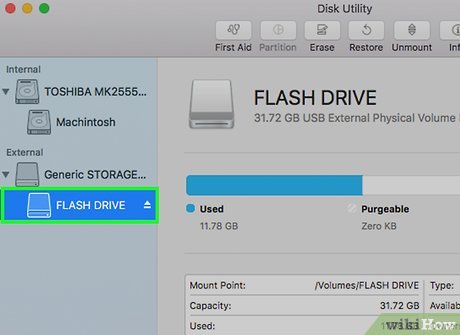
Choose your USB. The icon resembles a drive, indented below the "External" heading.
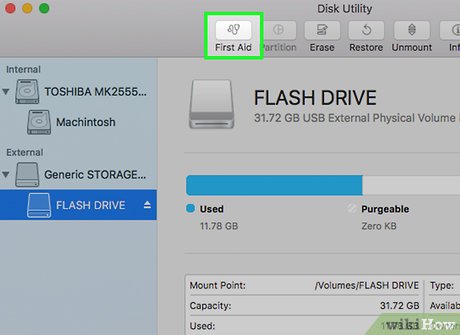
Click the First Aid option. It's at the top of the Disk Utility window.
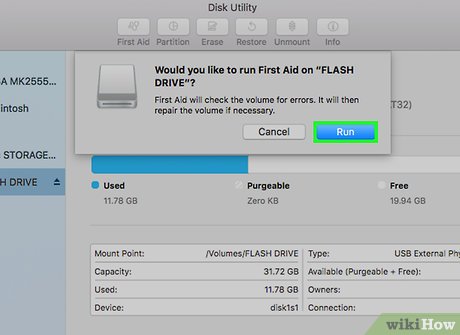
Click the blue Run button, located in the pop-up window.
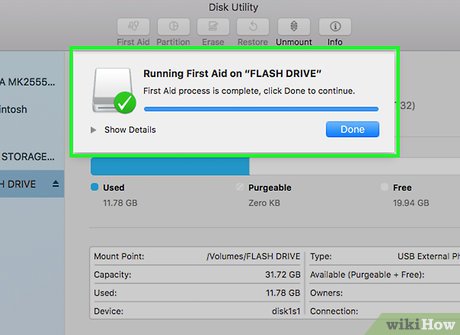
Wait for the scanning process to complete. Disk Utility will fix problems related to software or drivers.
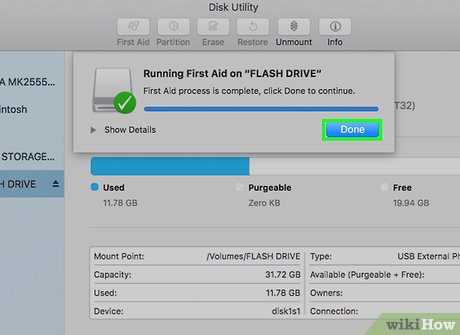
Click Done when prompted. If the USB error lies in the driver or software, the problem is solved.
Replace the flash drive
Windows operating system

Connect the USB flash drive to the computer. Plug the USB into one of the computer's USB ports.

Open Start . Click the Windows icon in the bottom left corner of the screen.
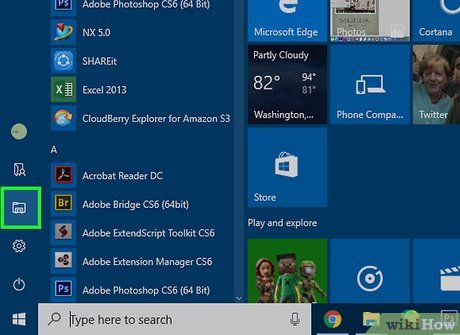
Click the File Explorer task in the left corner of the Start window.

Click on your flash drive icon. The USB will display in the options column on the left side of the File Explorer window. The drive will open.
You may need to click > next to This PC first for the drive to appear.
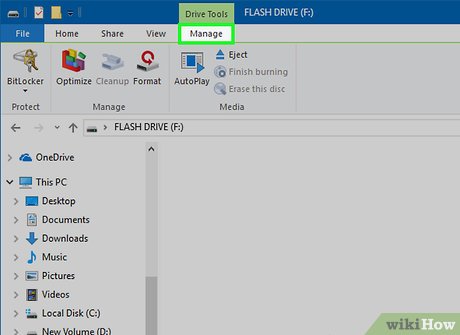
Click the Manage tab . It's in the upper left side of the File Explorer window.

Click Format to open the Format window.
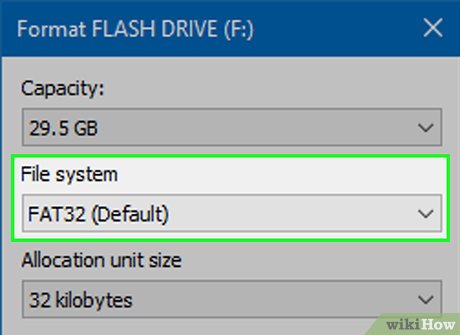
Click the "File System" box below the "File System" heading near the top of the page. You will see a drop-down menu with the following options:
NTFS – Default Windows operating system format. This format only works on Windows operating systems.
FAT32 – The most widely compatible format. Works on Windows and Mac operating systems, but has limited storage capacity of 32 GB.
exFAT (Recommended) – Works on Windows and Mac operating systems, unlimited storage capacity.
Click a format option. Choose exFat for maximum compatibility, or choose NTFS if you are creating a backup drive for use only on Windows operating systems.
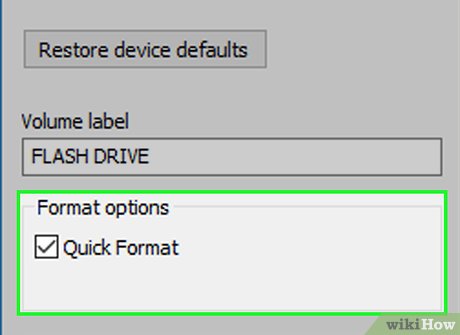
If you have formatted the drive before and think the drive is not damaged, check the Quick Format box .

Click Start , then select OK . Windows will begin reformatting the flash drive.
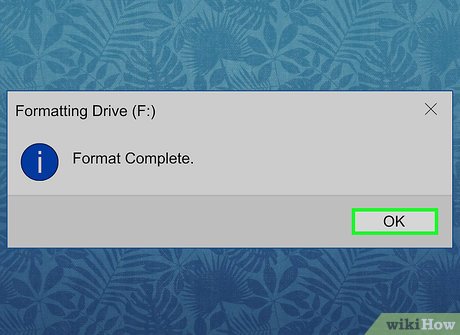
Click OK when prompted. The USB has been formatted.
Mac OS
Connect USB to computer. Plug the flash drive into one of your computer's USB ports.
Some Mac computers do not have a USB port, so you may have to purchase an additional adapter.
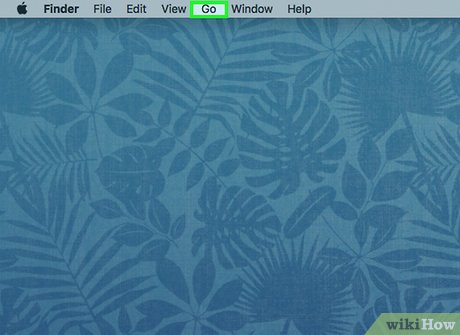
Click the Go menu located at the top left of the menu bar.
If you don't see the Go menu , first click the Finder icon that looks like a blue face in the Dock.

Click the Utilities task located in the Go drop-down menu .

Double-click the Disk Utility option located in the middle of the Utilities page.

Click the name of your flash drive. The USB will appear on the left side of the Disk Utility window.
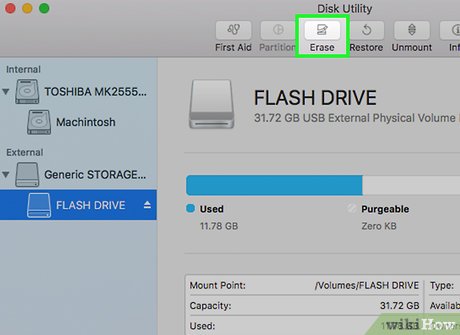
Click the Erase tab . It's at the top of the Disk Utility window.
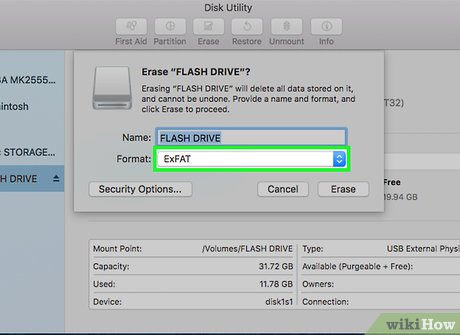
Click the "Format" box in the middle of the page. You will see a drop-down menu with the following options:
Mac OS Extended (Journaled) – The default format of Mac computers. Only works on Mac operating systems.
Mac OS Extended (Journaled, Encrypted) – Transcoded version of the default format on Mac computers.
Mac OS Extended (Case-sensitive, Journaled) – Version of the default format on Mac computers that treats files with the same name differently for different cases (for example, "file.txt " and "File.txt").
Mac OS Extended (Case-sensitive, Journaled, Encrypted) – Combined format of the above three format options.
MS-DOS (FAT) – Works on both Windows and Mac computers, but has a file size limit of only 4 GB.
ExFAT (Recommended) – Works on both Windows and Mac computers. Unlimited storage capacity.

Click a format option. Choose MS-DOS (FAT) or ExFat for optimal compatibility.
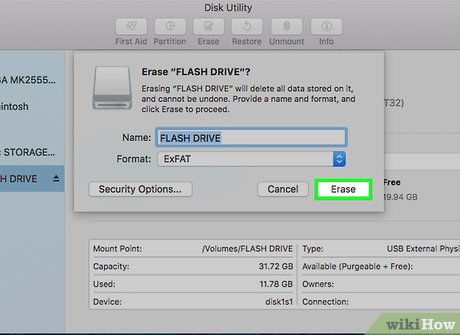
Click Erase , then click Erase when prompted. The formatting process will begin. Once completed, you will see the flash drive icon appear on your Mac computer screen.
Repair hardware damage
Understand that repairing USB hardware is not very satisfactory. Unless you have professional experience in repairing flash drive hardware damage.
If your external flash drive is damaged, your best option is to have the USB repaired by a professional repair service.
Data recovery service prices can range from 200,000 VND to several million VND depending on the severity of the damage to the drive and the type of recovery required.
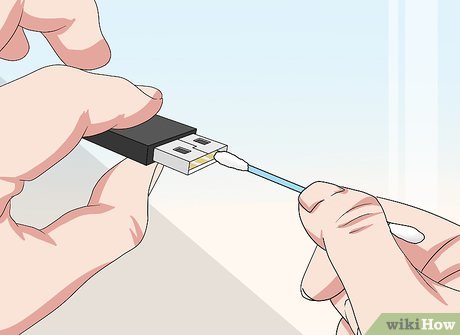
Look for any grit or foreign objects in the mouth of the USB. The flash drive may not be able to connect to the computer because of some easily removed blockage. If you see a foreign object in the mouth of the USB, use a cotton swab or toothpick to gently pry it out.

Try connecting the USB to another port or computer. Maybe the problem is because the USB port is not working.
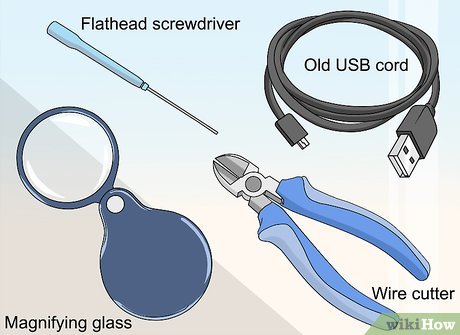
Prepare repair tools to mend broken joints. If you're willing to risk the data inside, you need to:
A mine with solder and flux
Old USB cable
Metal cutting tools/pliers
Small flat head screwdriver
Magnifying glass or jeweler's glasses
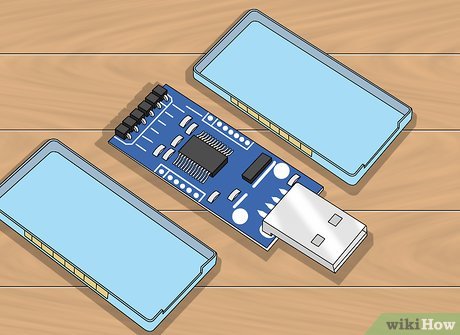
Use a flat head screwdriver to remove the USB cover.
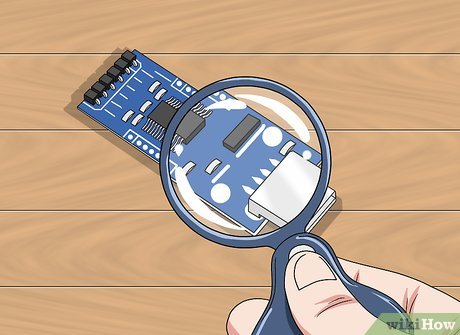
Use a magnifying glass to examine the circuit board (printed circuit board) and solder pads. If the printed circuit board (green circuit board) is damaged or the solder pads are lifted, you may need to have the USB repaired.
Solder pads are 4 short pieces of solder that connect the prongs of the connector in the USB to the copper lines in the circuit board. If the connector breaks without damaging the printed circuit board or solder pad, continue to the next step.
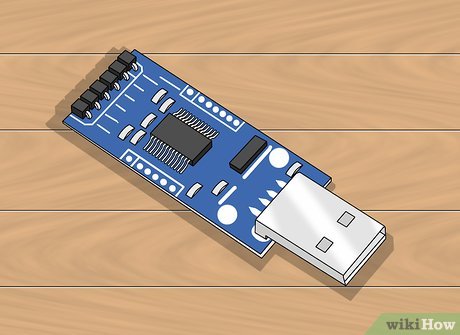
Place the USB on a hard surface with the connector mouth facing you and the solder pads facing up.

Use pliers to cut the end of the USB cable. Before cutting the end of the USB cable, you must make sure that the end of the cable is an adapter.
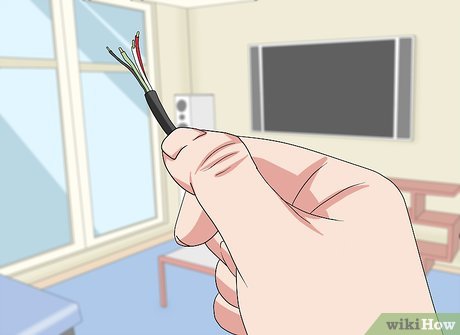
Cut off a piece of casing at the end of the wire part of the cable end. Try to expose about 0.6 cm of the four wires connecting to the USB cable inside the cable.
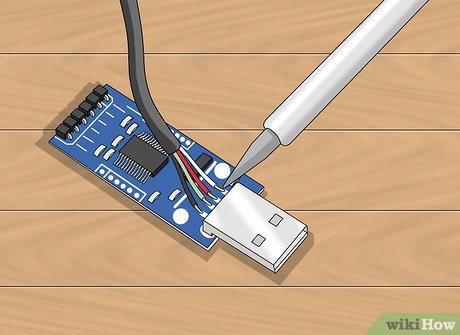
Solder each end of the wire to the USB's four solder pads. Try to be meticulous at this step because if you fix the connection improperly, the flash drive will not work.
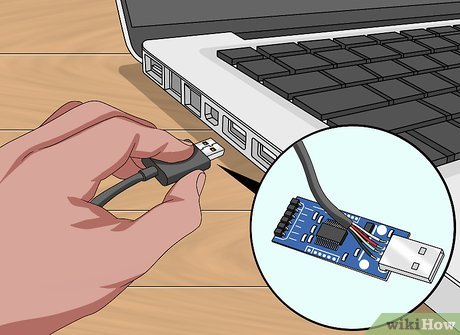
Plug the USB cable into the computer. The end of the USB cable will fit into one of the rectangular ports on the computer chassis.
Open the flash drive (if possible). If your computer recognizes the USB, open the drive and move the files inside to your computer as quickly as possible:
On Windows operating system - Open Start , click the File Explorer icon , then click the drive icon.
On Mac – Open Finder and click the drive icon.
If the flash drive cannot be connected to the computer, try taking the USB to an information technology center and ask experts to transfer the data inside for you.
Was this article helpful?
Your feedback helps us improve.
Related Articles
 Software Review - Stellar Repair for MS SQL7 minutes read
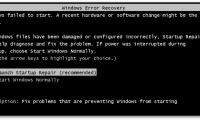 Fix Windows startup errors with Startup Repair6 minutes read
 Fast fix computer repair on Windows15 minutes read
 Top 5 best kits for professional car mechanics5 minutes read
 Fsutil repair command in Windows3 minutes read
 Repair-bde command in Windows6 minutes read
Reader Comments 0
Sign in with email or Google to join the discussion.