Table of Contents
Open Start, type Camera, and select the Camera app. Windows should use a laptop’s built-in webcam or a connected USB camera automatically. If the preview is black or access is blocked, check the privacy permissions and close other apps using the camera.
Open the Camera app in Windows 11
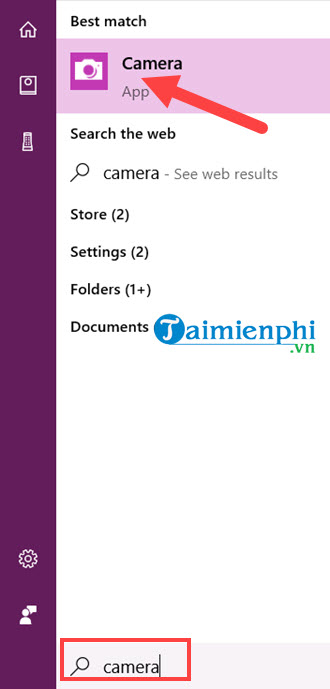
- Open Start and search for Camera.
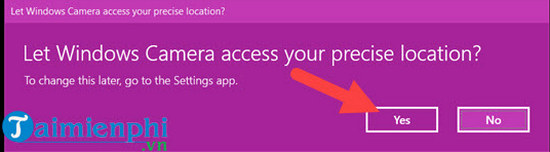
- Select the Camera app. If Windows requests permission, review the prompt and allow access only if you want the app to use the camera.
- If more than one camera is connected, use the switch-camera control to choose the built-in webcam or external USB camera.
- Select the photo or video mode, then use the capture button.
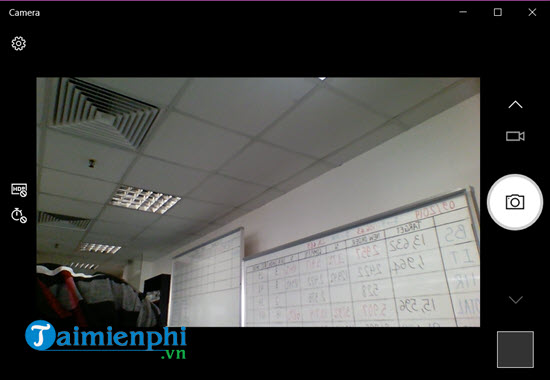
The following images show an older Windows Camera interface. Current controls may be arranged differently, but the basic workflow is the same.
Take a photo or record a video
Select Photo and choose the shutter button for a still image. For video, select the video control and press it again to start recording; use the red Stop control to finish. Open the thumbnail to review the result or use the app menu to open the saved folder.
Photos and videos are normally stored in Pictures > Camera Roll. If the folder is missing or unwritable, the Camera app may show a save error.
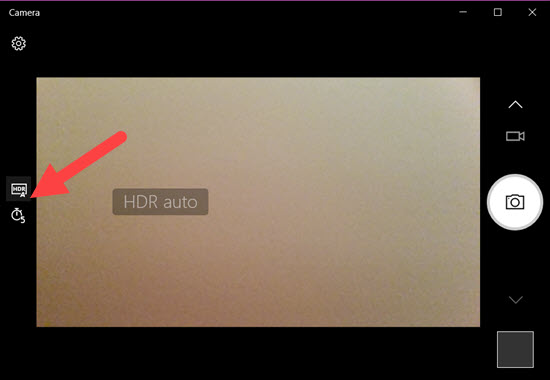
Adjust camera settings
Open the Camera app settings to review available resolution, framing grid, timer, flicker reduction, and video choices. Features vary by camera and driver; options such as HDR, document capture, whiteboard capture, barcode scanning, or time lapse may not appear on every device.
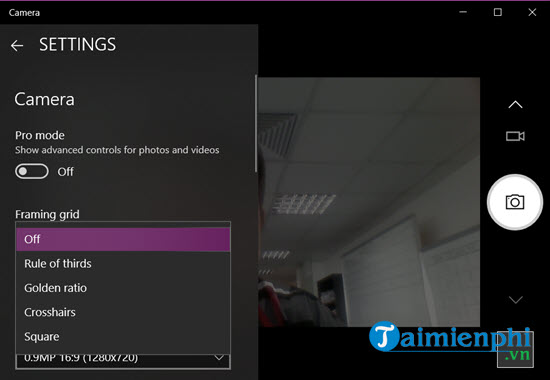
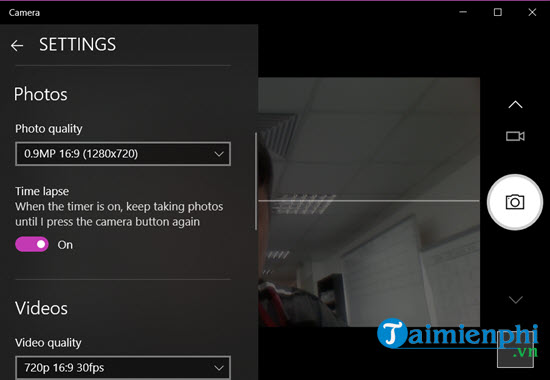
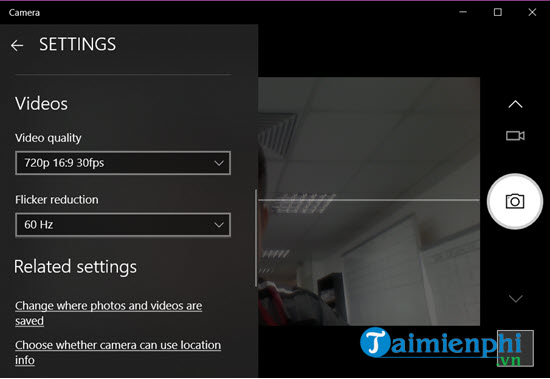
For current controls and supported capture modes, refer to Microsoft’s Windows Camera app guide.
Allow camera access in Windows
In Windows 11, open Settings > Privacy & security > Camera. Turn on Camera access, allow apps to use the camera, and enable the specific Microsoft Store app when needed. For desktop programs and browsers, also review the desktop-app access setting.
A browser may ask separately for permission on each website. Allow only sites you trust, and revoke permission after a one-time use when continued access is unnecessary. Microsoft explains the controls in its camera-permissions guide.
Set up an external USB webcam
- Connect the camera directly to a suitable USB port rather than an unpowered hub for the first test.
- Wait for Windows to install a driver. Use Windows Update or the camera manufacturer’s official support page if a specific driver is required.
- Open Settings > Bluetooth & devices > Cameras in Windows 11 to confirm that the device is detected and adjust its default settings.
- Open Camera and switch devices if Windows initially selects the built-in webcam.
Do not install a random “universal webcam driver” from a download site.
Fix a camera that is black, missing, or busy
- Check the physical shutter or key: some laptops have a privacy slider, a camera function key, or a hardware switch.
- Close other apps: Teams, Zoom, a browser tab, or streaming software may already be using the webcam.
- Reconnect the device: unplug a USB webcam, try another port, and restart Windows.
- Review permissions: enable camera access for the intended app and, when needed, desktop apps.
- Check Device Manager: look under Cameras or Imaging devices, enable the camera if disabled, and update or reinstall its driver through Windows or the manufacturer.
- Run Get Help: Microsoft’s camera troubleshooter can diagnose common Windows problems.
- Check security software: camera-protection features may block access; change only the setting for the trusted app.
Microsoft’s camera troubleshooting guide covers driver, privacy, and app problems.
Older Windows versions
Windows 7 and Windows 8 are no longer supported. Their interfaces differ from the current Camera app, and Windows 7 may require the webcam manufacturer’s software or another compatible program. Avoid installing obsolete third-party webcam tools on a current PC. If you specifically need effects or virtual-camera features, compare webcam software for computers and verify current compatibility before downloading.
For screen capture rather than camera capture, use the methods in the computer screen-recording guide.
Webcam privacy basics
- Use the camera indicator light and physical shutter when available.
- Disable site or app access when it is no longer needed.
- Keep the camera pointed away from private documents and household activity.
- Confirm framing and background before joining a call.
- Do not assume that closing a browser tab ends access; check the camera indicator and quit the app when uncertain.
Related Articles
 How to Open the Camera on Laptop Windows 7/8/106 minutes read
 How to Open Camera on Windows 7/8/10/11 Laptop: Step-by-Step13 minutes read
 Why Can't My Laptop Open the Camera? Steps to Turn on the6 minutes read
 Open Camera Guide: Features, Uses, and Key Details6 minutes read
 How to Turn on the Camera on Windows 7,8,10 Laptops8 minutes read
 How to Open the Camera on Laptop Win 7, Win 104 minutes read
Reader Comments 0
Sign in with email or Google to join the discussion.