A comprehensive guide on how to take screenshots on PCs, laptops, and Macbooks.
Want to capture a beautiful moment on your computer screen but don't know how? Don't worry! This article will guide you on how to take screenshots quickly and easily, helping you save all those impressive images in an instant!
Table of Contents
I. How to take a screenshot on a computer without software
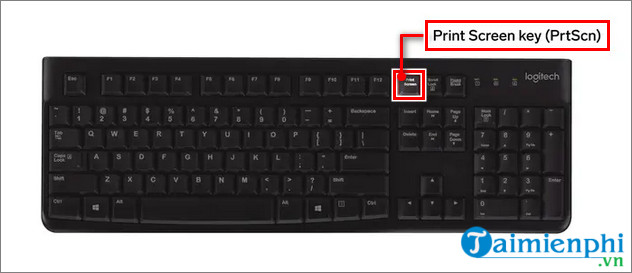
1. Use the Print Screen key.
Press the Print Screen ( Prt Scr ) button to copy the screenshot to the clipboard. To view the screenshot, press Windows + V to open the clipboard.
Press Ctrl + V to paste into image editing software, such as Paint or Word.
2. Use the Windows key + Print Screen
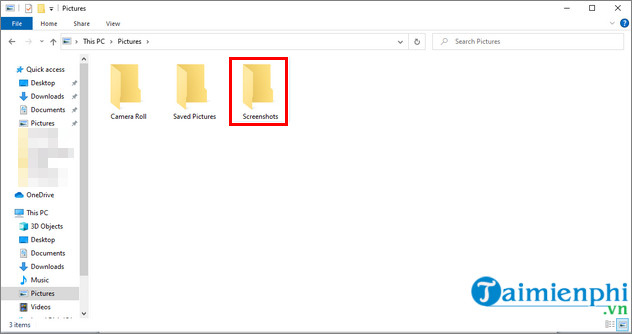
Open File Explorer by pressing Windows + E , then go to the Pictures folder -> Screenshots to find the image.
3. Use Alt + Print Screen
To capture the active window, press Alt + PrtScr . The image will be copied to the clipboard, and you will need to paste it into software like Paint to save it.
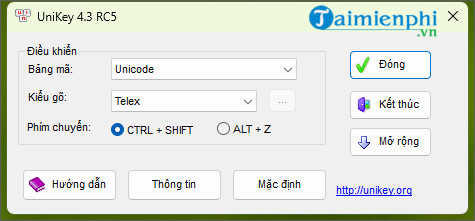
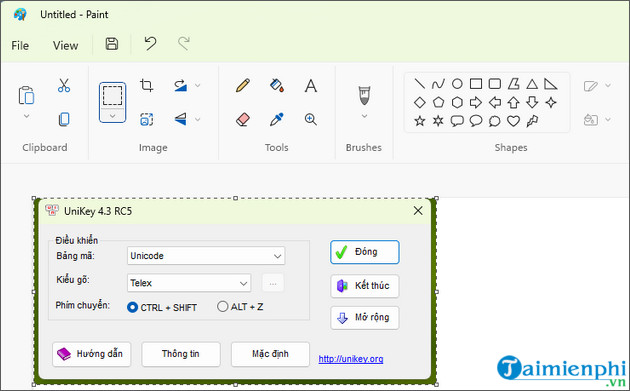
Step 1: Left-click on the Unikey software interface and then press the Alt + PrtScr key combination .
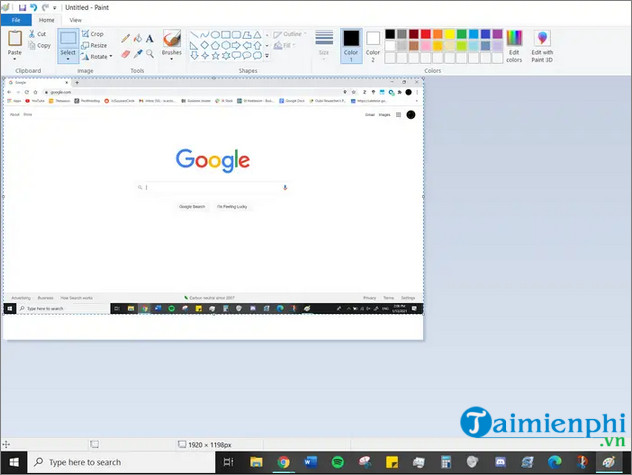
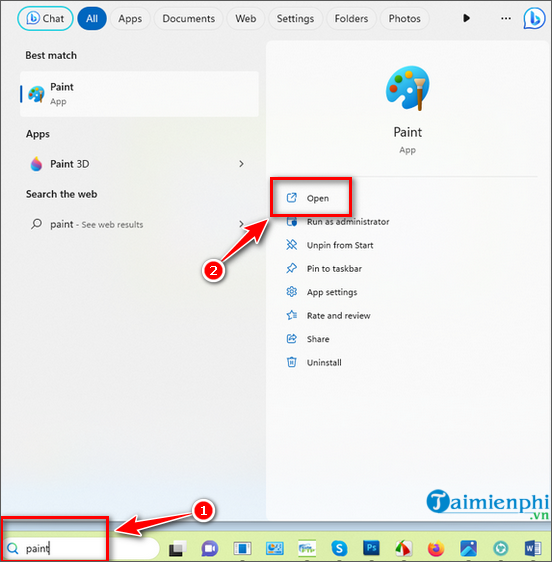
Step 2: Open the built-in Paint utility .
- If you don't see it, type "Paint" into the Search box on the Taskbar to search for it on your computer and click Open .
- Or use the Windows + R shortcut => type mspaint into Run => press OK or Enter.
Step 3: Press Ctrl + V to paste the image into Paint. Here, you can use editing tools such as inserting text, resizing, rotating, filling, etc., to edit the image.
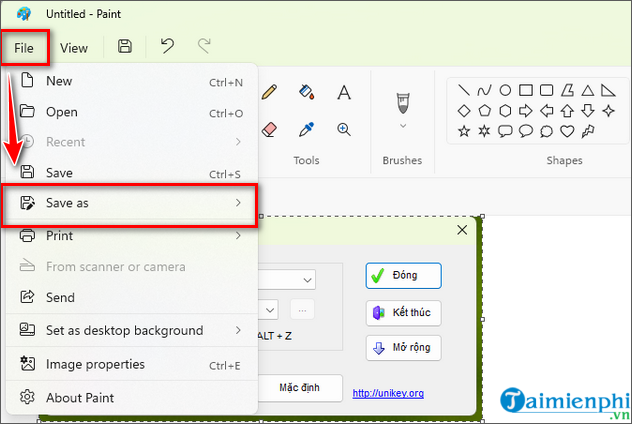
Finally, simply save the image you just captured by selecting File > Save as .
4. Using the Snip & Sketch tool on Windows
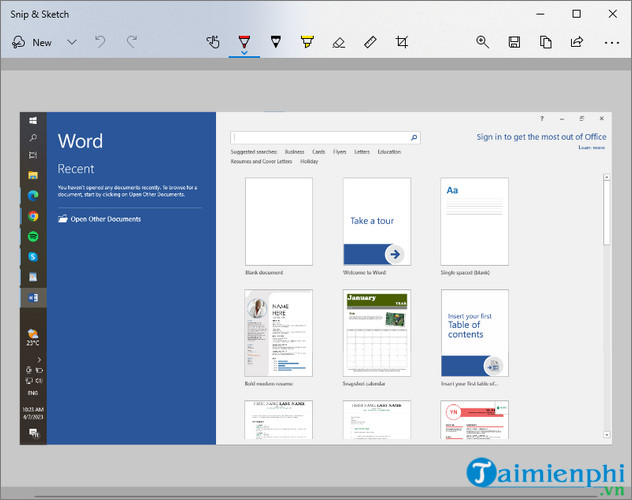
Snip & Sketch is a built-in Windows tool and is considered the best for capturing screenshots if you want to customize, annotate, or share your images.
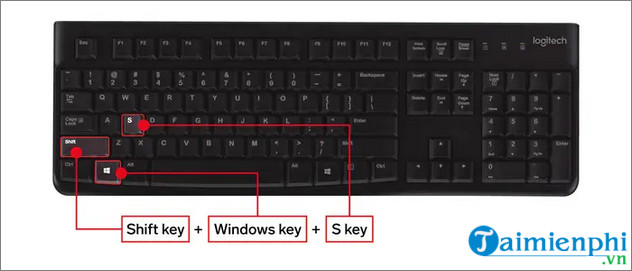
To use Snip & Sketch, press Windows + Shift + S. The screen will dim and a small menu will appear with capture options: rectangular, freeform, or full screen.
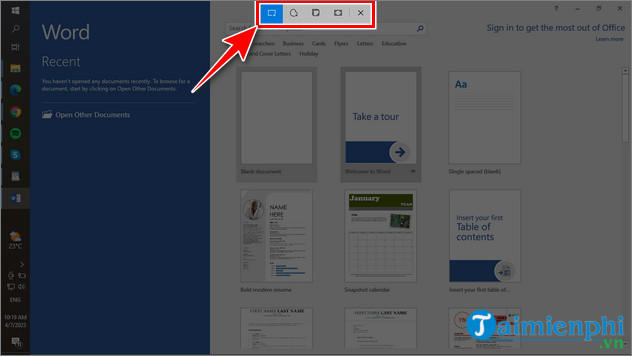
After taking a screenshot, it will be saved to the clipboard and a preview notification will appear in the bottom right corner. Click on the notification to open Snip & Sketch and edit the image using the drawing tools.
5. Use the Windows Game Bar
Game Bar is a built-in background software on Windows that you can use in most applications and games to capture screenshots and record screen videos. Here are the steps:
Step 1: Press the key combination
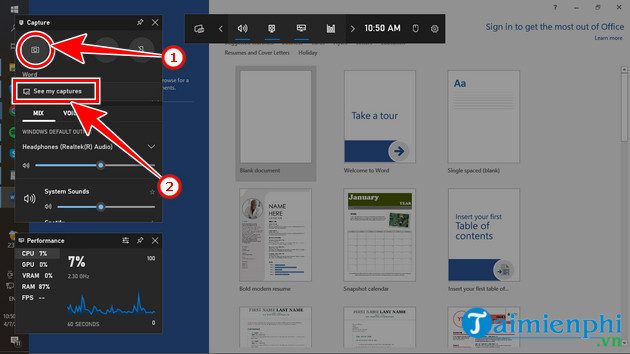
Step 2: On the Game Bar menu, click the camera icon in the upper left corner of the screen to take a screenshot.
Step 3: The Game Bar screenshots are saved in PNG format and you can find them in the Video > Captures folder . You can also view the screenshots immediately by clicking on See my captures at the bottom of the menu.
 How to take a screenshot on your computer using keyboard shortcuts.
II. How to take a screenshot on your computer using software
1. Snipping Tool
Snipping Tool is not actually third-party software; it's a built-in utility on Windows. Here's how to use it:
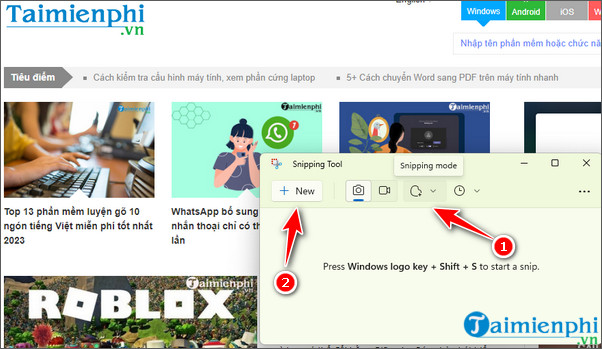
Step 1: In the search box, type "Snipping" and press Open .
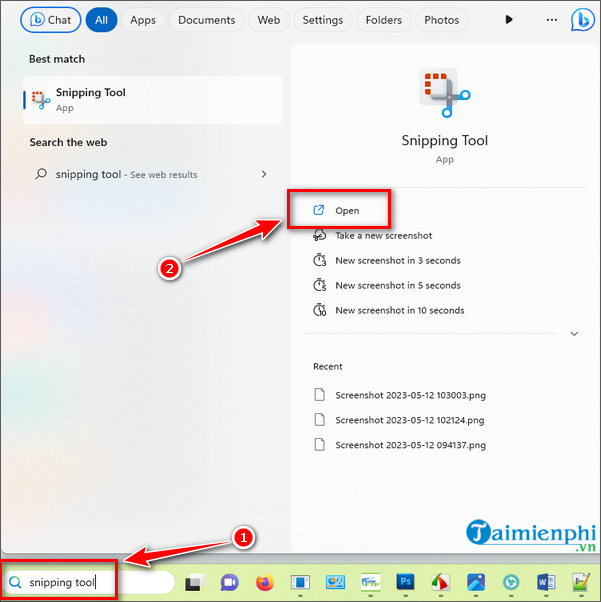
Step 2: In the Snipping Tool interface , click on Snipping mode to choose one of four basic screenshot functions:
- Free-form mode: Crop any area you select (note that this cropping method looks very bad; avoid using it if you are not skilled).
- Rectangular mode: Crop according to the selected square area.
- Window mode: Crop the image according to separate software applications or areas.
- Full-screen mode: Capture the entire screen.
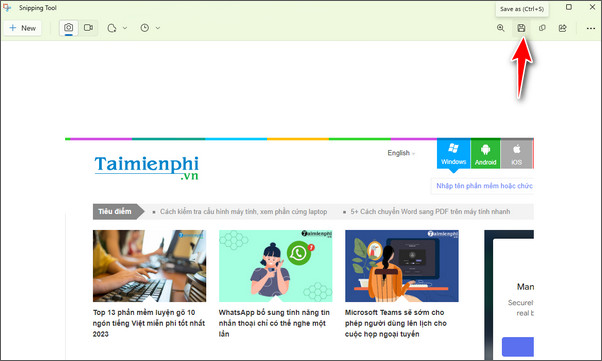
Step 3: Next, you can edit the cropped image and save the file by selecting the Save as icon or using the shortcut Ctrl + S.
The Snipping Tool also supports many keyboard shortcuts to help you save time and avoid cumbersome editing operations. This compilation of Snipping Tool shortcuts will help you maximize your experience when capturing and editing screenshots on your computer or laptop.
2. FastStone Capture
FastStone Capture is a compact yet feature-rich screen capture tool suitable for all users. The software supports quick capture, editing, and saving. Click the link below to download and try it now.

Step 1: After downloading and installing, open FastStone Capture. You will see the toolbar on the screen. Click on the icons at the top to take a screenshot of your computer screen.
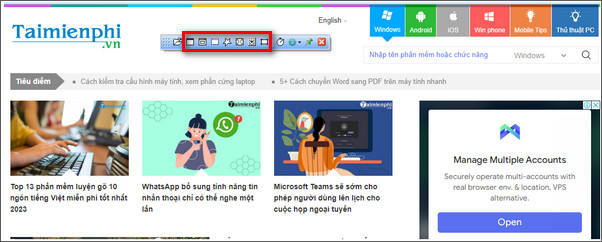
Step 2: Then, edit it with a variety of customization options, including size, adding images, shapes, numbers, or logos as you wish.
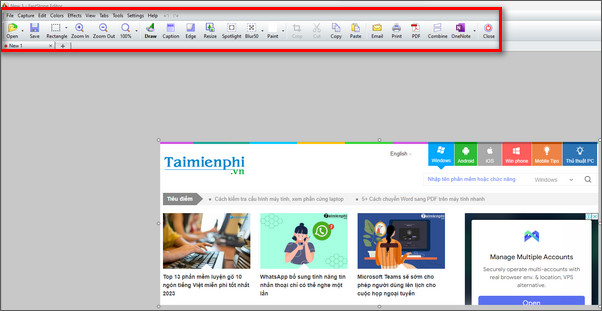
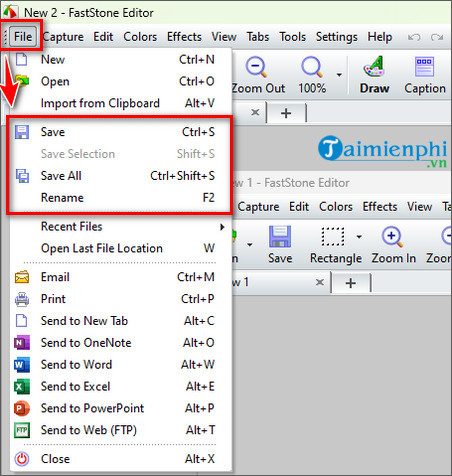
Step 3: After editing, save the screenshot by going to File and selecting Save or Save as to change the file name.
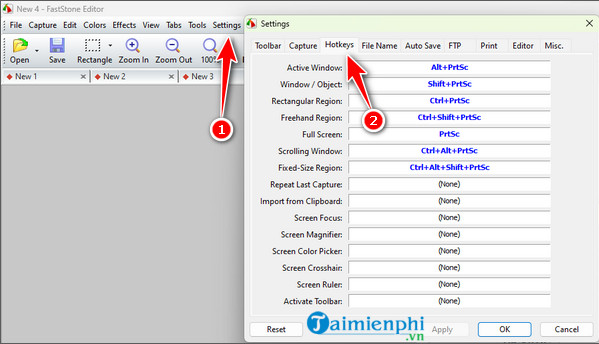
You can also customize the hotkeys in Settings.
- Active Windows: Captures the currently active software windows.
- Windows/Object: Captures the active window (customizable) .
- Rectangular Region: Captures a specific area.
- Freehand Region: Select any area to capture.
- Full Screen: Captures the entire screen.
- Scrolling Windows: Primarily for entire web pages, capturing the entire page, including parts not visible.
- Fixed Region: Captures a specific image size.
III. How to take a screenshot on a MacBook
1. How to take a screenshot on a MacBook
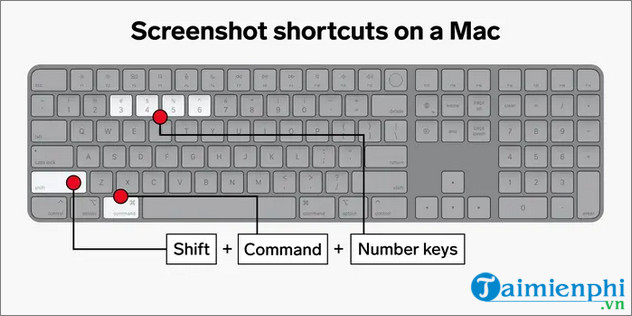
To capture the entire MacBook screen, press and hold Shift + Command + 3 .
- A small preview will appear in the bottom right corner; you can click on it to edit the image.
2. Select an area on the screen to capture.
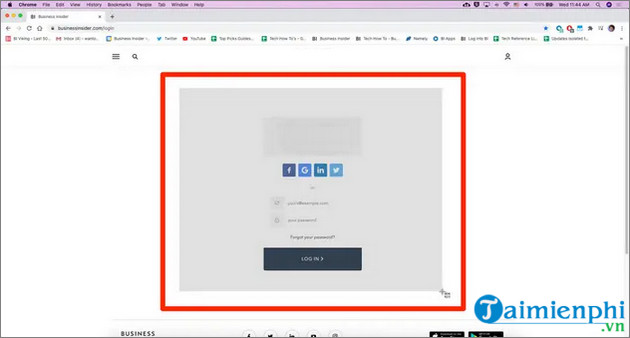
To capture a specific part or window, press Shift + Command + 4 .
- The mouse cursor will change to a crosshair.
- Drag to select the area.
- Release the mouse to take a screenshot or press Esc to cancel.
3. Use the Screenshot Menu to take a screenshot on your Mac.
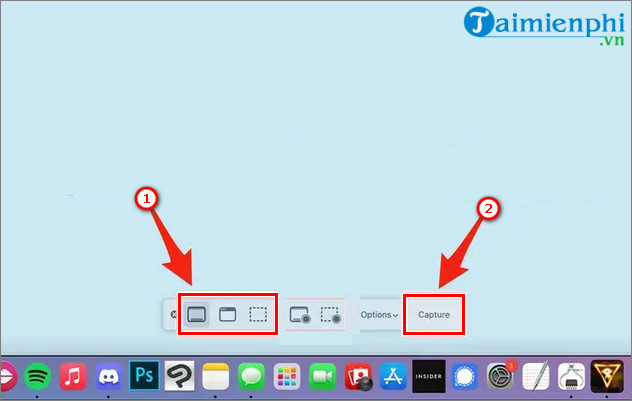
Step 1: Press the Shift + Command + 5 key combination to open the small menu at the bottom of your MacBook screen.
Step 2: The three icons on the left allow you to capture the entire screen, a specific window, or a highlighted portion. Click on one of the options on the left to choose how you want to capture the screen.
Step 3: Click the Capture button on the far right.
4. How to take a screenshot of any window on a MacBook
Step 1: Press the Shift + Command (⌘) + 4 key combination ; the mouse cursor will change to a crosshair .
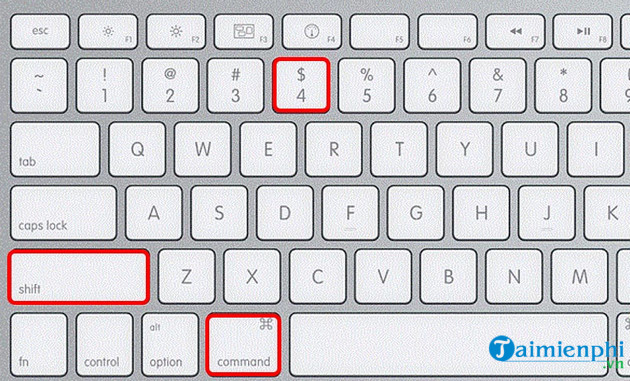
Press the Space key again , and the cursor will change to a camera icon.
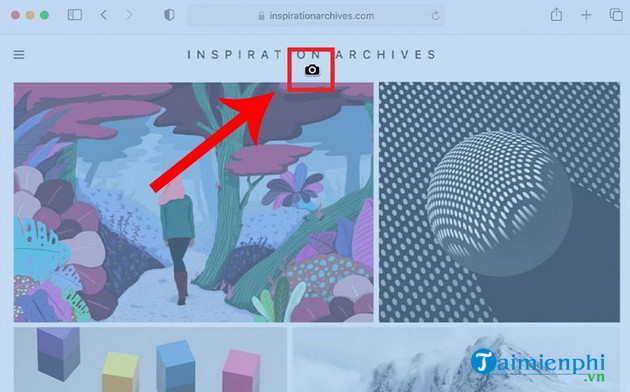
Step 2: Move this camera over the window you want to capture => Click on the camera to take a screenshot of the computer screen of that window.
5. Save screenshots on your MacBook.
By default, screenshots are saved to the home screen and automatically named Screenshot + date and time. You can change the save location by following these steps:
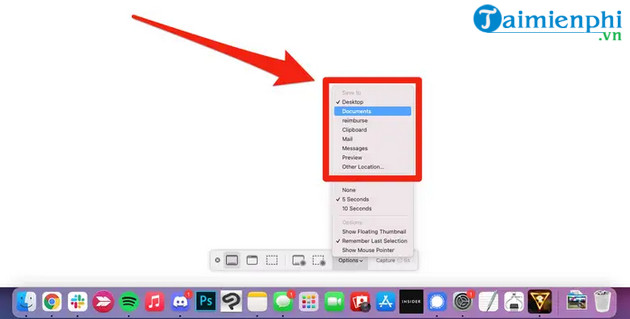
Step 1: Press Shift + Command + 5 to open the screenshot menu.
Step 2: Click on Options to open the menu and choose the folder to save your screenshots.
Step 3: In the Save to section of the menu, select one of the listed folders or click Other Location to choose the default folder where you want to save your screenshots.
Besides the methods of taking screenshots mentioned above, you can use other software such as Bandicam or Camtasia Studio. Bandicam , in particular, can record Windows 11 screen videos, allowing users to record gameplay while on their computers.
Was this article helpful?
Your feedback helps us improve.
Related Articles
 The quickest and simplest way to take a screenshot on a computer or laptop.18 minutes read
 How to take screenshots on HP Laptop computers7 minutes read
 The easiest and fastest steps to take screenshots of Windows and MacBook computers9 minutes read
 How to effectively delete applications on Windows laptops and MacBooks.14 minutes read
 How to take screenshots on Lenovo laptops6 minutes read
 How to enable Bluetooth on Windows laptops and MacBooks (detailed guide)9 minutes read
Reader Comments 0
Sign in with email or Google to join the discussion.