How to open and use MSConfig on Windows 10
The following article will show you how to access and use MSConfig on Windows 10.
How to access MSConfig
Where is MSConfig in Windows 10? Many users may wonder about this issue. In this section, TipsMake will show you how to access MSConfig through 2 ways.
Method 1: Access MSConfig through Windows Search
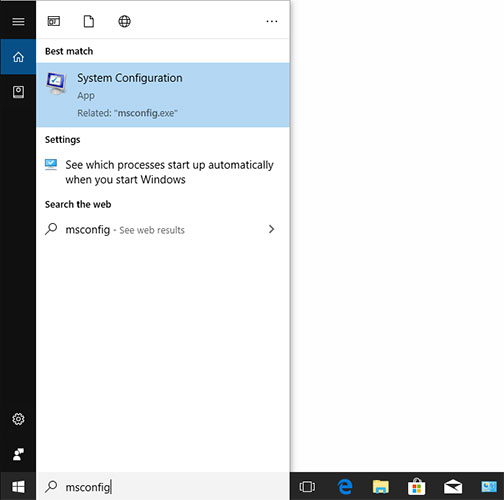
Click inside the Windows search box on the taskbar and type "msconfig" there. Then, click on the most relevant search result: System Configuration.
Method 2: Access MSConfig through the Run dialog box
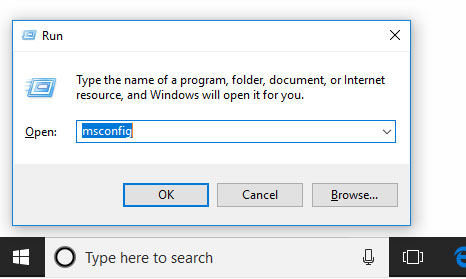
Step 1Win : Press the + keys simultaneously Rto call the Run dialog box .
Step 2 : Type "msconfig" in the Run box and then press the key Enterto open System Configuration .
How to use MSConfig
When you open System Configuration , you will see a window as shown below:
The System Configuration window includes 5 different tabs: General, Boot, Services, Startup and Tools . Other tabs and options below these tabs are helpful in managing your computer. Let's learn their functions.
1. General tab
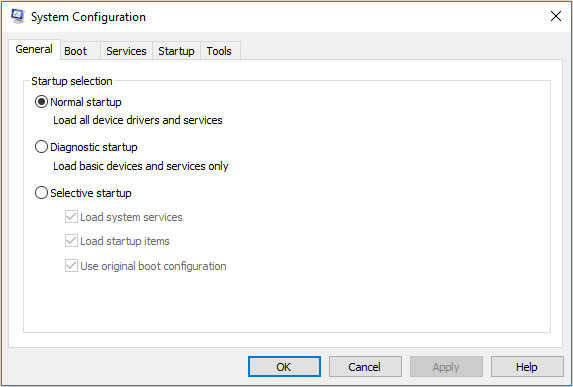
When you open System Configuration , the General tab is displayed by default. It gives you 3 Startup options :
- Normal startup : This mode will start Windows as it is with all startup items, drivers and services installed. In this mode, there are virtually no restrictions on what is added to the boot process.
- Diagnostic startup : Similar to , this mode only runs Windows services and drivers. It can help you rule out Windows files and services that are the source of possible system stability problems.
- Selective startup : This mode runs basic Windows drivers and services, allowing you to select other services and startup items you want to run, from the Services and Startup tab . This way, you can slowly determine what's causing your boot problems.
2. Boot tab
The Boot tab is displayed as shown below:
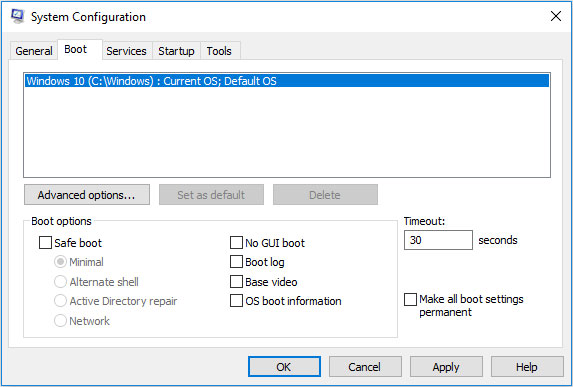
In the top area, a white box lists the operating systems installed on the current machine. In the white box, there are other important functions such as Advanced options and Boot options .
Warning : Be cautious when selecting Make All Boot Settings Permanent . Once you select this option and save it, there is no easy way to return to the previous settings. You will have to change everything manually.
- Advanced options : This feature allows you to configure things like number of processors, amount of memory, and Global Debug settings .
- Boot options : This feature allows you to enable your Windows to other boot modes by checking different options.
- Safe Boot Minimal : Boot into Windows GUI only run important services and disable network connections.
- Safe Boot Alternate Shell : Boot and run important services, disable network connections and GUI.
- Safe Boot Active Directory Repair : Boot into Windows GUI to run important services and .
- Safe Boot Network : Boot into Windows GUI to run important services and networks.
- No GUI Boot : Do not display the Windows Vista splash screen when you boot.
- Boot Log : Stores information from the boot process in a log located in %systemroot%, called ntbtlog.txt.
- Base Video : Loads the system using standard VGA drivers instead of hardware-specific drivers.
- OS Boot Information : Displays all drivers during the boot process as they load.
3. Services tab
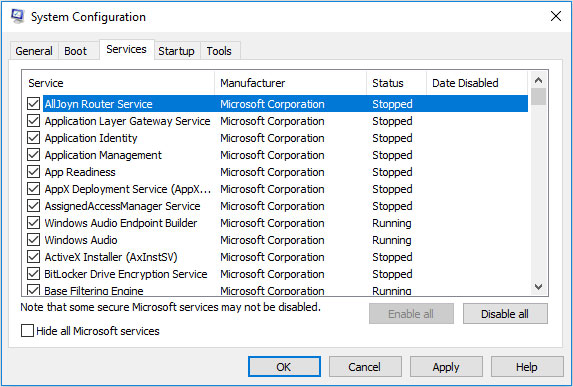
When the operating system starts, only the services listed here can run at startup. If you don't want some services to run on startup, uncheck them here.
If you believe any Windows service is causing the problem, this section allows you to uncheck it and help you find the exact culprit. However, be careful when you decide to disable a service because it can cause other problems.
4. Startup tab
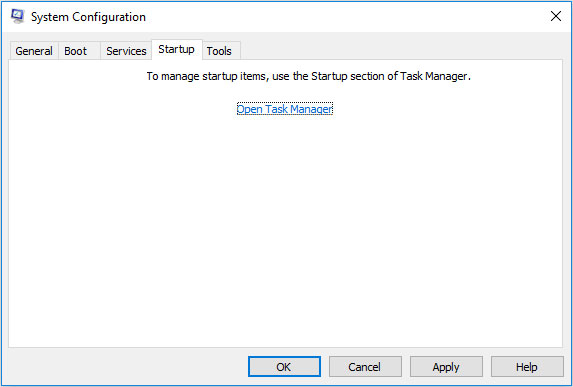
In this tab, there is only one option: Open Task Manager . As its name suggests, this option will help you open Task Manager. In Task Manager, you can monitor processes and hardware performance, disable startup items, end tasks, etc.
5. Tools tab
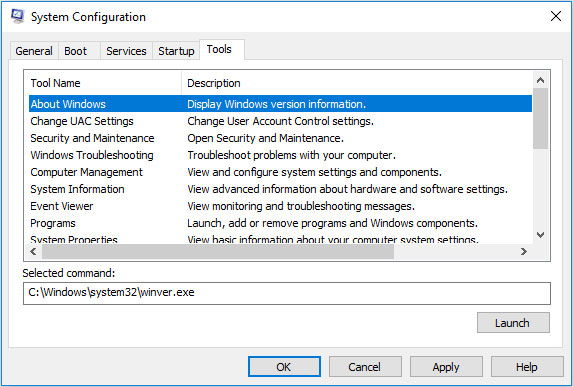
The Tools tab lists a number of Windows administrative tools. To use these tools, you just need to select the one you want and then click the Launch button.