Table of Contents
This updated guide examines Click: How to Make an Animation Using Powerpoint and Movie Maker and organizes the essential facts, background, and practical takeaways in clear American English.
Part 1of 2:
PowerPoint
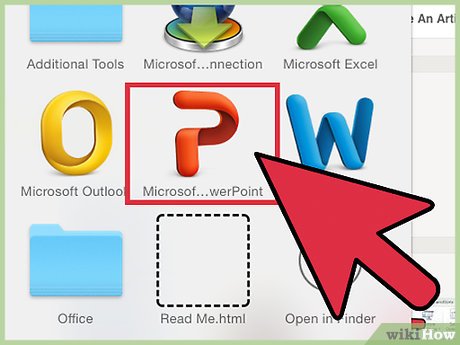 Open up PowerPoint. Any version will work.
 Right click anywhere on the slide and go down to layout, then blank.
 Click the shapes drop down box under the insert tab and click the oval. Click anywhere on the slide to create a circle. It's default color is blue, so let's change that to red. Right click on the circle and go down to Format Shape. Click on Fill > Solid Fill > Color Drop Down (Paint Can) > Red. Then you want the line color red as well. Click Line Color on the Format Shape option and go down to the paint can and make it red.
 Move the red circle to the bottom left corner of the slide.
 Right click slide 1 on the left and go down to the option "duplicate slide. " Then, click the red circle and there will be circles and squares around the circle. Hold the square on the top middle, below the green circle and move it down to shrink down a few centimeters,
 Duplicate the first slide again and move it down to be the last slide. Then, click and drag the ball up and right.
 Duplicate that slide and move it up and to the right even more.
 Repeat the previous step one final time.
 Duplicate slide 5 and move the red circle down and right. Repeat two more times and on the third time, have it touch the bottom of the slide and shrink it like in slide 2.
 Duplicate slide 8 and make the circle back to its normal shape.
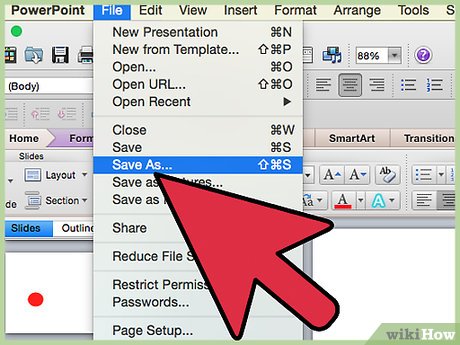 Click File > Save As. Give it a name. Click the drop down button and save as PNG to your desktop. Then every slide; then click ok.
Part 2of 2:
Movie Maker
 Open up Movie Maker
 Click the "Click here to browse for videos and photos" and open the png file and Ctrl+A, then Open.
 Make sure all of the slides are selected. Click the yellow video tools tab. From there, change the duration to 0.2 seconds.
 Play the movie for a preview. Then click File > Save Project. Give it a name.
FAQ
What is Click: How to Make an Animation Using Powerpoint and Movie Maker about?
It provides a structured overview of click, explains the main context, and highlights practical takeaways for readers.
Why does this topic matter?
Understanding the main concepts helps readers evaluate the issue, avoid common mistakes, and make better-informed decisions.
How should readers use this information?
Use the guidance as a practical starting point, confirm details that may have changed, and follow current product, safety, or security recommendations.
Related Articles
 Click: How to Make a Slideshow with Windows Movie Maker6 minutes read
 How to Rotate the Video in Reverse, Tilt with Windows Movie Maker6 minutes read
 Click: How to Use Windows Movie Maker14 minutes read
 How to Make a Scary Movie on Windows Movie Maker3 minutes read
 Add: How to Make a Video in Windows Movie Maker8 minutes read
 How to Create an Animation on Android Using DU GIF Maker9 minutes read
Reader Comments 0
Sign in with email or Google to join the discussion.