How to Make a Slideshow with Windows Movie Maker
You can make a slideshow with Windows' free movie editor, Movie Maker. While the old Windows Movie Maker from earlier operating systems is no longer supported, Easy Movie Maker has the same functionality. Download the Movie Maker app if....
Part 1 of 3:
Preparing Your Slideshow
-
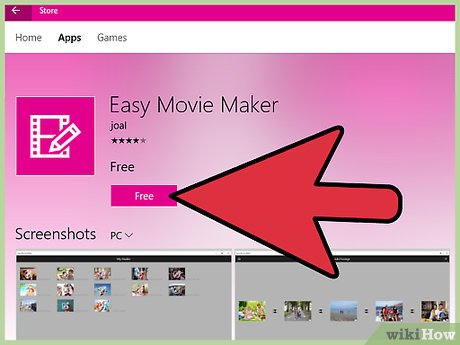 Download the Movie Maker app if you don't have it already. It's free in the Windows 10 app store; you can find it listed under the name "Easy Movie Maker".[1]
- While you can technically download the classic "Windows Movie Maker", Microsoft no longer supports it.[2]
-
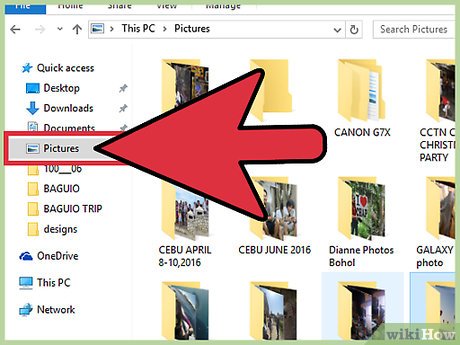 Locate any photos you wish to put in your slideshow. Your dedicated "Pictures" folder is a good place to start if you don't have any ideas.
 -
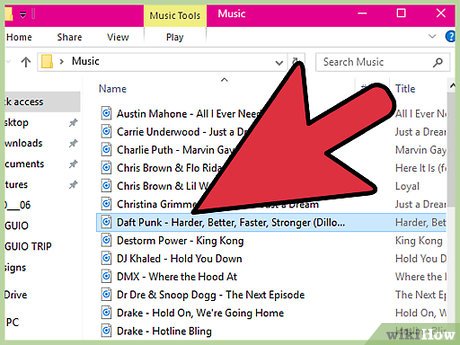 Locate any music you wish to put in your slideshow. If you don't want to move the actual music file (e.g., MP3), simply copy and paste the file.
 -
 Right-click on your desktop, then select "New" and click "Folder". This will create a new, empty folder on your desktop.
 -
 Place all of your media for the slideshow in your desktop folder. This will make retrieving these files whilst creating your slideshow a quick and efficient process. You are now ready to make your slideshow!
Part 2 of 3:
Creating Your Slideshow
-
 Open the "Easy Movie Maker" app.
 -
 Click the "New Project" option. This should take you to a photo selection screen.
 -
 Select your photos, then click "Open". Easy Movie Maker will import your photos.
- If you forget to add a specific photo, you can add it into the slide show by clicking the plus sign in the bottom right-hand corner of Movie Maker.
-
 Click the two arrows pointing up and down at the bottom of Movie Maker's screen. This will allow you to reorder your photos as you see fit.
 -
 Click and drag photos to reorder them.
 -
 Click the checkmark at the bottom of the screen when you're done reordering. This will save your progress.
 -
 Click a photo you wish to edit once to select it, then again to open it. You can change settings such as lighting, color, the photo's default animation, and the display duration from here.
- You can repeat this process for every photo in the slideshow.
-
 Click the checkmark in the upper right-hand corner of the screen when you're done editing.
- You can also click the X in the upper left-hand corner to cancel your edits.
-
 Click the black and white box between your first two photos to edit the transition. This will determine which effect, if any, displays while transferring from your first photo to your second.
- You can repeat this process for every transition in the slide show.
-
 Click the right-facing arrow in the upper right-hand corner of the screen when you're satisfied with your edits. This will take you to the text screen.
 -
 Double-click the box that says "Double-Tap". This will allow you to input text.
 -
 Click outside of the box once you're done entering text. This will cement your text to the photo.
- To add more text to the picture, click the plus sign in the lower right-hand corner of the screen.
-
 Click and drag the green slider at the bottom of the screen. This will adjust the amount of time your text remains on the screen.
 -
 Click "Save Video" once you've finished adding text to your slides. This is in the upper right-hand corner of your screen.
- Windows will prompt you to choose a save location. Make sure you save somewhere easily accessible.
Part 3 of 3:
Adding Music to Your Slideshow
-
 Return to the Home menu of the Easy Movie Maker app.
- If you closed out of Movie Maker, simply re-open the app.
-
 Click the "Add Music" option. This will prompt you to select a video to add music to.
 -
 Select your slideshow, then click "OK". The slideshow should be exactly where you saved it.
 -
 Click the plus sign at the bottom of your screen. This will allow you to add music to your slide show.
 -
 Select your music. You should be able to use most file types (e.g., MP3, WAV, WMV).
 -
 Click "Open" when you've selected your music. This will import it into Movie Maker.[3]
 -
 Click and drag the red slider at the bottom of the screen to adjust the music's length. Your music will automatically adjust itself to be the length of your slide show.
 -
 Click "Save Video" in the upper right-hand corner of the screen when you're done. Your slideshow is now complete!