Table of Contents
To stream to Facebook from a Windows PC, install the current XSplit Broadcaster, build a scene with the sources you need, then connect its Facebook Live output. If direct authorization fails, use Facebook Live Producer's server URL and stream key with XSplit's Custom RTMP output. Keep the key private and confirm the preview in Live Producer before publishing.
Check the requirements
- XSplit Broadcaster currently supports 64-bit Windows 10 and Windows 11.
- Your Facebook account must be eligible for Live. Meta currently says the account must be at least 60 days old, and a Page or professional-mode profile must have at least 100 followers.
- To go live from a Page, you need the required Page or task access.
- Your PC must be able to capture and encode the chosen resolution and frame rate while running the content you intend to show.
- Your connection needs stable upload capacity above the configured video and audio bitrate.
Confirm the latest conditions in Meta's streaming-software help page and XSplit's system requirements.
Install XSplit Broadcaster
- Download XSplit Broadcaster from XSplit's official website.
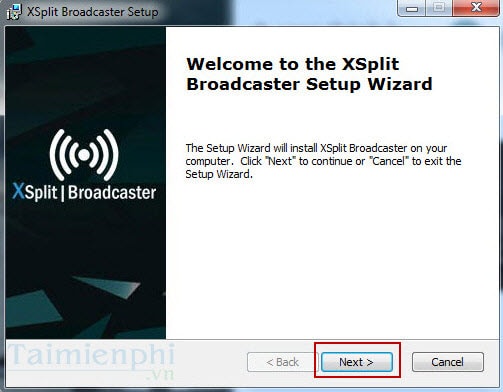
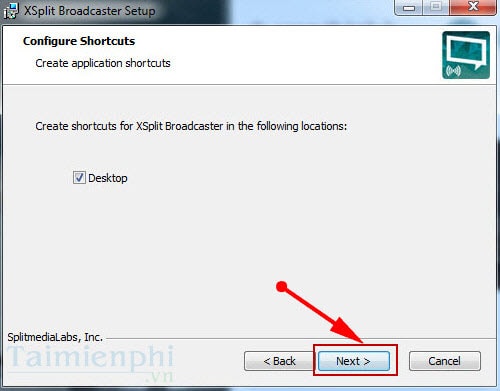
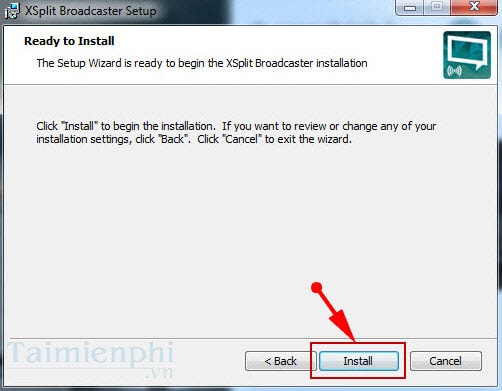
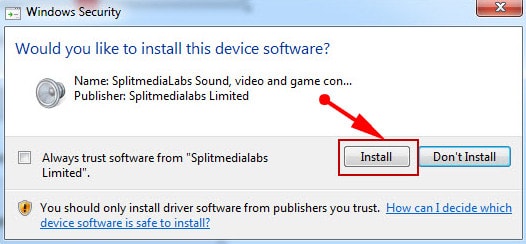
- Run the installer and review the publisher information in the Windows prompt.
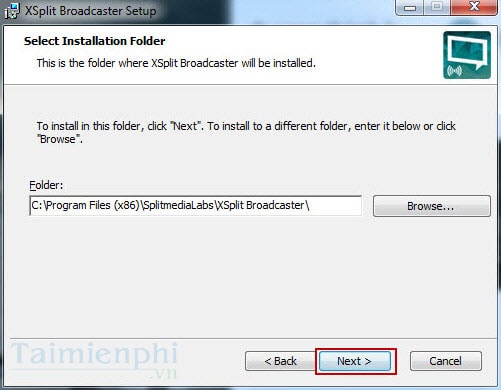
- Keep the default location unless you have a specific reason to change it.
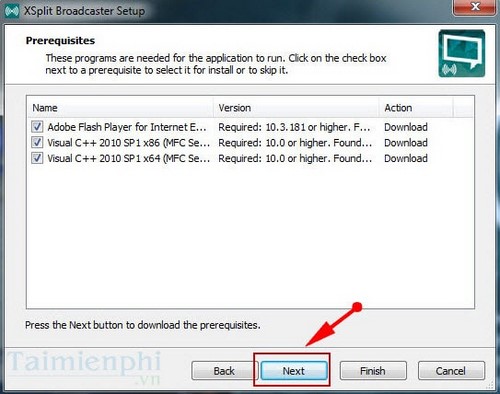
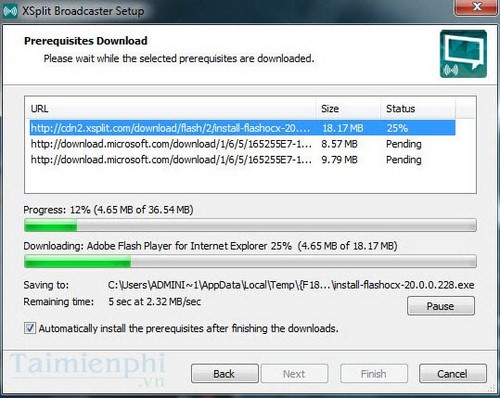
- Allow the official installer to add required Microsoft components.
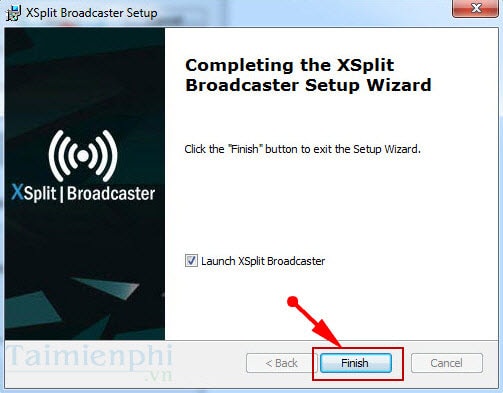
- Launch XSplit and sign in or create an XSplit account.
- Update the application and graphics driver before configuring an important stream.
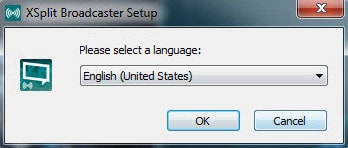
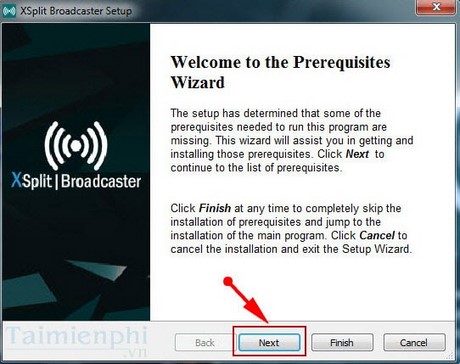
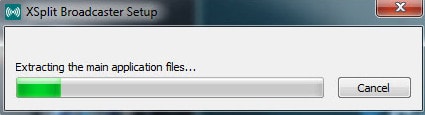
The screenshots below show a much older installer. Current labels and screens differ, so use them only to recognize the general sequence.
Build the scene before connecting Facebook
- Open XSplit Broadcaster and choose a blank layout or the Layout Wizard.
- Select Add Source.
- Add only what the audience should see: a game, application window, monitor region, camera, capture card, image, browser source, or text.
- Resize and crop each source on the stage. Check for private notifications, email, passwords, and browser tabs.
- Open the audio controls and select the intended microphone and system-audio devices.
- Set the canvas resolution and frame rate, then make a local test recording.
The old login and onboarding screens below are not required in the same form today. Use XSplit's current sign-in flow and do not enter Facebook credentials into a non-Facebook window.
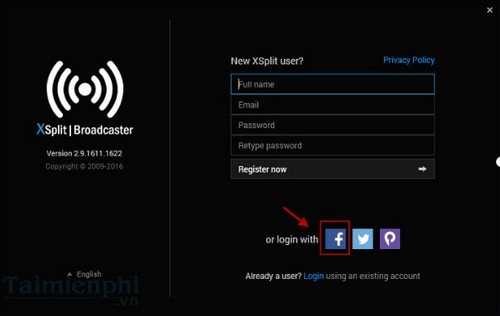
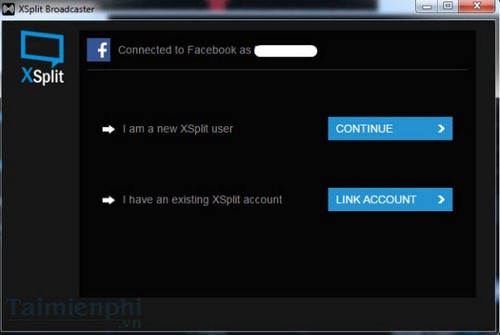
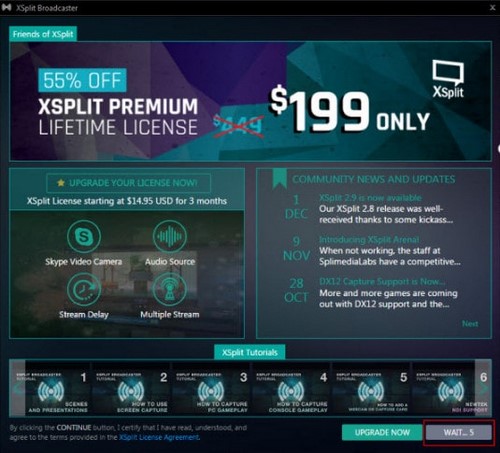
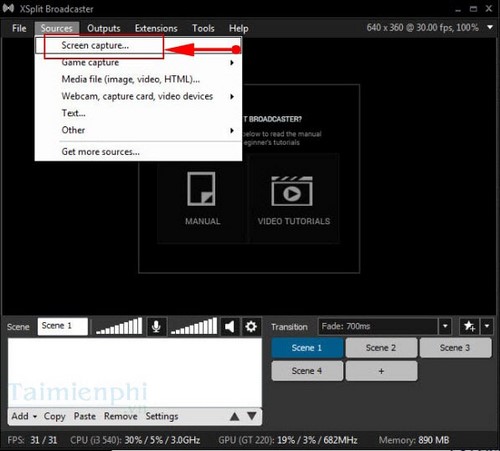
The legacy screen-capture menu below corresponds to current desktop or app capture sources.
Method 1: connect XSplit directly to Facebook Live
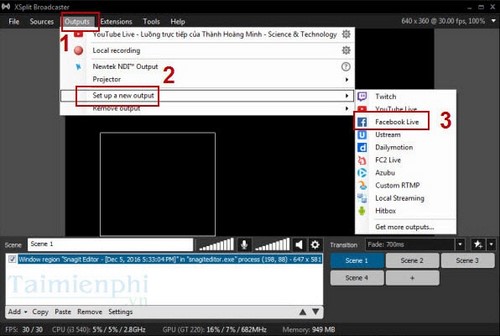
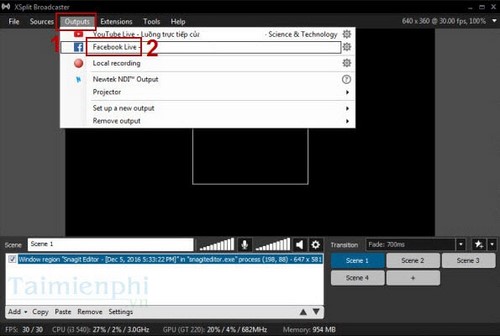
- In XSplit, open the streaming output or plugin setup and choose Facebook Live.
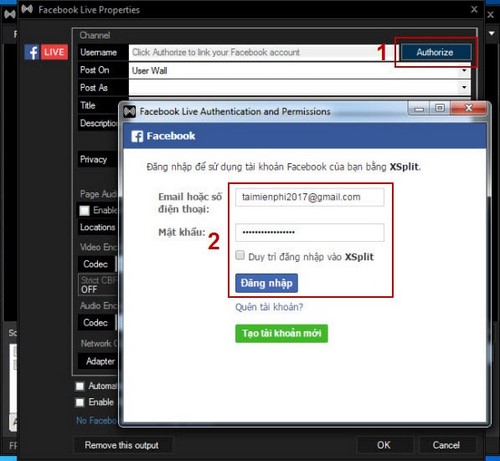
- Authorize the correct Facebook account in the Facebook-hosted window.
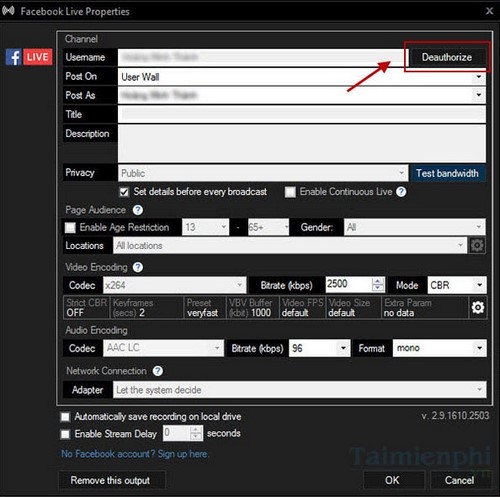
- Choose the destination offered by the current integration, such as an eligible profile or Page.
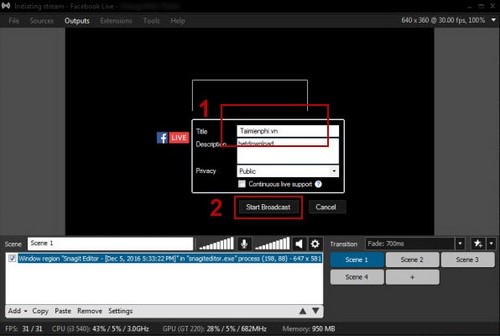
- Set the title, description, privacy or audience, and other available post options.
- Review encoder, resolution, frame rate, and bitrate settings.
- Start the output in XSplit.
- Check Facebook Live Producer or the Facebook preview. Add any remaining post details and select Facebook's final Go Live control if the workflow requires it.
XSplit's current Facebook Live guide covers direct sign-in, scene setup, Facebook output, starting the stream, and scheduling.
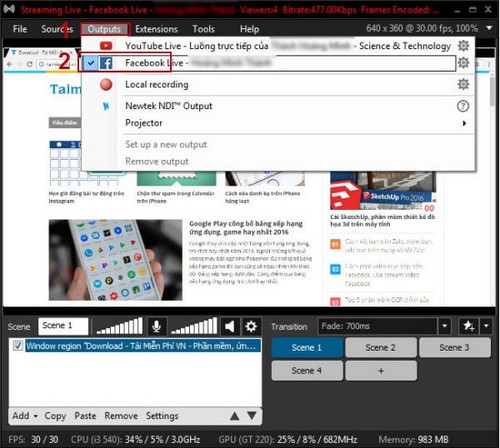
The following screenshots show the former Outputs > Facebook Live menu and authorization sequence. Current XSplit releases use updated Stream and Outputs controls.
Method 2: use Facebook Live Producer and Custom RTMP
Use this method if the direct Facebook plugin cannot authorize or if you prefer to manage the post in Live Producer.
- Open Facebook Live Producer while signed in to the correct account.
- Choose the destination and select Streaming software as the video source.
- Copy the Server URL and Stream key. Use the secure RTMPS URL when Facebook provides it.
- In XSplit, choose Broadcast/Outputs > Set up a new output > Custom RTMP.
- Enter a descriptive output name, paste the Server URL into the RTMP URL field, and paste the key into the Stream Key field.
- Save the output and start it from XSplit.
- Wait for the preview to appear in Live Producer, then add the post title, description, audience, category, and other available settings.
- Check video and audio, then select Go Live in Facebook.
Never show or send the stream key. Anyone with it may be able to broadcast to the destination. A standard key generally applies to one live setup; if you enable a persistent key, protect it like a password and remember that Facebook permits only one live video at a time with it.
Monitor and end the broadcast
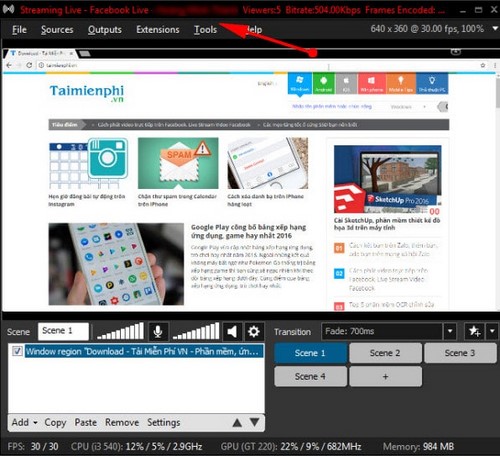
XSplit should show an active streaming state similar to the older status view below.
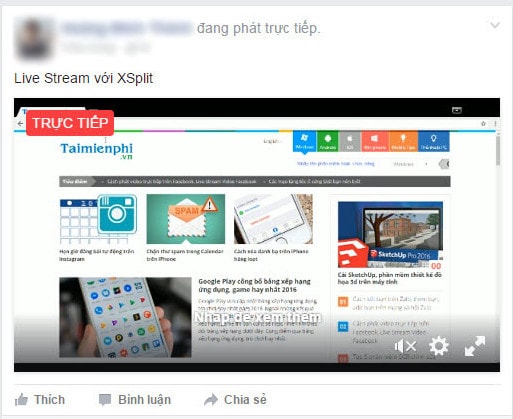
Open the public Facebook post on another device with its audio muted to confirm that the intended audience can see it.
To finish, select End Live Video in Facebook Live Producer, then stop or deselect the Facebook output in XSplit. Ending both sides prevents an encoder from continuing to send data after the public post closes.
Preflight checklist
- The correct profile, Page, group, or event is selected.
- The audience and privacy setting are intentional.
- Title and description match the broadcast.
- Video framing and text are readable on a phone.
- Microphone is clear and not clipping; system audio is balanced.
- Private notifications and unused capture sources are hidden.
- Music, video, sports, and game content can legally be broadcast.
- A moderator and chat rules are ready when appropriate.
- A local recording is enabled only if you have enough disk space.
- You know how to switch to a safe scene or stop immediately.
Troubleshooting
- No preview in Facebook: confirm the server URL and key, then restart the XSplit output. Generate a new key if the old one expired.
- Authorization error: update XSplit, remove the old Facebook authorization, and try the official direct flow again; otherwise use Custom RTMP.
- Black source: choose the correct application or monitor source, update the graphics driver, and check Windows graphics/GPU assignments.
- Encoding lag: reduce output resolution, frame rate, browser sources, filters, or game load, or select a supported hardware encoder.
- Dropped network frames: lower bitrate, stop other uploads, use Ethernet, and test a stable connection.
- No microphone: choose the device explicitly, review Windows microphone privacy settings, and watch the meter before going live.
- Facebook Go Live is unavailable: check account age, follower, Page-access, policy, and region requirements rather than repeatedly reconnecting the software.
For a free open-source alternative, follow our guide to install OBS Studio. To compare more production tools, see Facebook Live streaming software.
Related Articles
 How to Live Stream Facebook Using the Software Xsplit Broadcaster6 minutes read
 How to Fix Common Errors When Live Streaming Facebook with OBS5 minutes read
 This Is How Live Stream Facebook Video on PC, Fanpage16 minutes read
 Instructions for Setting up Live Stream Feature Facebook Videos on8 minutes read
 How to Live Stream on Facebook, Broadcast Live Video on Facebook15 minutes read
 How to Stream Bluestacks with Facebook Live8 minutes read
Reader Comments 0
Sign in with email or Google to join the discussion.