Table of Contents
Download OBS Studio only from the official OBS Project site, choose the installer for your operating system, and run the first-launch Auto-Configuration Wizard. You can then add a display, window, game, camera, or audio source and make a short recording to confirm that video and sound work.

OBS Studio is the current name of Open Broadcaster Software. It is free and open source, and it supports local recording as well as livestreaming. It is not limited to games or esports.
Check compatibility before installing
- Windows: current OBS releases support modern 64-bit Windows versions; the official download page currently lists Windows 10 and Windows 11.
- macOS: select the build for Apple Silicon or Intel. Current OS requirements can change, so check the version shown on the download page.
- Linux: use the distribution method recommended by OBS. Flathub is the recommended route for many non-Ubuntu distributions.
Meeting the operating-system requirement does not guarantee that a computer can encode every resolution and frame rate. Hardware, graphics drivers, chosen encoder, scene complexity, and simultaneous recording or streaming all affect performance.
Install OBS Studio on Windows
- Open the official OBS Studio download page and choose Windows.
- Run the downloaded OBS Studio installer. If Windows SmartScreen appears, verify that the file came from
obsproject.comand that the publisher information is expected before continuing. - Close an older OBS instance if the installer asks you to do so.
- Accept the license terms, confirm the install location, and select Install.
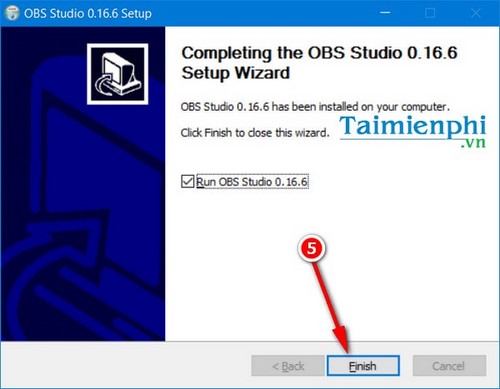
- Select Finish and launch OBS Studio.
The installer normally includes the components OBS needs. Do not download DirectX or a codec bundle from a random prompt or third-party site. If the current official installer reports a missing Windows component, follow the OBS error message or its knowledge-base link.
You can also use Microsoft's package manager from a terminal:
winget install -e --id OBSProject.OBSStudioThe official Windows installation guide documents this command and alternative package managers.
Legacy Windows installer screenshots
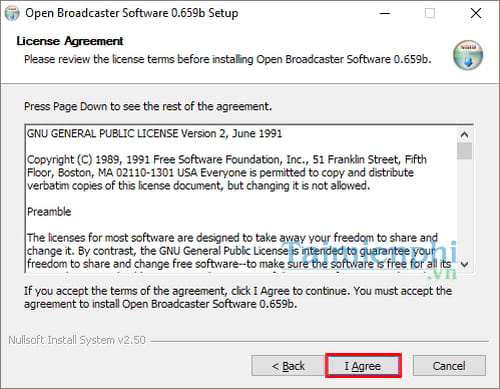
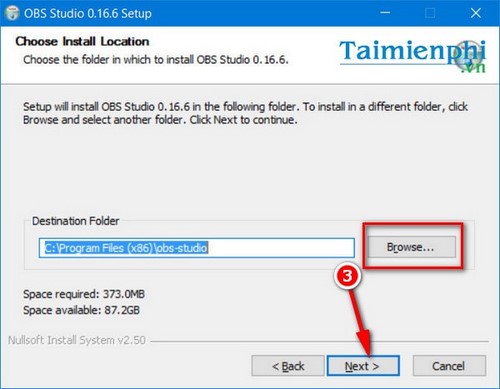
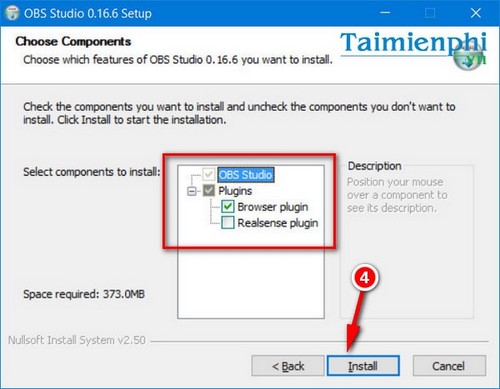
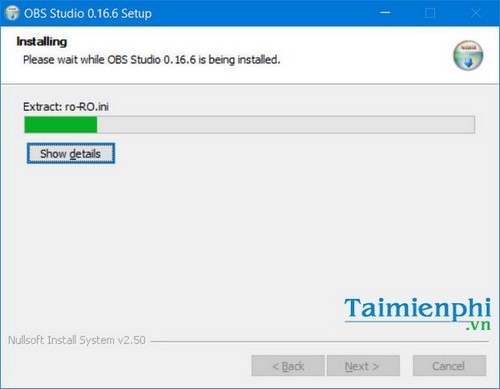
The following screenshots show an older Open Broadcaster installer. Its appearance, component choices, and DirectX prompt do not match every current OBS Studio release, but the general installer sequence is recognizable.
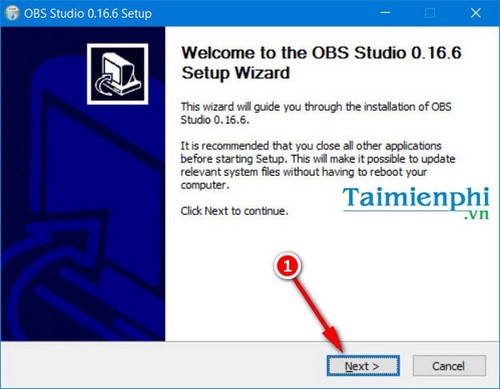
Accept the license only after confirming the installer source.
Choose the installation folder. Most users should keep the default location.
Review optional components. Do not assume a plugin shown in an old installer is included or needed today.
Wait for the files to finish installing.
Finish and launch the application.
Install OBS Studio on macOS
- On the official download page, choose macOS and select the correct Intel or Apple Silicon build.
- Open the downloaded
.dmgfile. - Drag OBS into the Applications folder.
- Open OBS from Applications.
- Grant only the macOS permissions needed for your workflow, such as screen recording, microphone, or camera access. Restart OBS if macOS requests it.
Homebrew users can install the official cask with brew install --cask obs. The OBS macOS guide documents both methods.
Install OBS Studio on Linux
Use the method recommended for your distribution rather than downloading an unknown binary. For many non-Ubuntu systems, install OBS Studio from Flathub. Ubuntu users should follow the current commands on the OBS Linux installation page, because repository instructions can change.
Linux capture sources and hardware encoders vary by display server, graphics driver, and package format. If a source or encoder is missing, check the OBS Linux documentation and your distribution's package permissions before adding unofficial repositories.
Run the first-launch setup
- When the Auto-Configuration Wizard opens, choose whether your priority is streaming, recording, or using the virtual camera.
- Let OBS test appropriate canvas, output, frame-rate, and encoder settings.
- Review the result and apply it. You can change the values later under Settings.
- Create or select a scene.
- In the Sources dock, select + and add the item you want to capture, such as Display Capture, Window Capture, Game Capture, Video Capture Device, or Audio Input Capture.
- Watch the Audio Mixer meters. Select the correct microphone and desktop-audio devices if the meters do not respond.
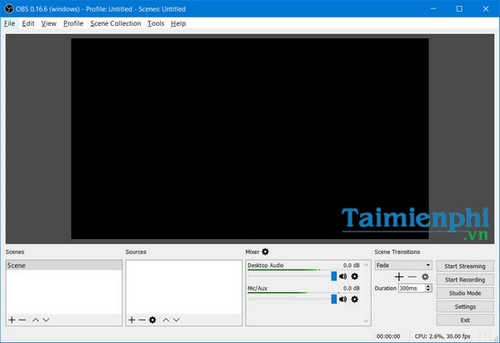
A successful installation opens an interface similar to the one below, although the current layout and theme may differ.
Make a test recording
- Open Settings > Output and confirm the recording path and format.
- Open Settings > Video and confirm canvas and output resolution.
- Select Start Recording, move through the content you intend to capture, and speak into the microphone.
- Record for at least a minute, then select Stop Recording.
- Open the saved file and check image framing, motion, microphone level, desktop audio, synchronization, and dropped frames.
Do this before a live broadcast. OBS's own quick-start documentation recommends a test rather than going directly into the first stream.
If OBS will not install or open
- Confirm that the operating system is supported and fully updated.
- Download a fresh installer from the official site.
- Update the graphics driver from the GPU or computer manufacturer.
- Temporarily remove an incompatible third-party OBS plugin if the problem began after an update.
- On macOS, review Privacy & Security permissions.
- On Linux, check Flatpak permissions or distribution-specific dependencies.
- Preserve your scene collections and profiles before a major reinstall.
For recording steps after installation, see how to record your computer screen with OBS. If you are comparing applications, read Streamlabs Desktop vs OBS Studio.
Related Articles
 How to Install the Open Broadcaster Screen Recording Software4 minutes read
 Record Computer Screen with OBS Studio, How to Record Laptop6 minutes read
 How to Record Screen Video on Windows 7: Complete Guide9 minutes read
 Download OBS - Open Broadcaster Software 26.15 minutes read
 These Quality Windows Screen Recording Software14 minutes read
 Click: How to Record Screen in Microsoft Windows 77 minutes read
Reader Comments 0
Sign in with email or Google to join the discussion.