Table of Contents
You can go live on Facebook from the mobile app, a computer webcam, or streaming software such as OBS Studio. Mobile is fastest for a simple camera broadcast; Live Producer plus OBS is better for gameplay, multiple cameras, screen sharing, prerecorded segments, and branded layouts.
Before setting up equipment, confirm that the account can use Live. Facebook currently requires an account at least 60 days old, and a Page or professional-mode profile must have at least 100 followers. Broadcasting from a Page also requires the appropriate Facebook or task access. Meta lists the current conditions in its Facebook Live eligibility guide.
Choose the right Facebook Live method
| Method | Best for | Main limitation |
|---|---|---|
| Facebook mobile app | Events, announcements, interviews, and informal camera streams | Fewer production controls and a less stable network than wired desktop streaming |
| Live Producer with webcam | A single presenter using a computer | Limited scene and source control |
| Live Producer with OBS | Games, tutorials, multiple sources, overlays, and capture cards | Requires setup, testing, and enough computer/network capacity |
Facebook can publish a live video to a personal profile, Page, group, or event when your account and destination are eligible. A group administrator may restrict who can post or go live, and Page roles determine who can broadcast as the Page.
Go live from the Facebook app on Android or iPhone
- Open the current Facebook app and go to the profile, Page, group, or event where you want the broadcast to appear.
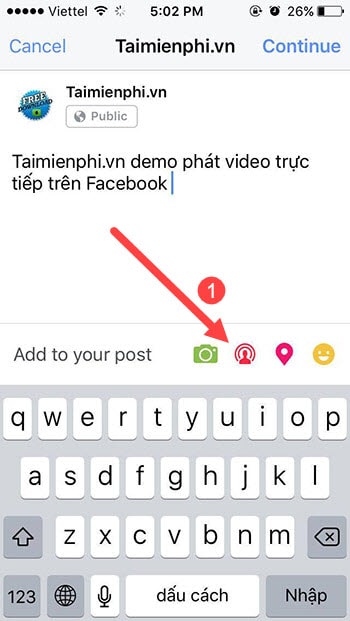
- Tap Live video. It may appear under the post composer or a More menu.
- Allow camera and microphone access. Location and broad photo-library access are optional unless you use a related feature.
- Choose the audience carefully. For a first test, use a limited audience if Facebook offers one for that destination.
- Add a clear description, then check the camera direction, microphone, orientation, lighting, and background.
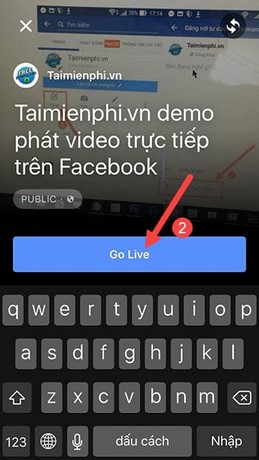
- Tap Go Live. Wait for the on-screen confirmation before speaking.
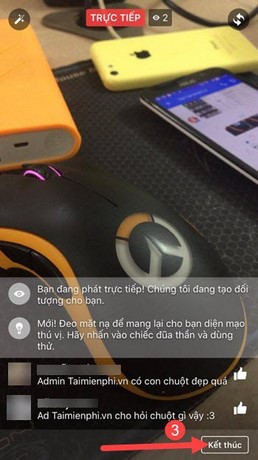
- When finished, tap Finish or End and confirm.
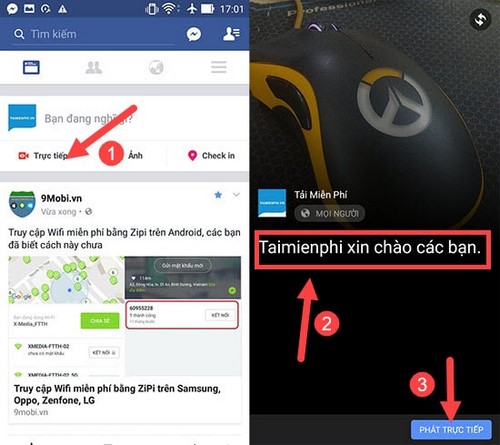
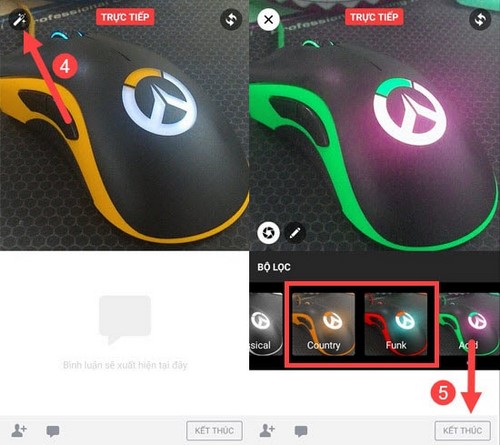
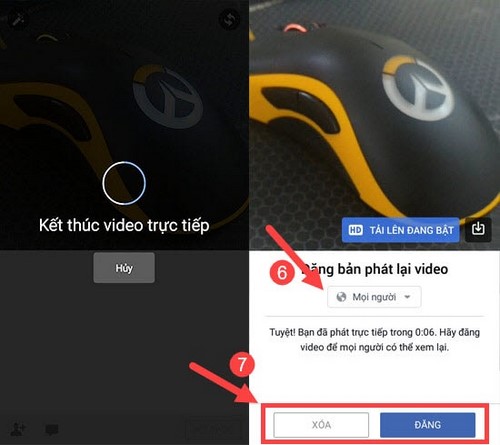
The iPhone workflow is the same in principle, although the icons and labels have changed since these screenshots were captured.
Use headphones when a remote guest or nearby speaker could feed sound back into the phone. Turn on Do Not Disturb, connect power for a long broadcast, and keep the phone ventilated. A tripod is safer than holding the device for an extended session.
Go live with a computer webcam
- Open Facebook Live Producer in a supported desktop browser.
- Select the destination and identity that will publish the video.
- Choose Webcam as the video source.
- Allow browser access to the camera and microphone, then select the correct devices.
- Add a title or description and set the audience and other available options.
- Review the preview, close private windows and notifications, and click Go Live.
A browser webcam stream is enough for one presenter. Use OBS when you need to combine the webcam with gameplay, slides, a capture card, or separate audio sources.
Prepare OBS Studio sources
Install OBS from its official source and run the Auto-Configuration Wizard for streaming. TipsMake's OBS Studio installation guide covers the initial setup.
Add a webcam
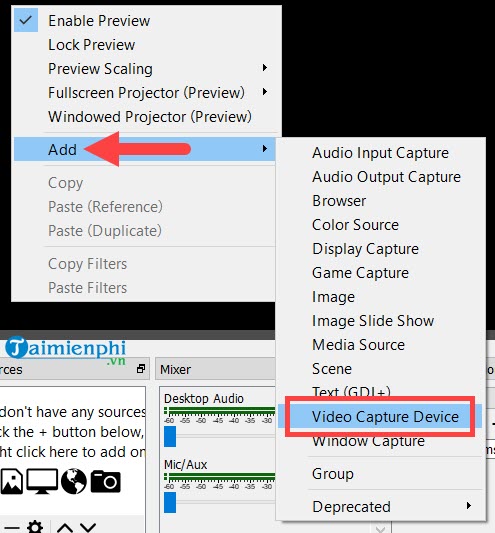
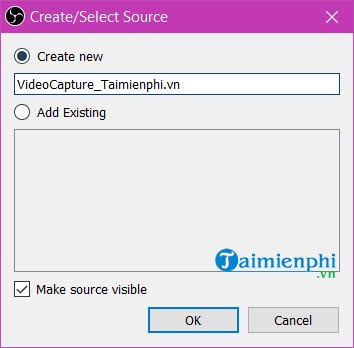
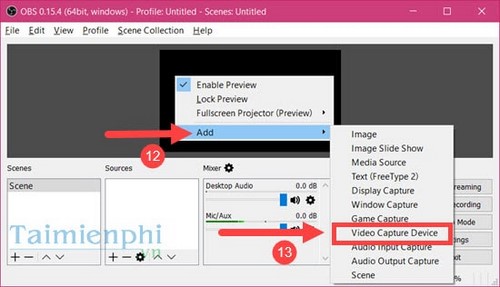
- In the Sources dock, click + and choose Video Capture Device.
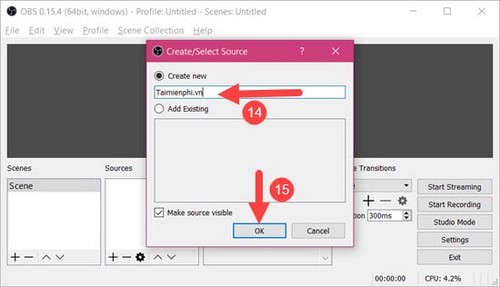
- Create a descriptive source name, such as “Desk webcam.”
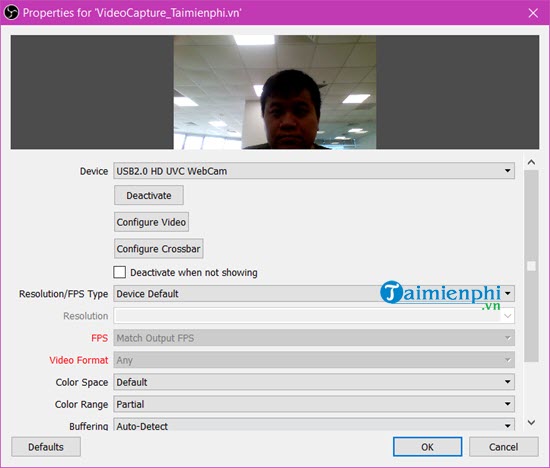
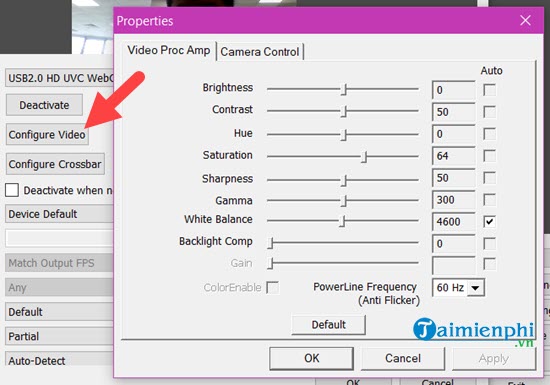
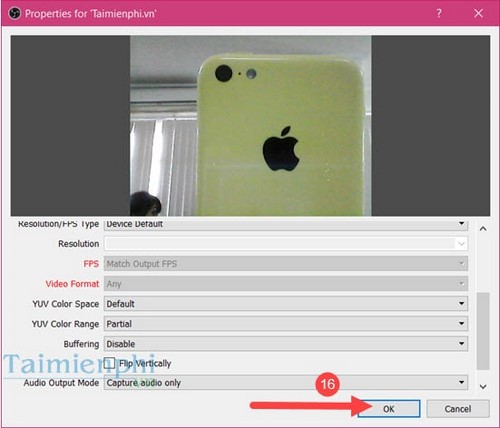
- Select the correct camera and leave its resolution at Device Default unless you have a reason to change it.
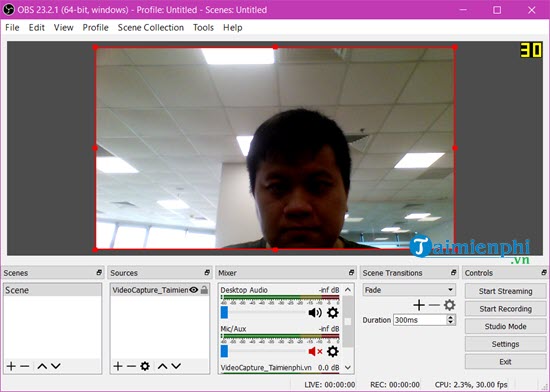
- Resize and position the source in the canvas. Hold Alt while dragging an edge to crop it.
Add a game
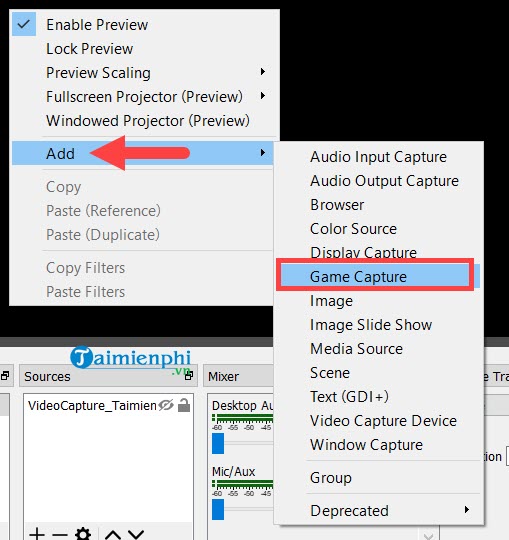
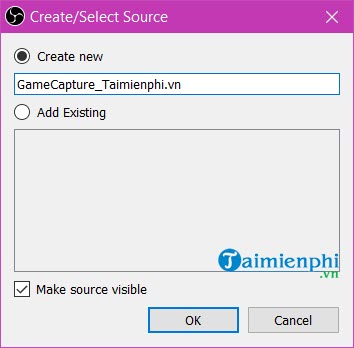
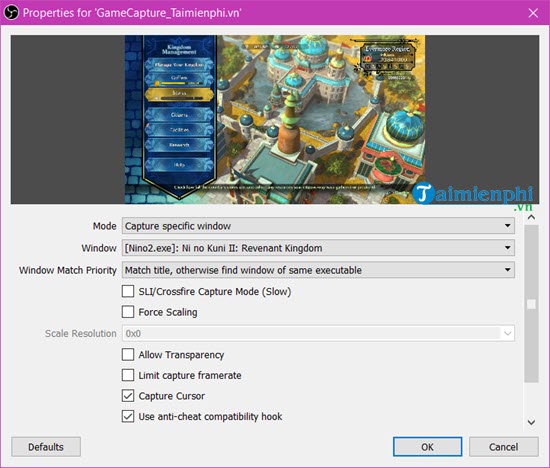
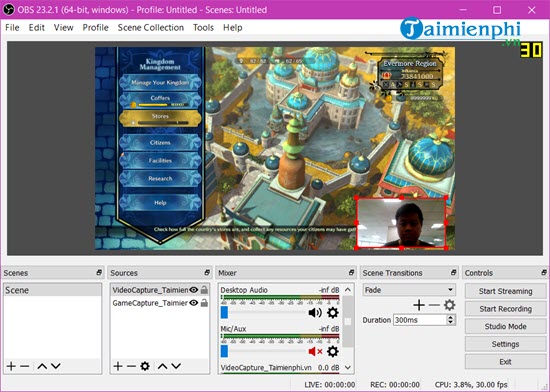
On Windows, Game Capture is normally the first source to try for a compatible game. Add it, name it, and select either a specific window or an appropriate full-screen capture mode. If the game is not listed, launch it first and return to the source properties.
Add a video, image, or slideshow
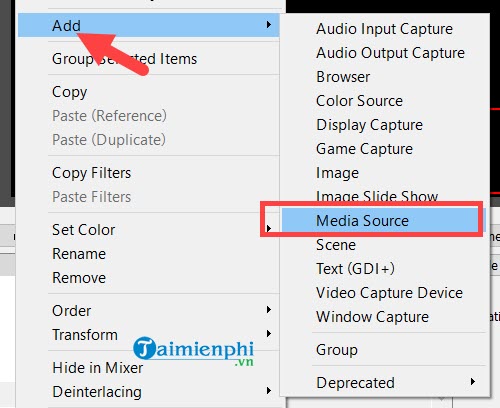
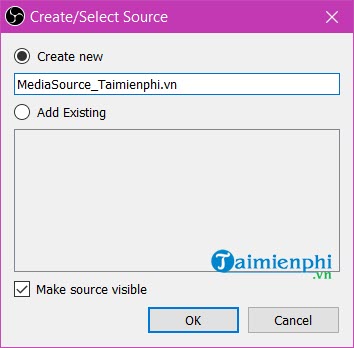
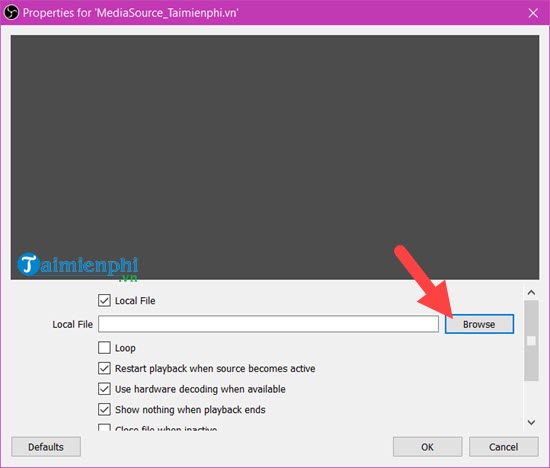
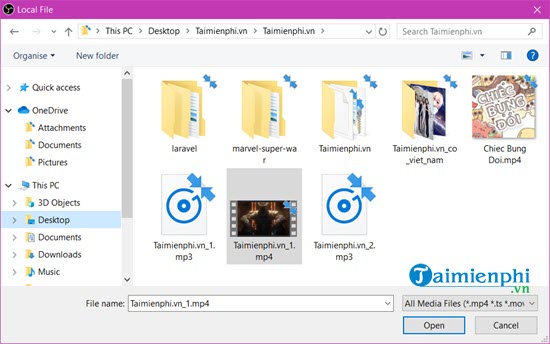
Use Media Source for a local video or audio file, Image for one still image, and Image Slide Show for a sequence. Choose the local file in the source properties and test its audio in a recording before going live.
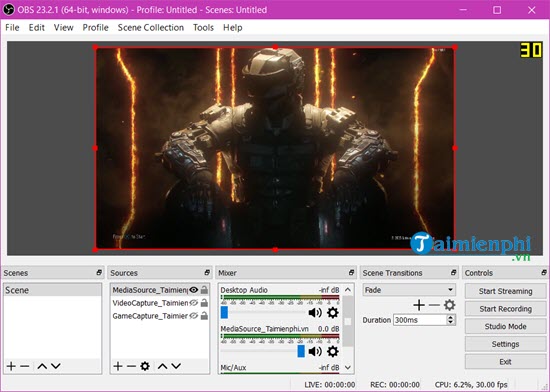
Broadcast only material you created or have permission to use. A purchased film, music subscription, television feed, or sports stream does not automatically include rebroadcast rights.
Share a screen or window
Window Capture is safer for a tutorial because it limits the source to one application. Display Capture shows the entire selected monitor, including notifications, passwords, private chats, and any window moved onto it.
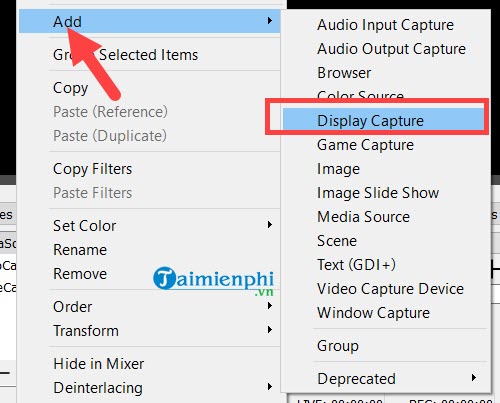
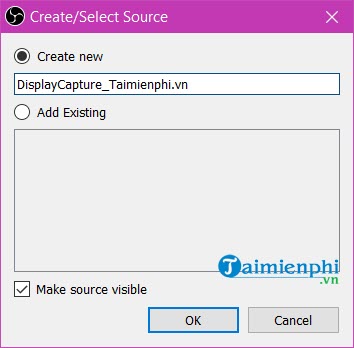
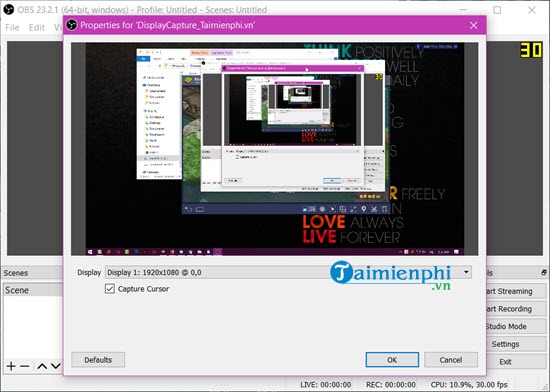
Use a dedicated desktop, hide browser bookmarks, disable notification previews, and close password managers before capturing a display. The official OBS quick-start guide explains scenes, sources, audio meters, and the importance of a test recording.
Connect OBS to Facebook Live Producer
- Open Live Producer and choose where to publish.
- Select Streaming software as the video source.
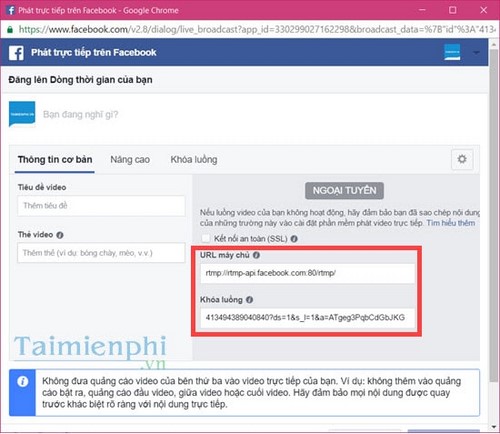
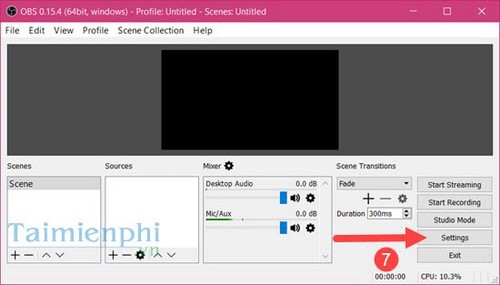
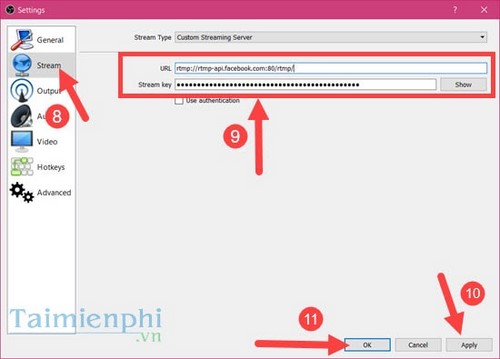
- In OBS, open Settings > Stream and choose Facebook Live when available. Use the connection method Facebook and OBS present, or copy the server URL and unique stream key from Live Producer.
- Paste the credentials into OBS only if the direct service connection is not being used. Click Apply.
- Add and test the required video and audio sources. Make a local test recording and listen to it.
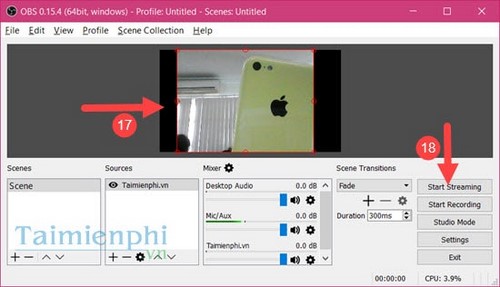
- Click Start Streaming in OBS. This sends a preview to Facebook but does not necessarily make the broadcast public yet.
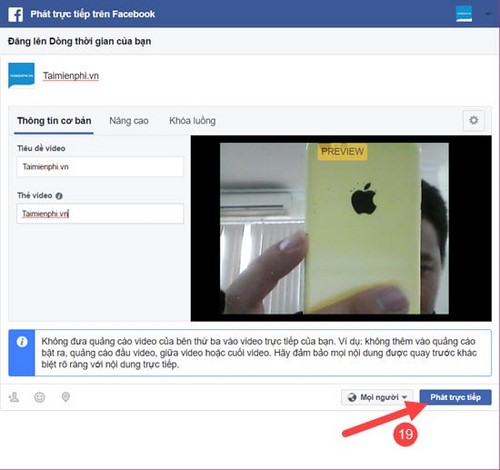
- Wait for the preview and connection-quality indicator in Live Producer. Add the title, description, audience, and available moderation settings.
- Click Go Live in Live Producer.
Meta's current OBS connection instructions document the Facebook Live service option and stream-key workflow. A stream key is a credential: never show it in a screenshot, scene, message, or support post. Reset it immediately if it is exposed.
What the older Live Producer workflow looked like
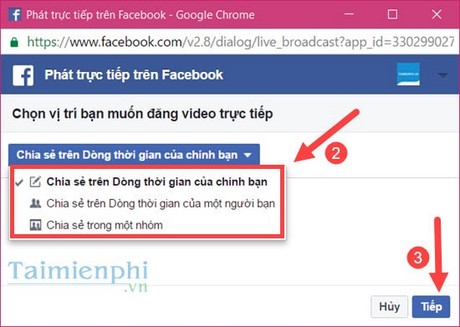
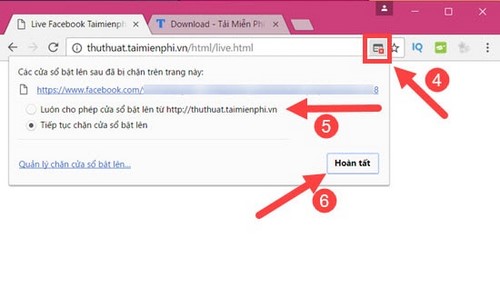
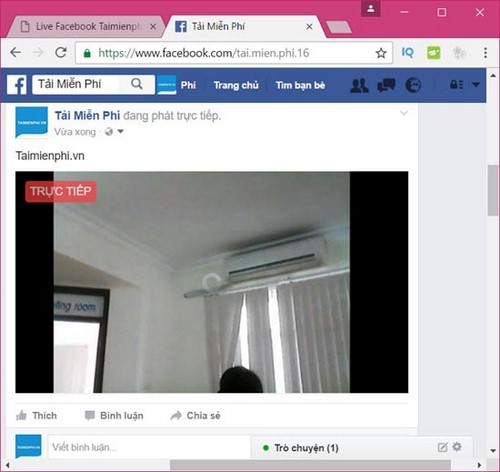
The following screenshots show an older Facebook interface and a manual Custom Streaming Server setup. The embedded launcher that appeared in the original article has been removed because it is no longer part of Facebook's supported workflow. Use Live Producer directly.
End the broadcast safely
- Tell viewers that the broadcast is ending and allow for platform delay.
- Click End Live Video in Live Producer and confirm.
- Click Stop Streaming in OBS.
- Check the post's audience, caption, and replay options.
Facebook says live videos that are not downloaded, saved, or converted to Reels are automatically deleted 30 days after the session. If the recording matters, download it promptly and keep an independent backup. See Meta's current Live time-limit and retention guidance.
Fix common Facebook Live problems
| Problem | Likely check |
|---|---|
| Live video option is missing | Account age, follower requirement for a Page/professional profile, Page access, group permissions, account restrictions, and current app version |
| Live Producer has no preview | Start Streaming in OBS, confirm the Facebook service/key, and wait for ingest; reset an exposed or stale key |
| Black game screen | Run the game first, reselect the window, test Window Capture, and consult Game Capture troubleshooting |
| No microphone or desktop audio | Check that OBS mixer meters move, the sources are not muted, and the selected devices and stream track are correct |
| Stream disconnects or drops frames | Use wired Ethernet when possible, stop other uploads, lower bitrate, and check the OBS network statistics |
| Computer is overloaded | Lower output resolution or frame rate, close unnecessary apps, and test a hardware encoder supported by the GPU |
| Viewers see private information | End the stream if necessary, remove or restrict the replay, rotate any exposed credentials, and use Window Capture next time |
If Facebook remains the intended platform but you prefer another encoder, TipsMake's XSplit Broadcaster guide for Facebook Live explains a second desktop workflow. Whatever tool you use, run a private or limited-audience rehearsal before a public event and verify both picture and sound from a separate device.
Related Articles
 How to Fix Common Errors When Live Streaming Facebook with OBS5 minutes read
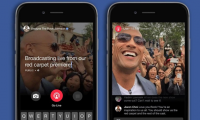 Instructions for Setting up Live Stream Feature Facebook Videos on8 minutes read
 This Is How Live Stream Facebook Video on PC, Fanpage16 minutes read
 How to Turn Off Live Stream Notifications on Facebook3 minutes read
 How to Live Stream and Broadcast Videos on Facebook Using Xsplit6 minutes read
 The Most Popular Facebook Live Stream Video Software6 minutes read
Reader Comments 0
Sign in with email or Google to join the discussion.