How to Install Windows 98
Windows 98 was a closed source 16 bit/32bit hybrid operating system released 15th May 1998. It preceded Windows 95 but was succeeded by Windows ME. Upgrades were available with the release of Windows 98 Second Edition (released 5th May...
Table of Contents
Part 1 of 3:
Preparing
-
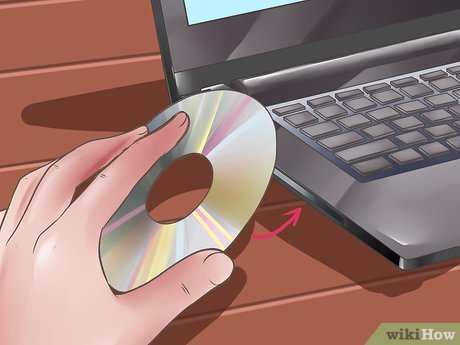 Insert your Windows 98 installation CD in your CD-ROM.
 -
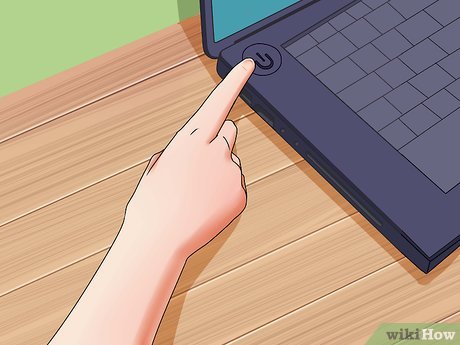 Start your computer.
Part 2 of 3:
Setting Up
-
 Choose to "Boot from CD-ROM" and press ↵ Enter.
 -
 Highlight "Start Windows 98 setup from CD-ROM." and press ↵ Enter.
 -
 Press ↵ Enter.
 -
 Highlight "Configure unallocated disk space (recommended)" and press enter.
 -
 Decide whether you want to enable large disk support. This is all down to personal preference but "Yes, enable large disk support" was selected in this tutorial.
 -
 Press ↵ Enter.
 -
 Choose to "Boot from CD-ROM" and press ↵ Enter.
 -
 Highlight "Start Windows 98 setup from CD-ROM." and press ↵ Enter.
 -
 Press ↵ Enter.
 -
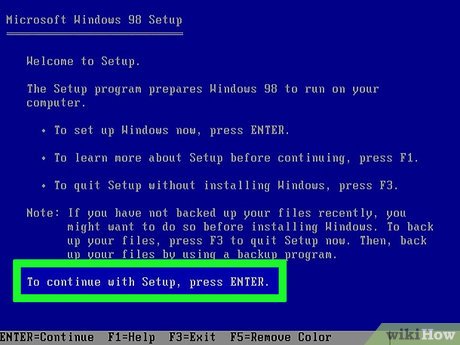
 Click "Continue".
 -
 Choose where you want the computer to install Windows 98 then click "Next".
- It is recommended to use the directory that Windows recommends (in this case C:WINDOWS).
-
 Choose your setup options. This is all down to personal preference, however, "Typical" was chosen for this tutorial.
 -
 Choose what components to install. "Install the most common components (Recommended)" was chosen for this tutorial but this is all down to personal preference.
 -
 Give the computer a name and a Workgroup and click "next".
- If the first two text boxes are filled, you may leave them.
- The "Computer Description" field is not essential for the installation.
-
 Choose your country from the list and click "Next".
 -
 Click "Next"
 -
 Restart the computer.
 -
 Highlight "Boot from Hard Disk" and press ↵ Enter.
 -
 Enter your name as well as your company (not essential) and click "next".
 -
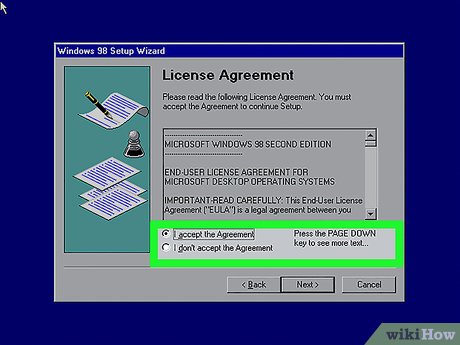 Accept the agreement and click "next".
- It's always a good idea to read the License Agreement so you know what you're signing up for.
-
 Enter your product key exactly and click "next".
 -
 Click "finish".
 -
 Highlight "Boot from Hard Disk" and press ↵ Enter.
 -
 Set your Date/Time Properties and click "close" when finished.
 -
 Restart your computer.
 -
 Highlight "Boot from Hard Disk" and press ↵ Enter.
 -
 Click "Ok".
 -
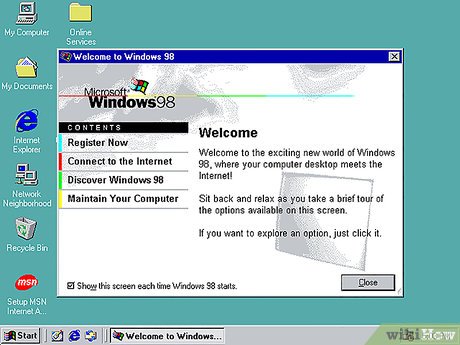 Windows 98 has now been installed.
Part 3 of 3:
Shutting Down
-
 Click "Start".
 -
 Click "Shut Down...".
 -
 Make sure "Shut Down" has been selected from the list and click "Ok".
Was this article helpful?
Your feedback helps us improve.
Related Articles
 How to install Windows 8.1 from USB7 minutes read
 How to install Windows 10 from USB with ISO file6 minutes read
 Install Windows 10 with a super fast USB in just a few simple steps4 minutes read
 Install Win 10 for Android tablet4 minutes read
 How to install Windows 7 using USB - Create a bootable USB to install Windows 76 minutes read
 Install Windows XP from a USB Flash drive5 minutes read
Reader Comments 0
Sign in with email or Google to join the discussion.