Setting up Ubuntu virtual machine with Hyper-V Quick Create on Windows 10
How to use Hyper-V Quick Create and install Ubuntu virtual hard disk to set up Ubuntu Linux virtual machine
Table of Contents
General information
Microsoft 's collaboration with Canonical can be considered a big leap forward.Canonical's Will Cooke has announced the new Hyper-V Quick Create Gallery virtual hard disk with Ubuntu 18.04 LTS installed.Using Quick Create, users can set up a second generation Ubuntu virtual machine in just a minute or two.
Will Cooke wrote on Ubuntu Blog on September 17, 2018:
"Today we are pleased to announce that an optimal Ubuntu Desktop image has been available from the Hyper-V library from now on. This will give you a better experience when you run Ubuntu Desktop as a guest. Windows 10 Pro desktop server From Ubuntu report data, we know that a lot of people are using Ubuntu as a virtual machine and so we want to make that experience as seamless as possible ".
Quick Create Gallery Ubuntu VM uses XRDP upstream to add support for Hyper-V Enhanced Session Mode.Everything is preinstalled, the new Ubuntu virtual machine will allow you toactivate the advanced mode the first time.
This tutorial will show you how to set up an Ubuntu 2nd generation virtual machine in just a few simple steps.
Step 1: Set up Ubuntu virtual machine from Quick Create Gallery
1. In Hyper-V Manager, select Quick Create in the Actions panel:

2. Select Ubuntu , click Create virtual machine:

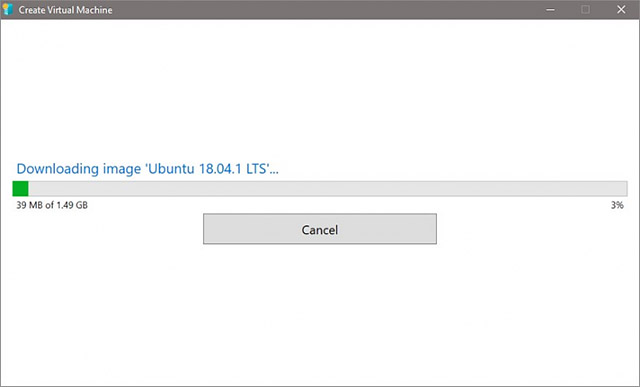
3. The built-in virtual hard disk will be downloaded (1.5GB capacity):
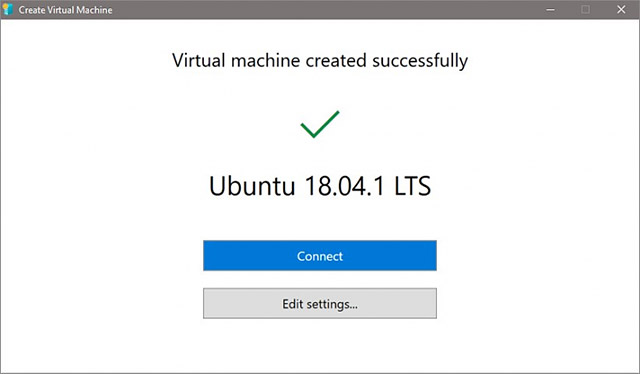
4. After downloading the virtual hard disk, the integrity of the file system will be verified and start creating the virtual machine.Virtual machines will be created using dynamic memory, with 2 GB RAM.Hyper-V automatically sets the number of virtual processors, based on what your server hardware allows.Click Edit settings to change settings or click Connect:
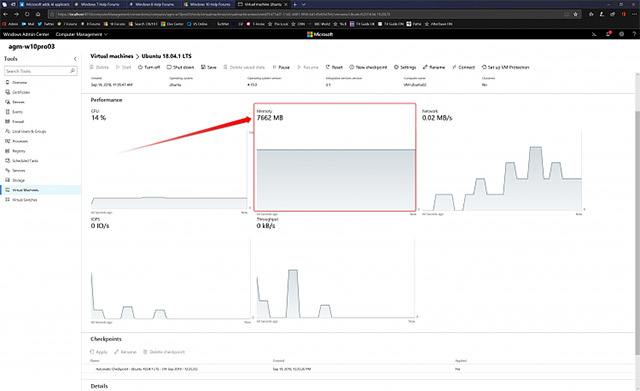
5. By accepting the default settings, you might be surprised to realize that the amount of RAM that dynamic virtual memory will consume is relatively large after a few minutes of use.For example, in this case, we had to reduce the maximum amount of RAM allowed to 4GB after realizing that when browsing Quantrimang on the Ubuntu VM suddenly used more than 8GB of RAM while nothing else but a browser with a few tab running.

Before setting the maximum amount of RAM, the virtual machine was constantly using nearly 8GB.When not working, it is kept stable at 7,662MB above 7.5GB and this number is still maintained as long as the VM is inactive:
Step 2: Install Ubuntu
1. Start the virtual machine.
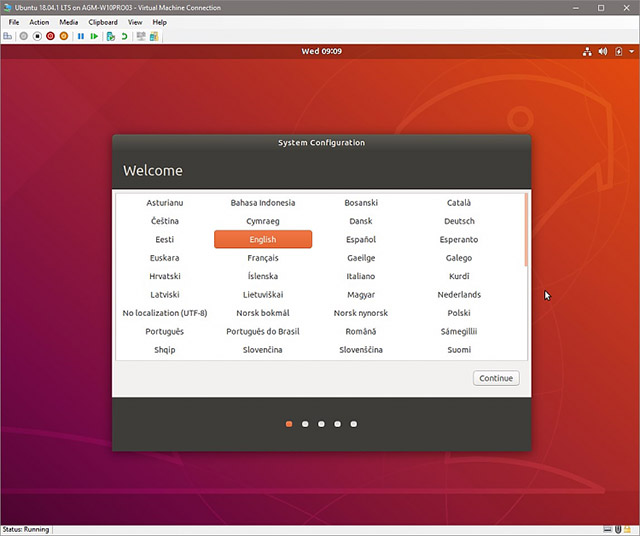
2. Select the language for the operating system, keyboard layout and time zone:
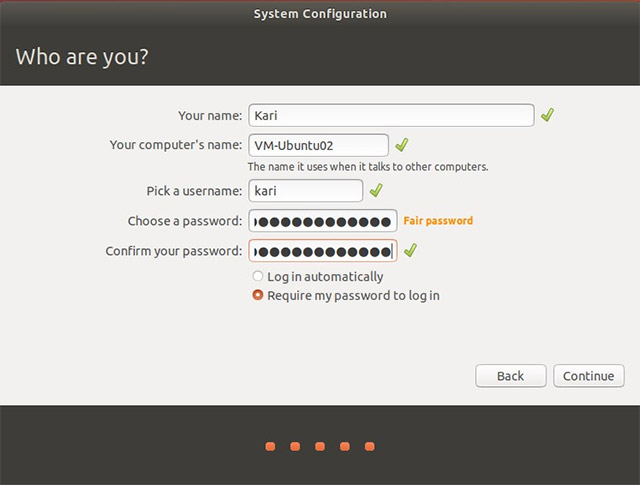
3. Set up your user account:
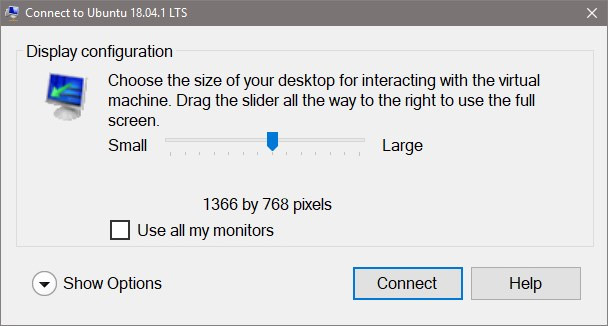
4. The setup process will take a minute or two.When completed, theEnhanced Session Modewindowwill be displayed.Click onConnect:
5. Login:

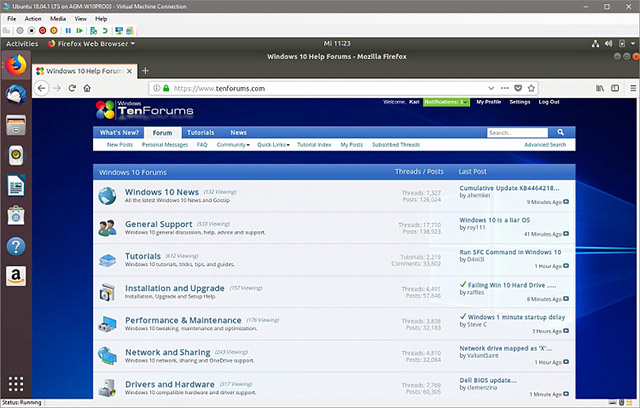
6. Done!Now we have been in Ubuntu desktop after only about three minutes from starting VM for the first time, using advanced mode:
See more:
- How to fix MBR from Ubuntu
- How to fix Ubuntu update errors
- How to install Steam in Ubuntu
- 6 ways to speed up the Ubuntu system
Was this article helpful?
Your feedback helps us improve.
Related Articles
 How to create a virtual machine repository for Hyper-V Quick Create16 minutes read
 Create virtual machines with Hyper-V on Windows 8 and Windows 1015 minutes read
 Install Ubuntu on Windows 82 minutes read
 Use Quick Migration to move virtual machines between Hyper-V hosts8 minutes read
 Create virtual machines in Hyper-V on Windows Server 20082 minutes read
 How to rename Hyper-V virtual machines using PowerShell and Hyper-V Manager5 minutes read
Reader Comments 0
Sign in with email or Google to join the discussion.