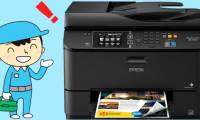
Instructions on how to replace printer ink at home in the simplest way
Replacing printer ink is a very simple but extremely important task to ensure the best printed text. Discover the fastest way to replace printer ink with HACOM here!
Table of Contents
Replacing printer ink is an important skill that every regular printer user needs to know. Sometimes, you are printing an important document, the ink runs out and going to a store or a technician to replace the ink can take a lot of time and even cause you to miss work. Fortunately, replacing printer ink at home is not always complicated. To help you confidently replace ink when necessary, in this article TipsMake will guide you in detail on the easiest way to replace it at home so that you can do it anytime, anywhere.
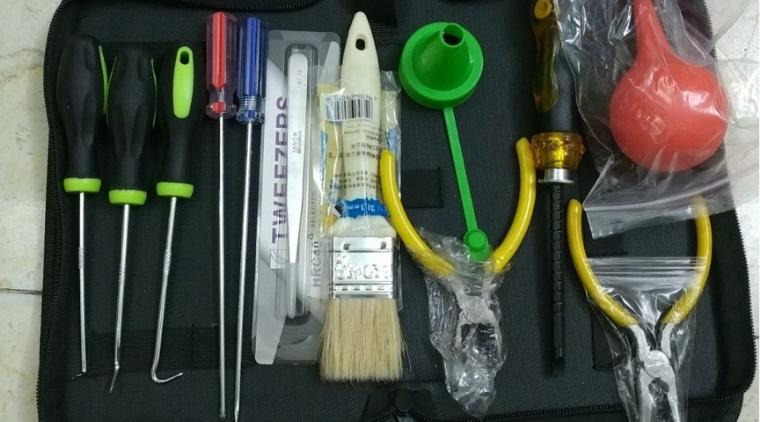
Necessary tools to replace printer ink
To effectively replace printer ink at home or anywhere, you need to fully prepare the following tools:
- Needle-nose pliers: Used to remove components on the cartridge.
- 4-sided screwdriver and 2-sided screwdriver: Used to remove screws on the cartridge.
- Specialized brush: Used to clean the printer, especially hard-to-reach areas.
- Hook or awl: Helps remove the pins at both ends of the cartridge.
- Funnel: Used to refill ink easily and cleanly.
- Printer-compatible ink: Make sure you use the right ink for your printer.
In addition, to support printer cleaning, you should prepare the following tools:
- Cartridge Grease: Used to lubricate the internal components of the cartridge.
- Cleaning air bulb: Used to spray ink on cartridges and components
- Soft towels, gloves.
Instructions on how to replace printer ink in the simplest way
Replacing the printer cartridge can be done easily if you follow these steps:
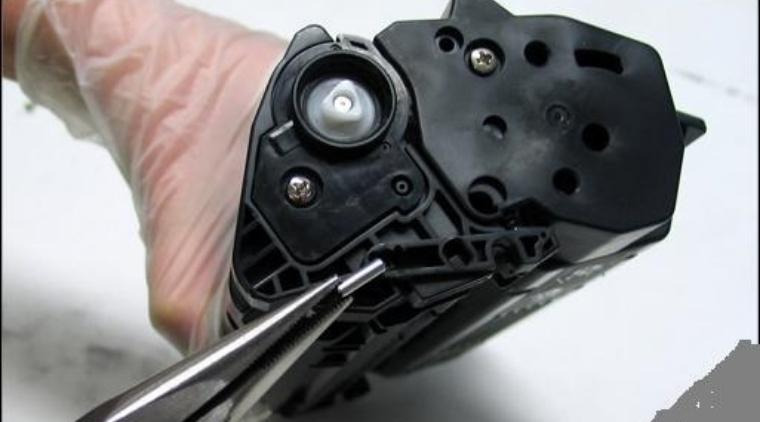
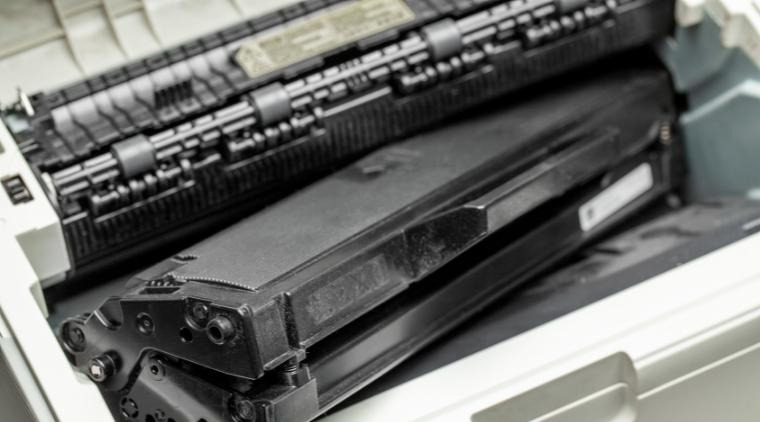
Step 1: Remove the printer drum cover
On the printer cartridge, you will see two small white stainless steel latches on either side. Use a flathead screwdriver to gently pry up the latches. Then, use needle-nose pliers to pull them out.
Step 2: Remove the printer drum
Use a screwdriver to unscrew the 2 screws at the top of the drum gear. Then remove the drum carefully so as not to reduce the print quality. If the new cartridge has a sticker over the screw, pay attention to remove the 2 screws.
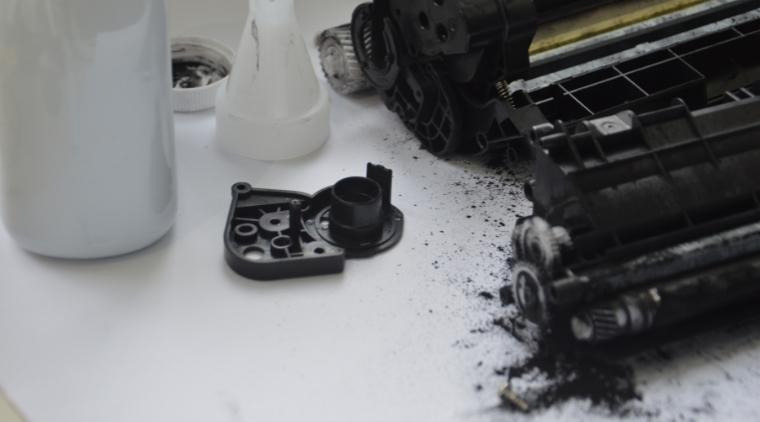
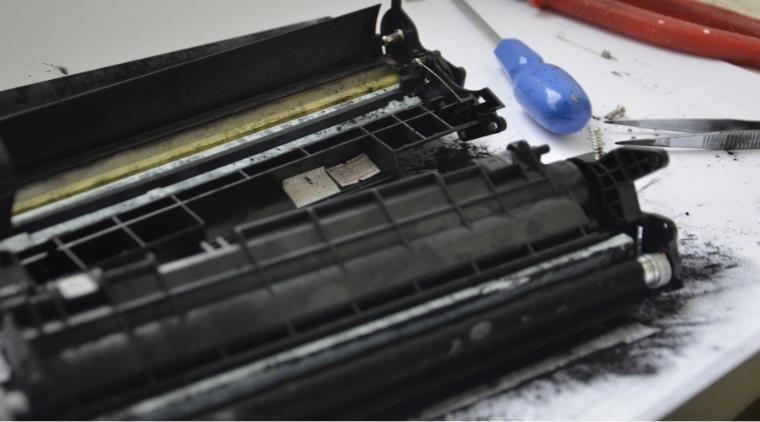
Step 3: Pour out excess ink and clean the printer's wiper and shaft.
During the use of the printer, there will be excess ink remaining in the machine. To empty the excess ink, you need to remove the drum, then remove the rubber shaft and unscrew the 2 screws on the large wiper. Next, you proceed to empty the excess ink located under the large wiper. After emptying the waste ink, use paper or a dry cloth to clean the wiper and rubber shaft.
Step 4: Refill printer ink
After removing excess ink, cleaning all machine components and checking the parts, you need to remove the ink refill cap and pour in new ink (you can use a funnel to avoid spilling ink).
Step 5: Assemble the refilled cartridge
After you have finished refilling the ink cartridge, reassemble the two parts of the cartridge. Install the latches on both sides of the cartridge, then install the spring to pull the two pieces together. Finally, clean the outside of the cartridge.
Step 6: Reinstall the cartridges and test
Finally, you reinstall the cartridge into the printer and print a test to check. If the print is clear, not blurred or has black dots, then the printer cartridge replacement process is complete.
Always follow the manufacturer's instructions and perform the toner replacement procedure carefully to ensure your printer performs well and produces quality prints.
Address to replace genuine, cheap printer ink, reputable
Currently, there are many places to buy and replace genuine cheap printer ink in Ho Chi Minh City and Hanoi areas or places to replace printer ink in Da Nang and other provinces that you can refer to.
Manufacturer's store system nationwide
The system of genuine manufacturer stores is the best choice to ensure you receive genuine ink for: replacing Canon printer ink or replacing HP printer ink,. Here, you will find quality products and professional support from the staff. For the Ho Chi Minh City area, you can refer to famous locations: Genuine stores to refill printer ink in District 3 or refill printer ink in District 9.
Major online shopping sites
Many major online shopping websites such as Lazada, Shopee, Tiki, or websites of major retail stores offer cheap, genuine, and reliable printer ink refills. You can choose to buy ink here so that you can replace your printer ink at home. Before shopping, check to see if the website is reputable and has good reviews from customers.
So to replace printer ink at home simply, you just need to follow a few basic steps above. Remember that replacing printer ink regularly plays an important role in maintaining the machine and ensuring the quality of printed documents. Remember to monitor the ink usage limit and replace the ink properly so that your printer always works well. Don't forget to follow TipsMake to update useful information every day.
Was this article helpful?
Your feedback helps us improve.
Related Articles
 Show you 8+ simple steps to refill printer ink for beginners at home9 minutes read
 Top 5 quality home printers, the most popular printers4 minutes read
 6 signs that your printer is running low on ink and the simplest ways to fix it.4 minutes read
 Instructions to fix the printer offline error in the simplest and most effective way7 minutes read
 How to fix offline errors of printers on Windows 1010 minutes read
 6 reputable printer repair addresses in Hanoi7 minutes read
Reader Comments 0
Sign in with email or Google to join the discussion.