How to connect a printer via WiFi, install a printer via WiFi on Windows 10/11
Using a printer to print remotely via computer or phone devices requires your printer to be connected to WiFi. So how to connect the printer via WiFi?
Table of Contents
Printing needs are increasingly popular and diverse, including the use of printers for remote printing via devices such as computers, laptops, and phones. To do this, your printer must be able to connect to WiFi. The article below will help you better understand WiFi-connected printers and show you how to connect the printer via WiFi quickly and simply.
What is a WiFi-connected printer?
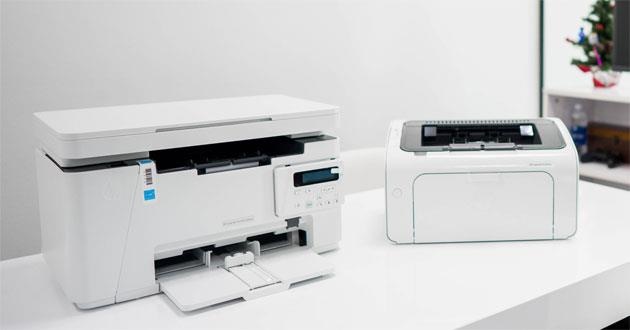
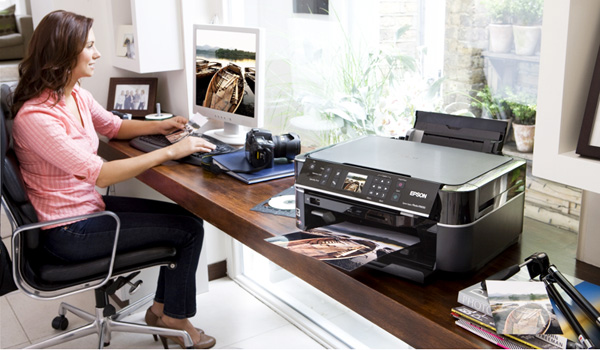
A WiFi-connected printer is a product that helps devices such as computers, laptops, phones, and tablets connect directly to the printer, thereby allowing remote printing to be extremely simple and fast.
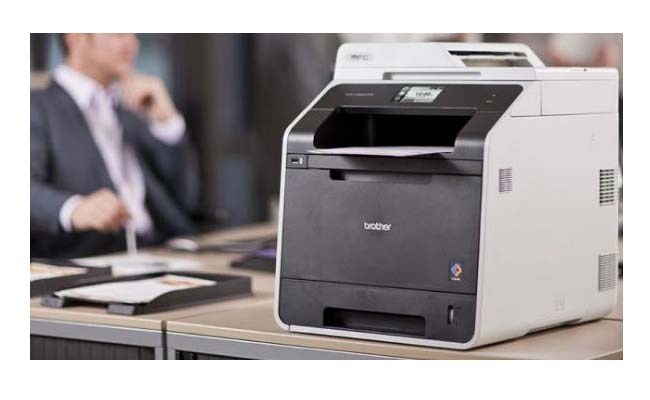
Compared to traditional printers, WiFi printers are highly convenient and portable. You can print any documents or products remotely using computer devices without needing to connect through any cables, helping to save time, space, and increase productivity. Beauty.
With the outstanding benefits that the product brings, WiFi printers are increasingly chosen and used by more offices and companies.
Instructions on how to connect the printer via WiFi
Before setting up the printer via WiFi, check and make sure that your printer supports connecting to WiFi. At the same time, all those computer devices and printers are connected to the same WiFi address.
1. How to connect the server to the printer via WiFi network
Connecting the server to the printer via WiFi network is quite simple and quite similar to when you install the printer via LAN.

Step 1: Start the server and plug in the printer to be installed.
Step 2: Install the driver for the server suitable for the printer. Normally, WiFi printers will come with a driver disc to install on the device. However, for devices that are not available, you can access Google and search for the device model name with the driver then download and install.
Step 3: Perform operations to directly connect the server to the printer:
- Click Start in the left corner of the screen below and select Settings.
- Select Control Panel , go to Printers and Faxes or Printers and devices.
- We will see the icon of the printer connected to our computer.
- Right-click and select Sharing > Share this Printer > Apply > OK . When you see a hand right at the printer icon, it means success
2. Connect another printer to the WiFi in the system
- Click Start > Settings > Printers and Faxes .
- At the newly opened interface, select Menu above > File > Add Printer > Next.
- In the window that just opened, check A Network Printer or a printer attached to another computer > Next.
- Check Browse for a printer > Next .
- In the newly opened window you will see that the host computer is connected, double click on that icon, select Next > Finish .
3. Share the printer via WiFi to other computers and laptops in the same system
To share the printer with other computers and laptops in the same system, we perform the following steps:
Step 1: Start the computer or laptop that needs to be installed
Step 2: Install drivers for computers and laptops as you would for a server.
Step 3: Installation operations
- Select Control Panel > Printers and Devices > Add Printer.
- Select Add a network, wireless or Bluetooth printer to scan the printer being shared.
- Open the Run box ( Windows key + R ) and type the server's //ip syntax to connect.
How to print wirelessly via WiFi
Wireless printers work over a network connection. If you use a printer at home, this will be your wireless Internet connection. If you work in an office, then that's your office network.
Instructions for connecting a wireless printer to your WiFi network vary depending on the manufacturer. So before you start, read your printer's manual and follow the manufacturer's instructions for connecting the printer to a WiFi network.
Tip : Some printer manufacturers provide software wizards that automate the process of connecting the printer to a WiFi network.
Configure Internet access on the printer
These are the general steps to connect a wireless printer to a WiFi network:
1. Turn on the WiFi router and laptop.
2. Power on the printer.
3. On the printer control panel, go to wireless setup settings.
Tip : If you use an Epson printer, navigate to Setup > Wireless LAN Settings . If you have an HP printer, go to Network.
4. Select the wireless SSID of the WiFi network.
5. Enter the WiFi security password. The password is the WEP key or WPA passphrase for the router.
6. The wireless light on the printer will turn on when the printer connects to WiFi.
Solve connection problems
If you have problems connecting your printer to a WiFi network:
- Connect the printer to the laptop using the printer cable or USB cable. If the laptop is connected to the printer using a cable, the printer may not be able to connect to the WiFi.
- Move the printer to get better WiFi signal. Something may be blocking printer access. Check the printer screen for WiFi strength; Some printers do not have this feature.
- Delete any pending print jobs. There may be a problem with the document blocking the printer's ability to connect to WiFi.
- Restart the printer.
- Make sure the printer's firmware is up to date.
Note: The steps to connect the printer via WiFi below can only be done after you have configured the printer to connect to the WiFi network or have the printer's IP address in hand.
How to set up a printer via WiFi on Windows 11
On Windows 11 you can add a printer via WiFi network by performing the following steps:
1. Make sure the printer is turned on and connected to the same WiFi network as the computer.
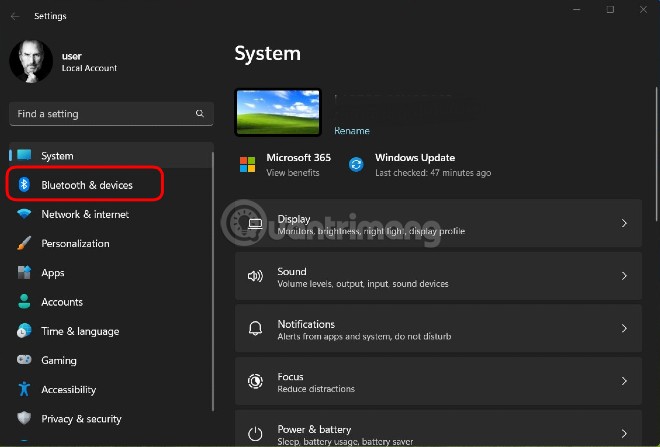
2. Press Win + I to open Settings on Windows 11.
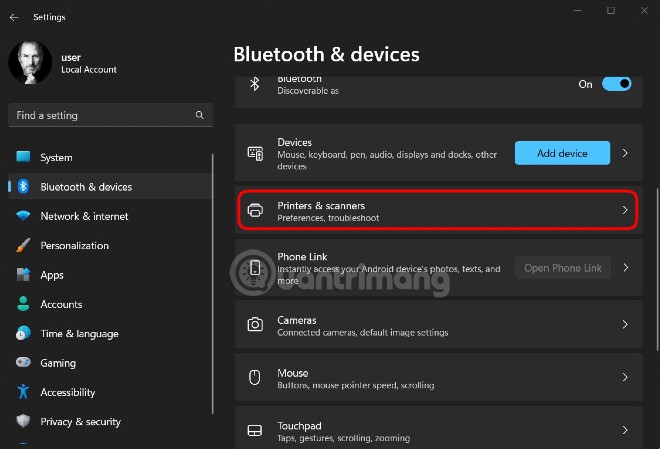
3. Click Bluetooth & devices in the left menu bar.
4. Next, click Printers & scanners .
5. On the new screen, click the blue Add device button.
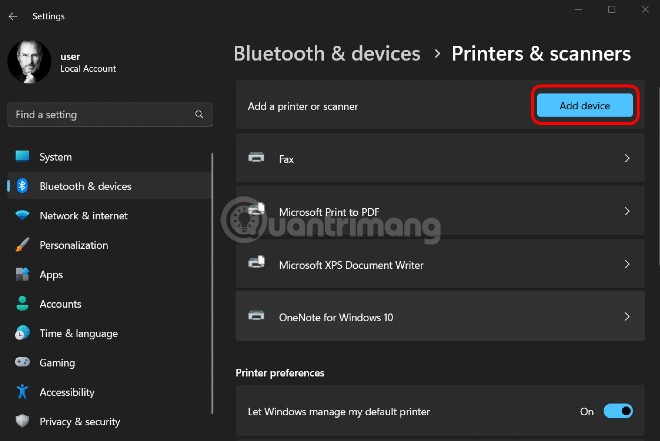
6. When you press this button, the system will automatically search for a printer or scanner ready to connect. If you see the printer you want to connect to listed, tap it to connect and you're done.
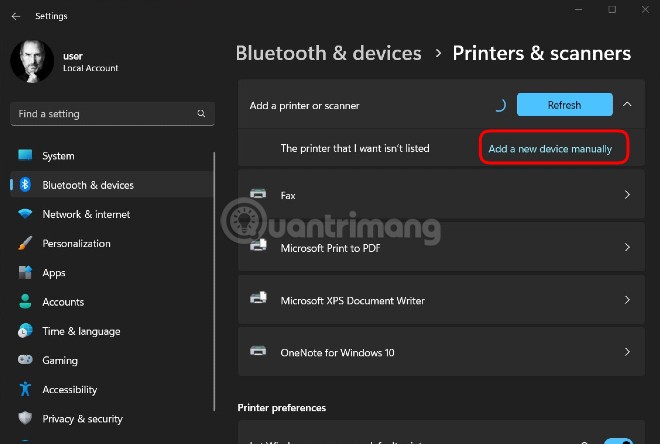
7. In case you don't see your printer listed, you need to tap the Add a new device manually button .
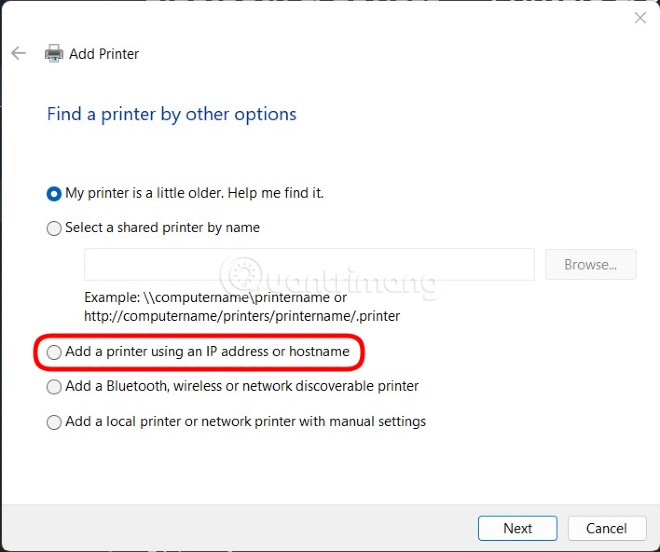
8. A new window will appear for you to perform the connection operation. You will have options such as support for finding old printers, connecting by name, connecting by IP address, connecting by rescanning the printer wirelessly or Bluetooth. In this section, the fastest way to The main connection is to choose to connect via the printer's IP address.
9. Select Add a printer using an IP address or hostname and then click Next.
10. Enter the IP address in Hostname or IP address and click Next.

11. If you enter the correct IP address, the installation process will be completed, click Finish to exit or click Print a test page to test print.

How to set up a printer via WiFi on Windows 10
Once the printer has access to the WiFi network, add the wireless printer to your laptop.
1. Power on the printer.
2. Open the Windows Search text box and enter "printer".
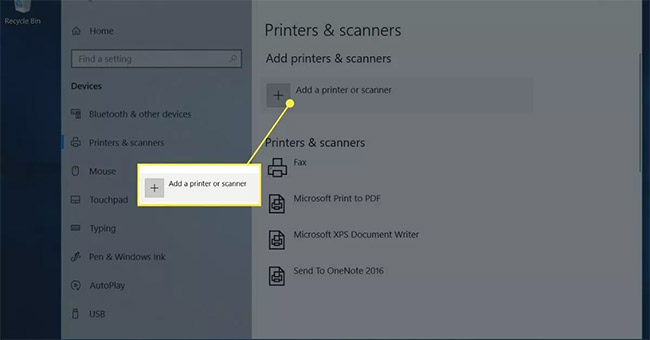
3. Select Printers & Scanners.

4. In the Settings window , select Add a printer or scanner .
5. Select your printer.
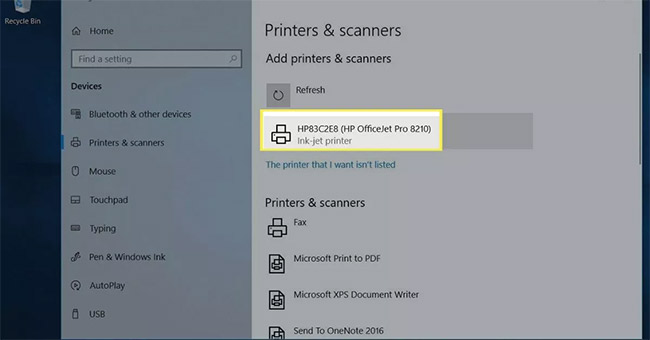
6. Select Add device.
7. Wait while Windows sets up the necessary drivers and adds the printer to the laptop.
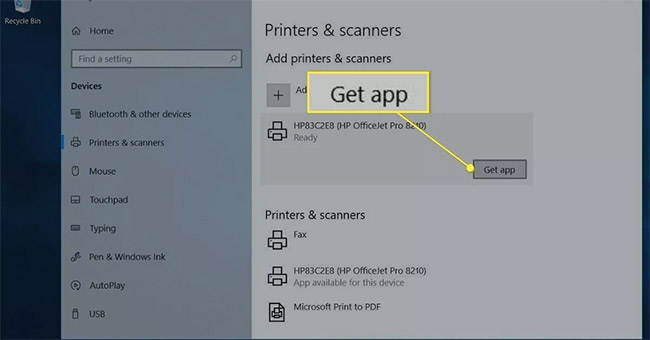
8. Windows may prompt you to install additional software. If so, select Get app to download and install the software from the Microsoft Store.
9. Once setup is complete, the laptop will connect to the printer wirelessly without the need for a USB cable or printer cable.
10. If Windows does not recognize the printer, return to Printers & Scanners .
Note : If Windows cannot find the printer, make sure the laptop and printer are using the same network. If you use a WiFi Range Extender, the extension area is the second network.
11. Select Add a printer or scanner .
12. Select The printer that I want isn't listed .
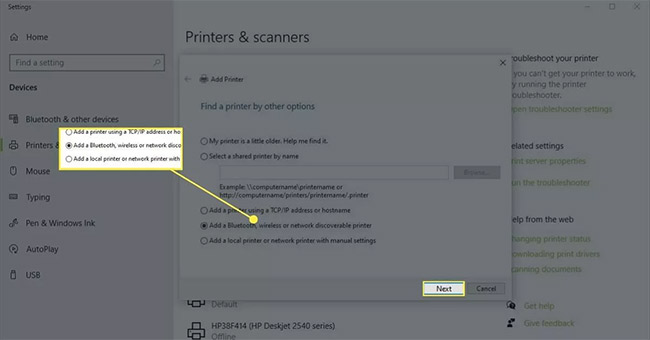
13. In the Add Printer box , select Add a Bluetooth, wireless or network discoverable printer > Next .
14. Select the wireless printer and select Next.
15. Close Settings when you're done.
16. In case you have the printer's IP address, you can select Add a printer using a TCP/IP address or hostname and then click Next.
17. Then, enter the IP address of the printer you want to connect to and confirm to connect.
Add a printer in Windows 8 and Windows 7
Accessing settings to add a wireless printer to a Windows 8 or Windows 7 laptop is a little different.
1. Go to Start and select Devices and Printers .
2. Select Add a printer .
3. In the Add Printer wizard , select Add a network, wireless or Bluetooth printer .
4. In the list of available printers, select the printer you want.
5. Select Next.
6. Windows may need to install a printer driver. If so, select Install driver to continue.
7. Complete the steps in the wizard.
8. Select Finish when you are done.
How to print using a wireless printer over WiFi
Printing from a laptop to a wireless printer is just like printing from any device to any printer.
1. Make sure the printer is powered on, connected to WiFi, and has paper in the tray.
2. Open the application or web browser for the document you want to print.
3. Open the document you want to print.
4. Select the Printer icon .
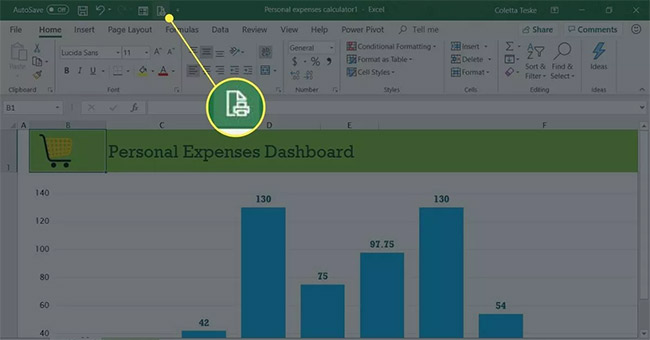
5. Choose a wireless printer.
6. Change the print settings if necessary.
7. Select the Print button.
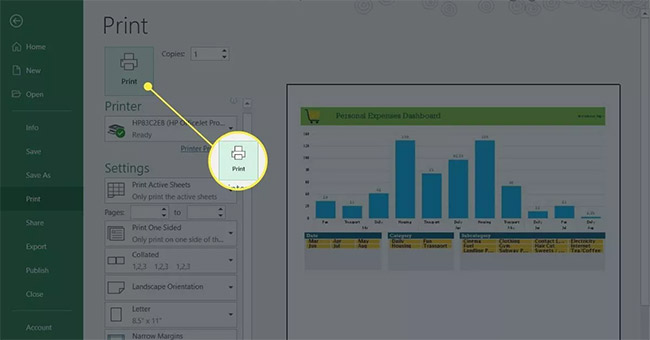
8. The printed pages will be waiting for you in the printer's output tray.
How to print wirelessly when away from WiFi
Some printer manufacturers offer email printing services. When you register at their website, the printer will be assigned an email address. You will use this email address to send documents to your printer. When you're away from home or out of the office, you can still print documents on your wireless printer.
Tip: You can find the email address by searching the printer's menu. On your HP printer, look for HP ePrint .
To print documents when your laptop is not connected to the same WiFi network as the printer:
1. Make sure the WiFi router is powered on, the printer is powered on and connected to WiFi, and there is paper in the printer tray.
2. Open your favorite email application.
3. Create a new email message.
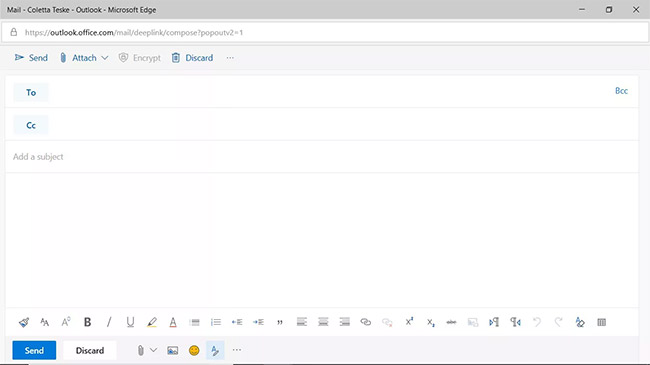
4. In the To text box, enter the email address that the manufacturer assigned to the wireless printer.
5. For subject, enter the print job description.
Note : Some email printing services require a subject. If there is no subject, the print job will be canceled.
6. Attach the document you want to print.
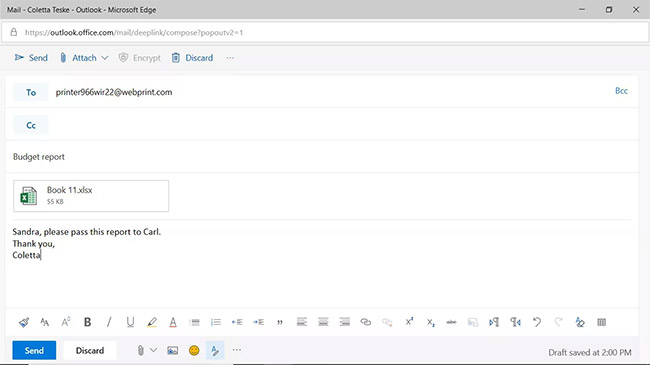
Note : Email printing services may limit the capacity and number of attachments. Additionally, supported file types may be limited.
7. Enter a message if you want to print a separate sheet with document information or other instructions.
8. Select Send.
9. The file will be sent to the wireless printer and printed.
Note when connecting the computer to the printer via WiFi network
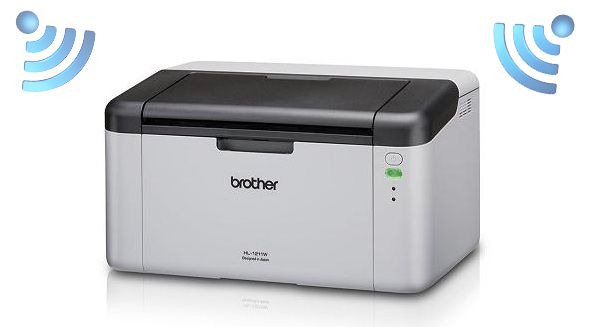
You should choose quality WiFi printers from reputable brands such as Canon, HP, Brother printers, etc. Do not choose cheap WiFi printers without labels or origin.
Based on usage needs, choose a printer with a strong enough configuration to avoid interruptions during use for printing.
Besides, you should choose computers that are powerful enough to ensure stable usage and maximum efficiency.
Problems when connecting a printer via WiFi and how to fix them
If you encounter an error while installing the printer via WiFi, you can fix it with the following solutions:
Make sure that the printer is shared on the network
To connect a printer via WiFi, you need to ensure that the process of setting up, sharing, and connecting the printer is done properly. If all operations are correct and there are no errors, you can consider the next solutions.
Use the Troubleshooter
You can use the Windows Troubleshooter to find and fix problems connecting the printer over a WiFi network. The steps are as follows:
- You press the key combination Win + I to open Settings.
- Go to Update & Security then select Troubleshoot.
- Select Printer and then press Run the Troubleshoot for the system to scan and automatically fix errors (if any).
- Besides Troubleshoot, you can also use Hardware and Device to check the status of peripheral devices and connections. After completing the error correction, reconnect the printer to use as normal.
Check drivers
Sometimes driver problems such as inappropriate or faulty drivers also make connecting the printer via WiFi network impossible. Therefore, you should also check the driver if the process of connecting the printer via WiFi does not work as expected. The steps are as follows:
- Click Windows + R then enter devmgmt.msc and press Enter.
- In the Device Manager window that appears, select Print Queues , then right-click on the printer that needs to update/delete/reinstall the driver and select the corresponding action.
Rerun the printer finder on Windows 10
Sometimes you do everything correctly but still can't connect to the computer via WiFi. At this time, you need to check your computer again, try running the printer search engine on Windows again according to the following steps.
- Press Win + I to open Settings then select Devices.
- Select Printer & Scanner and then select Add a printer or scanner to scan all connected printers.
- If you cannot find a printer, select The Printer that I want isn't listed .
- In the new interface, select Add a Bluetooth, wireless or network discoverable printer and press Next. You wait for the system to scan and connect printers on the network.
- If everything is stable, the printer you need to connect to will appear, you just need to connect and work normally.
Above are the basic steps when connecting a computer or laptop to a printer via WiFi network. Hopefully, it will help you as well as companies and businesses in printing documents, bringing high work efficiency, saving time and space.
If you are having difficulty choosing a place to buy a genuine, quality WiFi-connected printer, you can come to TipsMake. This is one of the reputable addresses providing genuine, quality computer equipment and accessories at the most competitive prices on the market.
Was this article helpful?
Your feedback helps us improve.
Related Articles
 Instructions on how to connect the printer via wifi6 minutes read
 How to fix Windows errors not connected to the printer8 minutes read
 2 steps to connect printer via Wifi network3 minutes read
 Fixed a problem with inactive Wi-Fi printers in Windows 107 minutes read
 How to fix Windows cannot connect to the printer error, cannot connect to the printer5 minutes read
 Detailed instructions on how to connect a printer to a Windows laptop and MacBook.13 minutes read
Reader Comments 0
Sign in with email or Google to join the discussion.