How to insert video into Powerpoint 2010 without errors, blurring, or stuttering
To make the presentation more vivid, in addition to preparing clear content, inserting video into Powerpoint is also extremely important in the process of expressing information to readers. However, this feature is only integrated for PowerPoint 2010 and above versions until the latest version..
Inserting videos into PowerPoint is an operation that must be done regularly to create professionalism in presentations, users can describe all the content in the Slide, attract readers' attention and improve efficiency. especially in work and study.
I. How to insert video into Powerpoint without error
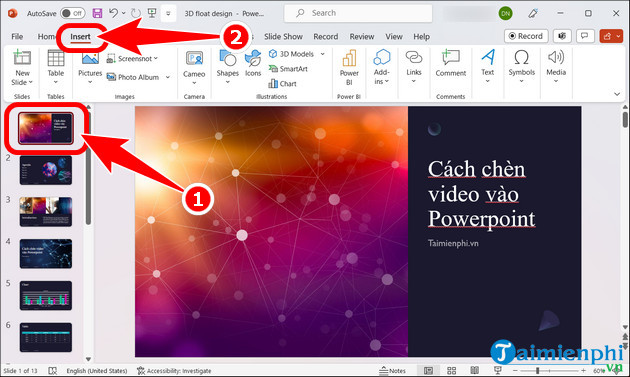
Step 1: Open the Powerpoint presentation file, select Slide => click Insert .
Step 2: Click Media => press Video => choose one of three Video insertion features .
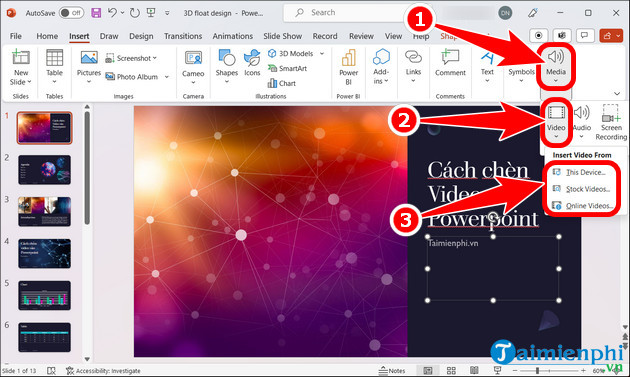
- This Device : Use when Video is available on PC, select Video => Insert .

- Stock Videos : Insert video by topic, select the Video you want to insert => press Insert .

- Online Videos : Online Video insertion feature, here you just need to enter the Video address in the blank box => Insert .

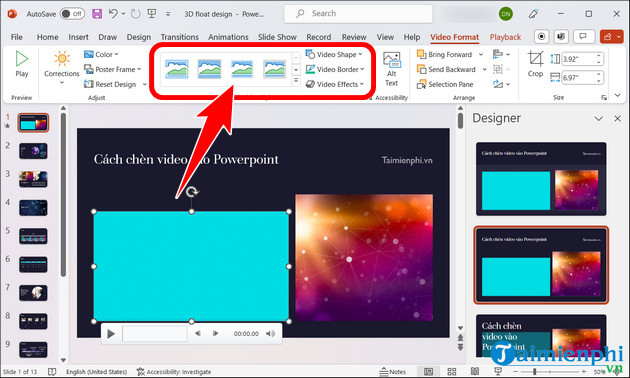
Step 3: Customize Slide design => create Correction and Color effects for the video.

- Select the display frame type.
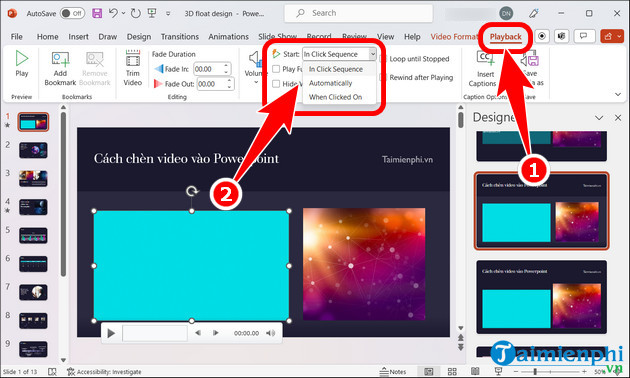
Step 4: Click the Playback tab , adjust the video playback mode in the Start section . These include:
- In Click Sequence : Video plays when moving to the next slide.
- Automatically : Automatically play the video when the slide appears.
- When Clicked On : Video only plays when the user clicks on the frame.
Step 5: The result after successfully inserting the Video into Powerpoint is displayed as shown below.

II. Benefits of inserting videos into Powerpoint
- Create strong interaction between presenter and audience.
- Easily share and transmit information.
- Save time presenting content.
- Increase the professionalism of your presentation.
- Diversify information to make it easier to understand.
- Minimize boredom.
Above are all the instructions to help you insert videos into Powerpoint without errors, freely create presentations as desired, and convey ideas to everyone. At the same time, you can combine the use of PowerPoint shortcuts , bringing many benefits to speed up presentation operations and save more time.