You can even edit video in PowerPoint 2016 and customize its appearance. For example, you can trim the video's length, add a Fade-in effect, and more.
How to Insert Video from a File
In this section, TipsMake will show you how to insert video from a file saved locally on your computer.
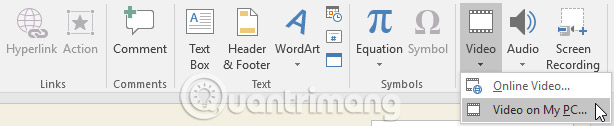
1. From the Insert tab, click the drop-down arrow in the Video section, then select Video on My PC .
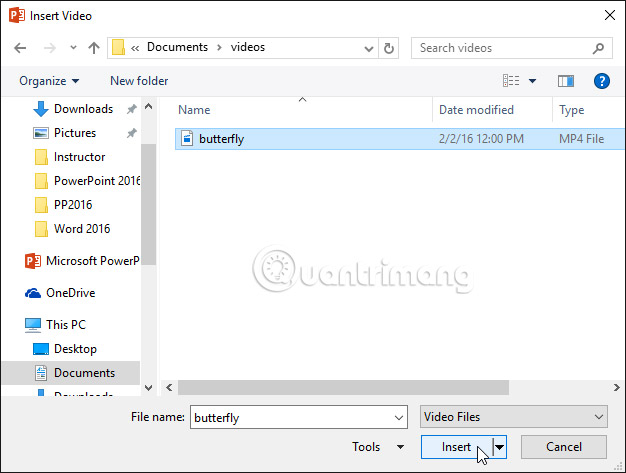
2. Locate and select the desired video file, then click Insert.
3. The video will be added to the slide.

With the Screen Recording feature on the Insert tab, you can create a video of whatever you're doing on your computer and insert it into a slide.

How to Insert Videos Online
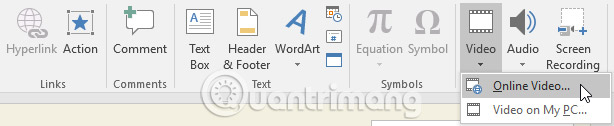
Some sites, like YouTube, allow you to embed videos into your slides. The embedded video will still be hosted on its original website, meaning the video itself won't be added to your file. Embedding can be a convenient way to reduce presentation file size, but an Internet connection is required to play the embedded video.
Work with Videos
How to Preview Videos
1. Tap a video to select it.
2. Click the Play/Pause button below the video. The video will start playing and the timeline next to the Play/Pause button will move forward.
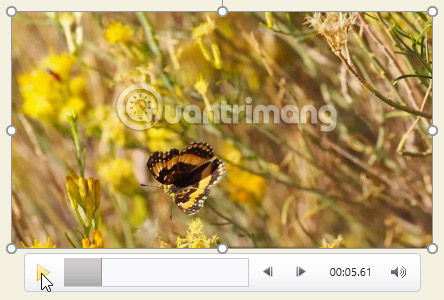
3. To move to another part of the video, click anywhere on the timeline.

How to Resize Video
Click and drag the size adjustment handles at the corners until the video has the desired size.

The resizing handles at the corners will resize the video while preserving the original aspect ratio. If you use handles on the sides, the video will be distorted.
How to Move Videos
Click and drag to move the video to a new location on the slide.

How to Delete Videos
Select the video you want to delete, then press the Backspace or Delete key on your keyboard.
Edit and Format Videos
The Playback tab has several options you can use to edit your video. For example, you can trim your video to play an excerpt from the original, add Fade-in and Fade-out effects, and add bookmarks that allow you to jump to specific points in the video.
Most of the features on the Playback tab can only be used with videos inserted from a file and will not work with embedded videos.
How to Cut Video
1. Select the video, then click the Playback tab on the Ribbon.
2. Click the Trim Video command.

3. A dialog box will appear. Use the green handle to set the start time and the red handle to set the end time.
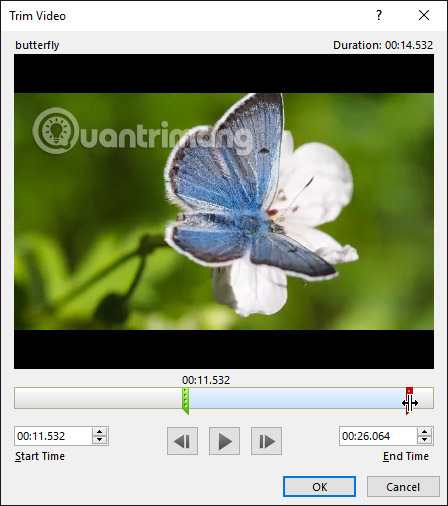
4. To preview the video, click the Play button.
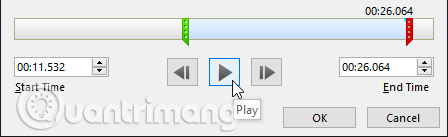
5. When you finish cutting the video, click OK.
How to Add Fade in and Fade Out Effects
1. On the Playback tab, locate the Fade In: and Fade Out: fields.
2. Enter the desired values or use the up and down arrows to adjust the time for the fading effect.

How to Add Bookmarks
1. Click on the timeline to define the desired section from the video.
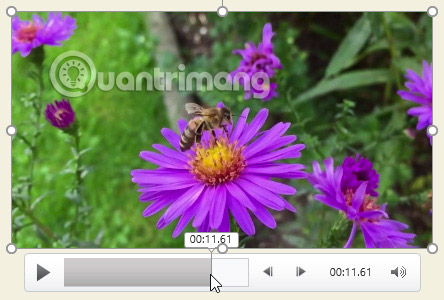
2. From the Playback tab, click the Add Bookmark command.

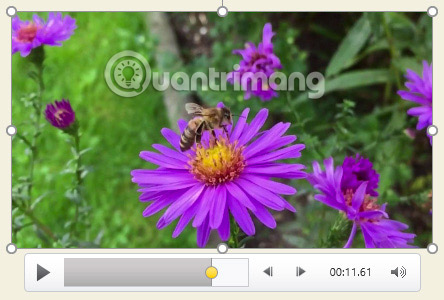
3. Bookmark will appear on the timeline. Click the bookmark to jump to that location.
Video Options
There are other options you can set to control how your videos play. They are found in the Video Options group on the Playback tab.
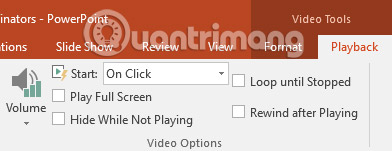
- Volume: Change the volume for the video
- Start: Controls whether the video starts automatically or on click.
- Play Full Screen: Allows the video to switch to the entire screen while playing
- Hide While Not Playing : Hide video when not playing.
- Loop until Stopped : Play back the video until stopped.
- Rewind after Playing : Returns the video to its original position when finished playing.
Format the Appearance of the Video
Like images, PowerPoint lets you format its appearance by applying video styles, adding borders, changing shapes, and applying various effects.
How to Create Poster Frames for Videos
You can add a poster frame to your video, which is a placeholder for the image your audience will see before the video starts playing. The poster frame is usually just a frame taken from the video itself.
1. Click on the timeline to define the desired part of the video.
2. From the Format tab, click the Poster Frame command. Select Current Frame from the menu that appears.
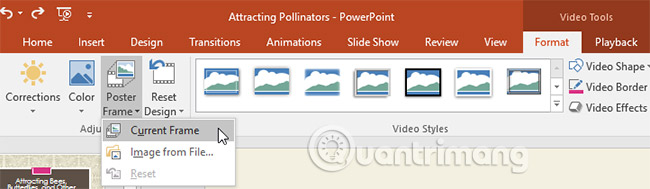
3. The current frame will become the poster frame.
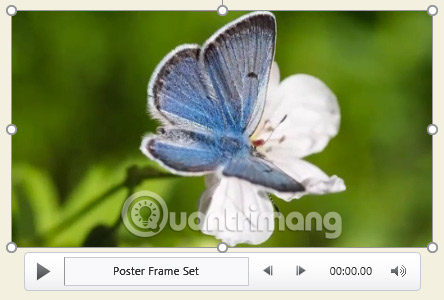
If you want to use a picture from your computer, select Image from file .
How to Apply Video Styles
1. Select the video, then click the Format tab on the Ribbon.
2. In the Video Styles group, click the More drop-down arrow to display available video styles.
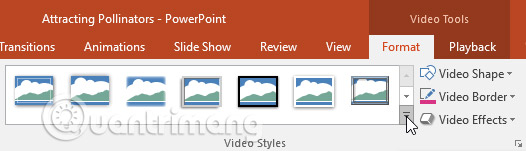
3. Select the desired style.
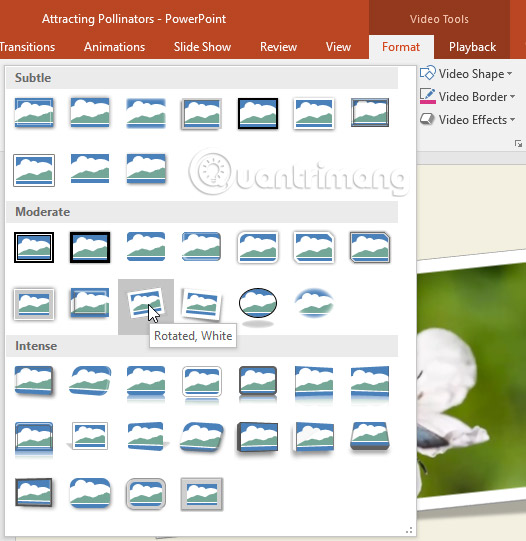
4. The new style will be applied to the video.
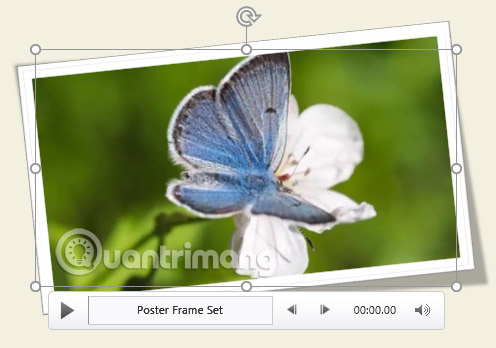
To learn more about corrections, color adjustments, borders, shapes, and effects, see the article: Format images in Powerpoint 2016.
Practice
1. Open the example practice presentation. Right click on this link to the example video and save it to your computer. If you downloaded the example presentation to follow along with the lesson, be sure to download a new copy.
2. On slide 2, insert the example video file above.
3. Resize the video to fit the text box.
4. Apply a video style of your choice.
5. Crop the video so that the start time is around 00:17.5 and the end time is around 00:25.
6. Add a bookmark somewhere in the middle of the video.
7. When you're done, preview your video. It will look something like this:
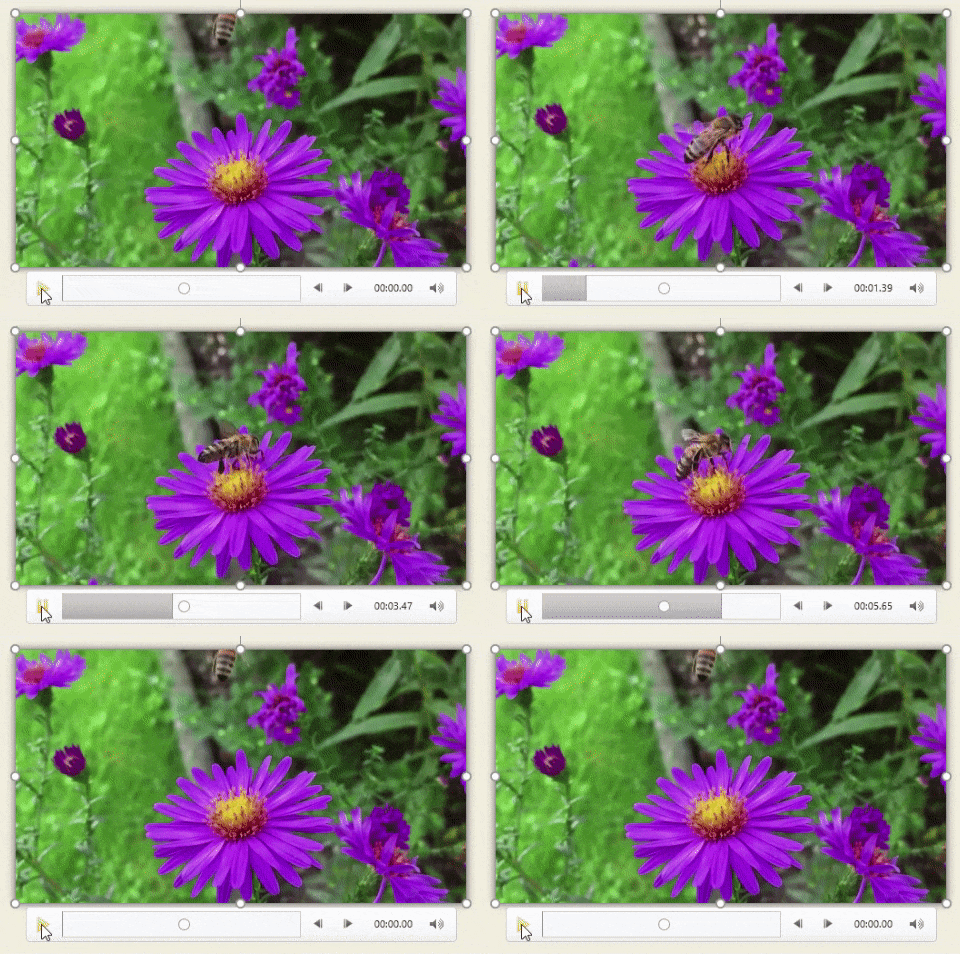
Wishing you success!




Reader Comments 0
Sign in with email or Google to join the discussion.