How to insert images into layers in Photoshop
With layers, you can work on different image layers without affecting the composition of the image and one of the first skills when working with layers in Photoshop is to insert images into layers.
Table of Contents
Photoshop has a pretty good and useful feature that is Layer. With layers, you can work on different image layers without affecting the composition of the image and one of the first skills when working with layers in Photoshop is to insert images into layers.
1. Insert photos into simple Layers
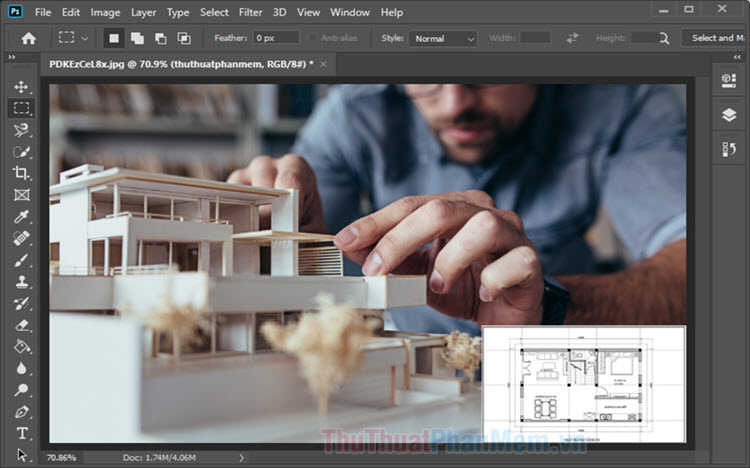
Step 1: You open the image to be paired. Next, go to the Layer menu (1) => New (2) => Layer (3) .

Step 2: You name the new Layer (1) => OK (2) .

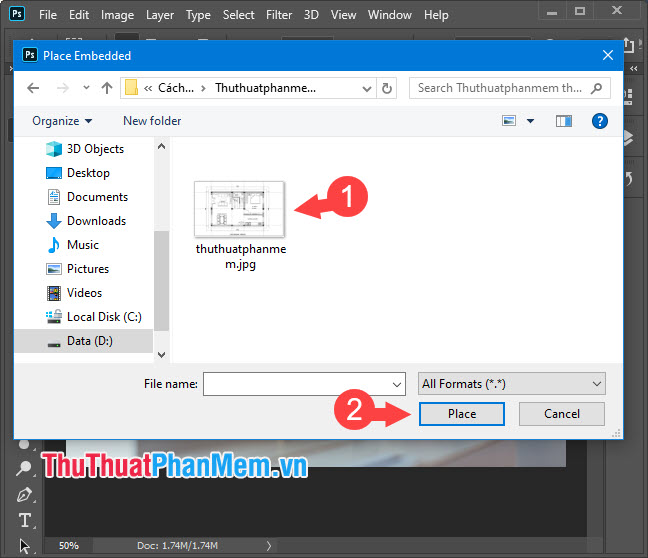
Step 3: Go to the File menu (1) => Place Embedded . (2) .

Step 4: Select the image to be inserted into Layer (1) => Place (2) .
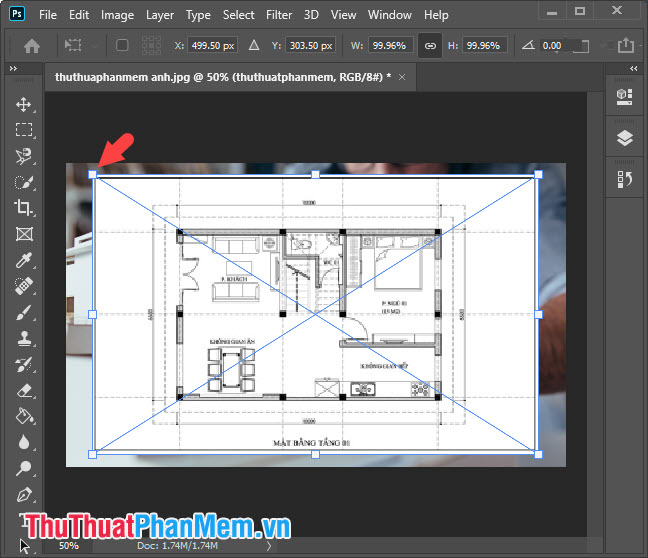
Step 5: Click on the corners of the image to shrink and move to the desired angle.
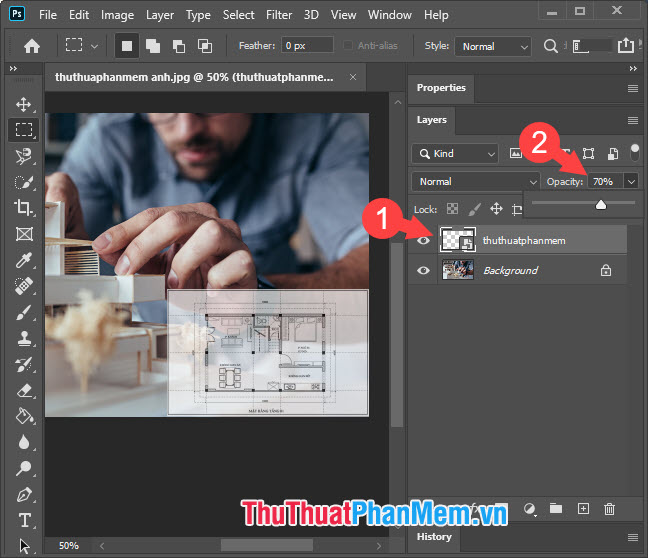
Next, click Layer again (1) => adjust the Opacity (2) to blur the collage.
2. Insert photos with Layer Mask
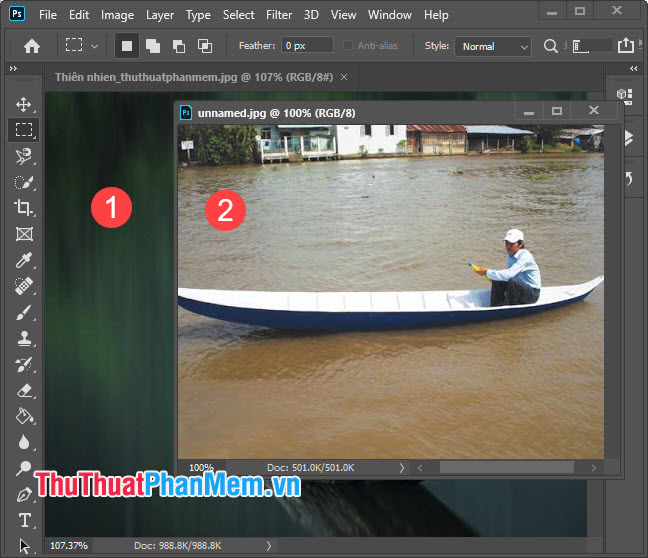
Step 1: We have the following two pictures with background image (1) and collage (2) . To stitch a photo (2) into an image (1) , click on the image (1) , press Ctrl + A to localize the whole image and press Ctrl + C to copy the selected image area. Then, you click on the workspace of the image (1) and press Ctrl + V to paste the image area (2) into the image (1) .
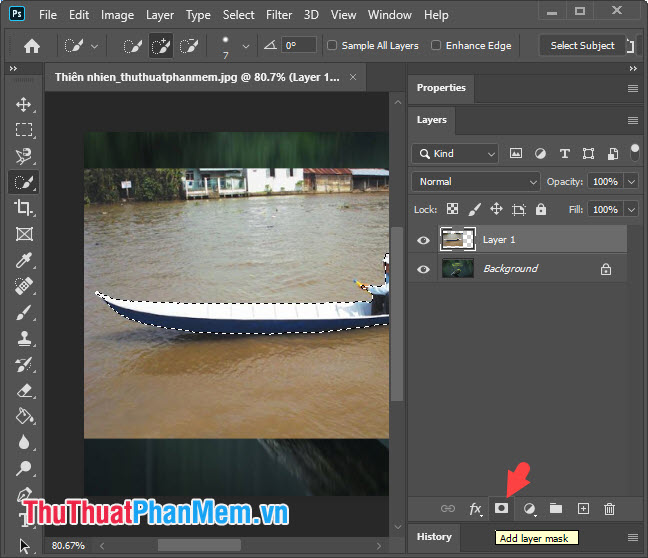
Step 2: Click the Select tool (1) => Quick Selection Tool (2) and highlight the image object to be inserted (3) with this tool.

Next, click the Add layer mask button to create a layer mask.
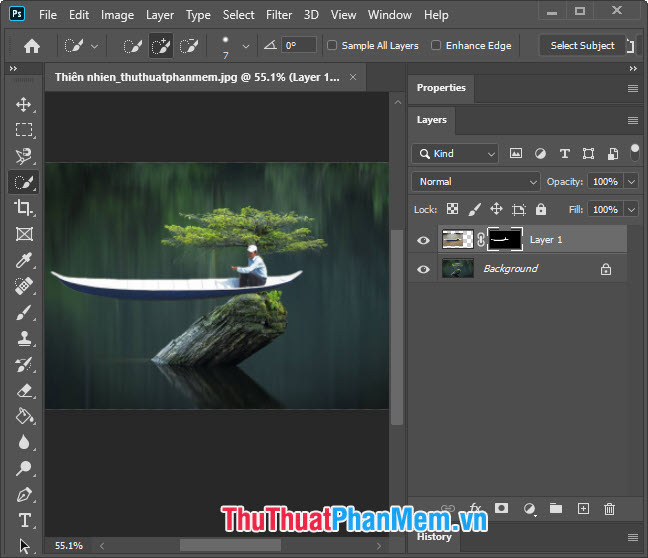
After adding the layer mask, we will get the following pattern:
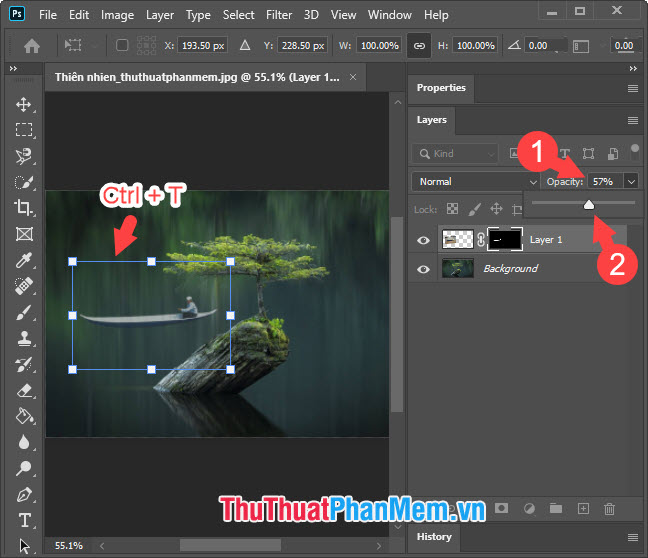
Step 3: You press Ctrl + T to bring up the size adjustment box and zoom in, zoom out, move the image to the appropriate position. Next, click on the Opacity (1) and adjust the opacity (2) accordingly (range from 50-70%).
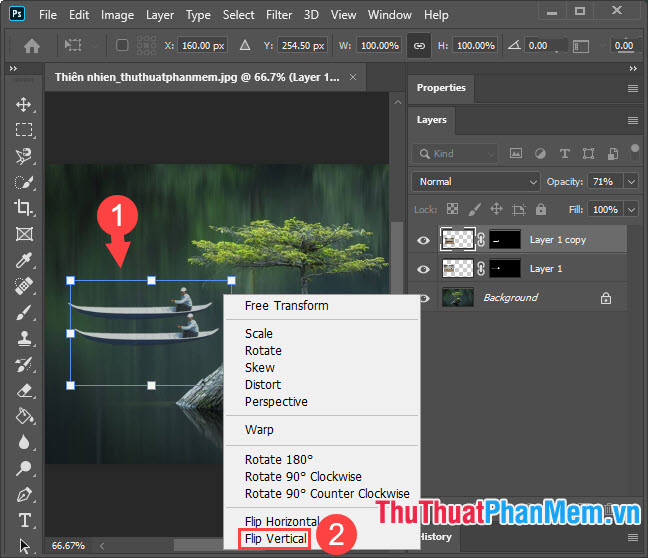
Step 4: We will create a mirror for the boat to make the image look more realistic. Please right click on the Layer 1 (1) => Duplicate Layer . (2) .

Step 5: Press Ctrl + T and move the copy layer below layer 1 (1) a bit like the sample image. Next, right-click on the copy layer and choose Flip Vertical (2) .
Step 6: Go to the Filter menu (1) => Blur (2) => Gaussian Blur . (3) .

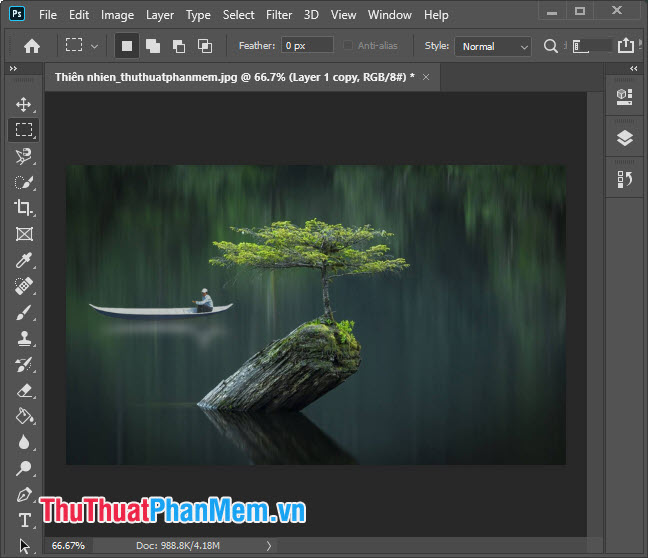
Step 7: Adjust the Radius (1) to make the shadow appear blurry as if reflecting. Click OK (2) when you see the best result.

And finally, we have a photo layer transplant is also quite fast and beautiful.
By inserting images into layers in the article, I hope you will be familiar with the basic operations on the layer and create for yourself very cool and beautiful collages. Good luck!
Was this article helpful?
Your feedback helps us improve.
Related Articles
 How to combine layers in Photoshop6 minutes read
 3 tips to manage layers in Photoshop5 minutes read
 How to use Photoshop CS5 - Part 3: Introducing Layers6 minutes read
 How to resize layers in Photoshop2 minutes read
 How to Open Multiple Images As Layers in Photoshop Using Bridge6 minutes read
 10 Photoshop beginner skills need to know16 minutes read
Reader Comments 0
Sign in with email or Google to join the discussion.