How to Improve Your Photographs Using Zoner Photo Studio X
There are some basic things that you can do to your photographs that will enhance them greatly. However, your options can vary. Depending on your software skills and finances, you can go from free programs to Photoshop! One really good...
Table of Contents
Method 1 of 2:
Adjusting the White Balance
-
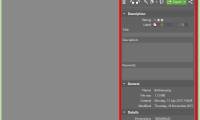
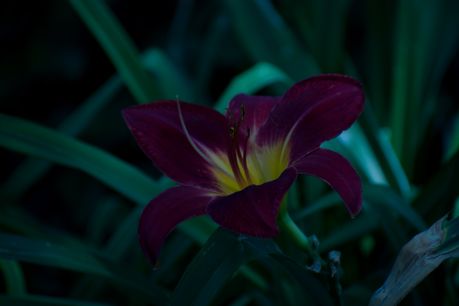 Open your image in the Develop Module. It can be done with a JPG or a RAW file.
 - Click on the eyedropper that you see in the White Balance options.
- Find the white in your image. You can find white in eyes, the background, or whatever else. If there isn't any, find something that is close.
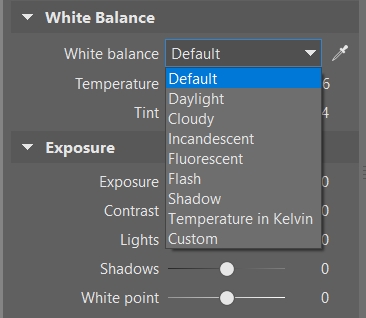
- If you can remember the circumstances with which the photograph was taken, e.g. cloudy, sunny, night, etc, click the down arrow and select the white balance that way.
-
 If it isn't what you wanted, use the Temperature slider bar that is directly below the drop down box.
Method 2 of 2:
Cropping Your Image
- Open your image in the Develop Module.
-
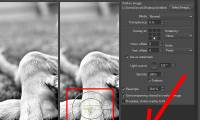
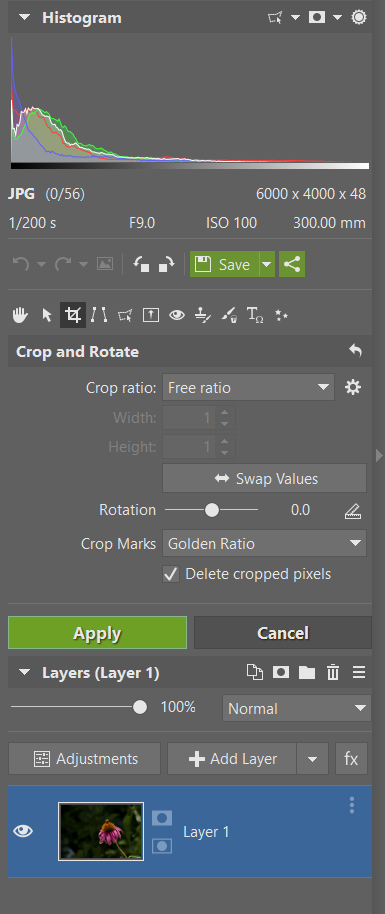 Click on the Crop icon (or press C on your keyboard). This will bring up the Crop and Rotate window.
 -
 Have a crop ratio in mind. If you are posting to Instagram or Tumblr, you might want a square image (1:1).
- If you are going to frame it, you will want to know what size the frame will be. 4:3 and 16:9 are common crops.

- If you are going to frame it, you will want to know what size the frame will be. 4:3 and 16:9 are common crops.
-
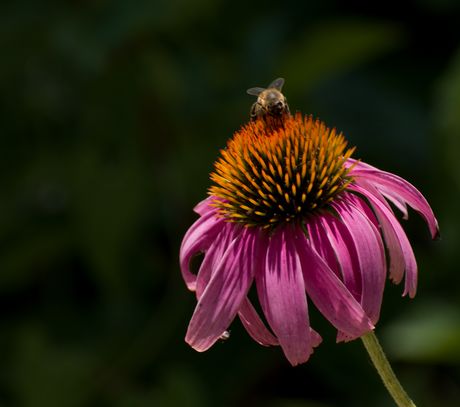
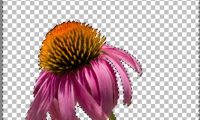
 Look at your image to decide if you want to crop anything out.
 -
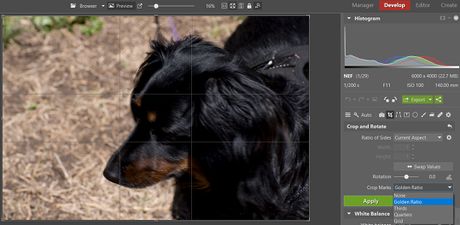 Choose crop marks, if you would like. Thirds and Golden Ratio are two popular choices. Remember the Rule of Thirds.
Was this article helpful?
Your feedback helps us improve.
Related Articles
 How to Post Your Images to Flickr Using Zoner Photo Studio2 minutes read
 How to Organize Your Images Using Zoner Photo Studio X4 minutes read
 How to Use Selection Tools in Zoner Photo Studio X5 minutes read
 How to Rate Your Images with Stars in Zoner Photo Studio Pro 173 minutes read
 How to Use Layer Masks in Zoner Photo Studio X3 minutes read
 How to Watermark Your Images with Zoner Photo Studio Pro 162 minutes read
Reader Comments 0
Sign in with email or Google to join the discussion.