How to Organize Your Images Using Zoner Photo Studio X
With today's cellphones, cameras, computers, and a myriad of other devices, we have a lot of digital images. Some good, some bad... Zoner Photo Studio X is a great software for doing edits of your photos and also for organizing them. It...
Table of Contents
Method 1 of 3:
Planning Your Organization
-
 Come up with a naming scheme before you start organizing your images. This is mostly for your folders, but you can also apply it to your images. Consistency is everything.
 - Consider going through your images and getting rid of the 'fluff'. The images that you hadn't bothered deleting, ones that you thought were good, duplicates, etc. You will be glad you did as you get more organized.
- Definitely put some thought into having your photographs backed up. Of course, it's great to have them on your computer, but things happen. If you don't have them backed up on the cloud somewhere, if your computer dies, or your house catches fire, or anything like that, you will lose a lot of your time, energy, and work.
- While having an external hard drive is very handy, still have an off site place for your images. Again, a fire isn't picky about what it burns.
Method 2 of 3:
Downloading Your Images
-
 Start when you import your images. Having a consistent way of organizing your images can help you down the road. Once you are inside Zoner, look to the lower left of your screen and click on Import.
 -
 Choose the correct source. Do this by selecting the folder beside the address bar. Navigate your way to where your images are. Depending on your settings, your computer may have already figured out where they are coming from.
 - Build a folder system that works for you using your naming scheme. There are all kinds of ideas and suggestions out there, but they are just that. Suggestions. Do what works for you. Mix and match, if that's what you like.
- Navigate to the Target folder. This will tell Zoner where you want the images to be downloaded to.

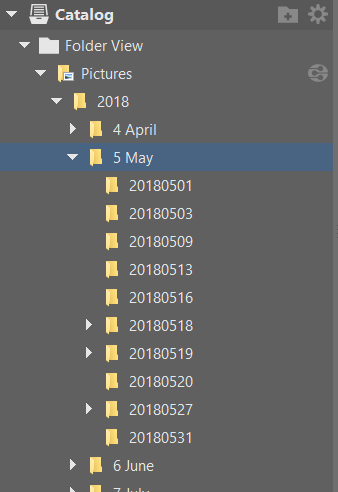
- Choose the Create subfolders option. Otherwise, your images will just be jumbled together. Again, apply your scheme. If you don't have one, the year/date/month is one option, as seen in the screenshot.
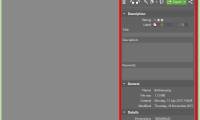
- Add any information that you think might be relevant, such as the photographer's name, copyright information, keywords (if you know them already).

-
 Select any Options that you think you would want. Initially, unless you know what you want, leave it whatever the default is.
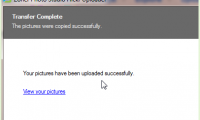
 - Click on Copy and wait. The time you wait, will depend upon the number of images that you are downloading. It will also depend on what you are getting the images from. Getting them from a hard drive will be quicker than getting them from an SD card.
Method 3 of 3:
Adding Keywords
-
 Open Zoner Photo Studio. Click on Manager
 - Be sure the keyword pane is showing. If you don't see it, press F8.
- Look at your initial keywords. The initial keywords/categories are Events, People, Topics. Click on the arrow to see the keywords underneath. Those are the ones that Zoner Photo Studio gives you to start with.
-
 Create categories by grouping together similar keywords.
 - Start creating new keywords. Begin with more general terms and 'drill' your way down.
Was this article helpful?
Your feedback helps us improve.
Related Articles
 How to Rate Your Images with Stars in Zoner Photo Studio Pro 173 minutes read
 How to Post Your Images to Flickr Using Zoner Photo Studio2 minutes read
 How to Use Selection Tools in Zoner Photo Studio X5 minutes read
 How to Watermark Your Images with Zoner Photo Studio Pro 162 minutes read
 How to Use Layer Masks in Zoner Photo Studio X3 minutes read
 How to Improve Your Photographs Using Zoner Photo Studio X2 minutes read
Reader Comments 0
Sign in with email or Google to join the discussion.