How to crop a circle image in Google Slides
We can cut photos on Google Slides into a heart shape or cut photos into a circle with a very simple operation..
When inserting images into Google Slides, users can cut images into many different shapes to serve the presentation content or enrich the document by other shapes of the image. We can cut photos on Google Slides into a heart shape or cut photos into a circle with a very simple operation. Here are detailed instructions for cropping a circle image in Google Slides.
Instructions for cropping circular images in Google Slides
Step 1:
First you insert images into slides as usual. Next, click on the crop icon and select Shape , select the circle in the displayed list.

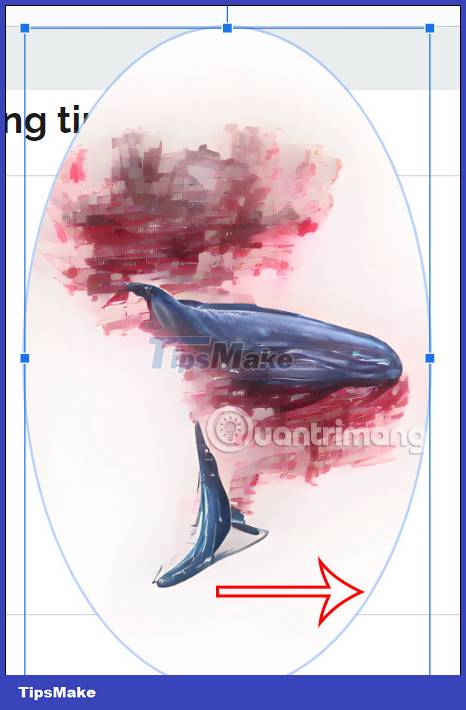
Step 2:
Now your image will turn into an ellipse. We will drag the green border inside the ellipse as shown below to turn it into a circle.
The user then has a circular image. You will create the circle first and then further adjust to get a nicer circle.
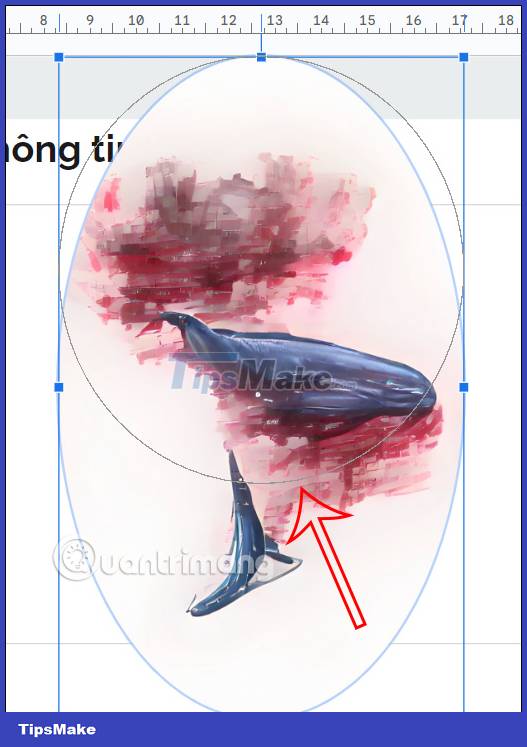
Step 3:
When you get a circle, you will press the Shift key and then use the mouse to drag it out or drag it to the outermost border of the image to get the circle you want. You can adjust the width of the circle to fit you.
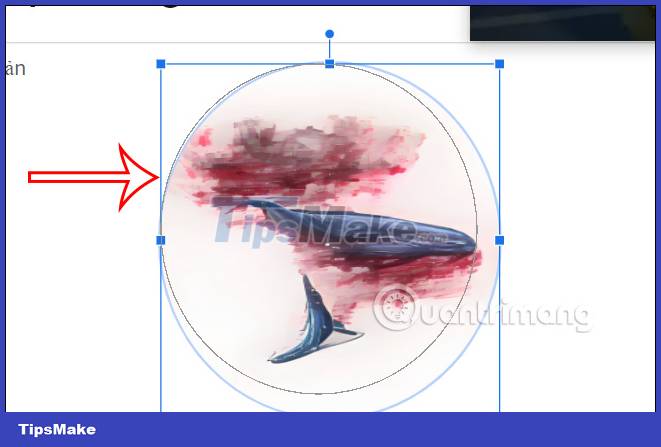
As a result, we have cropped the image into a circle in Google Slides as shown below.