How to draw beautiful mind maps with iMindMap
How to draw beautiful mind maps with iMindMap In addition to using traditional text, you can convey information to readers with a concise mind map..
You want to increase the memory, increase the ability to convey information to the reader in addition to using traditional text, you can convey information to the reader with a concise mind map, quick memorization with visual images. . The following article will guide you in detail How to draw beautiful mind maps using iMindMap.
If you have not installed the iMind Map software, you can download it on the site: https://www.mindmeister.com/
Step 1: Open iMindMap software -> click Mind map:
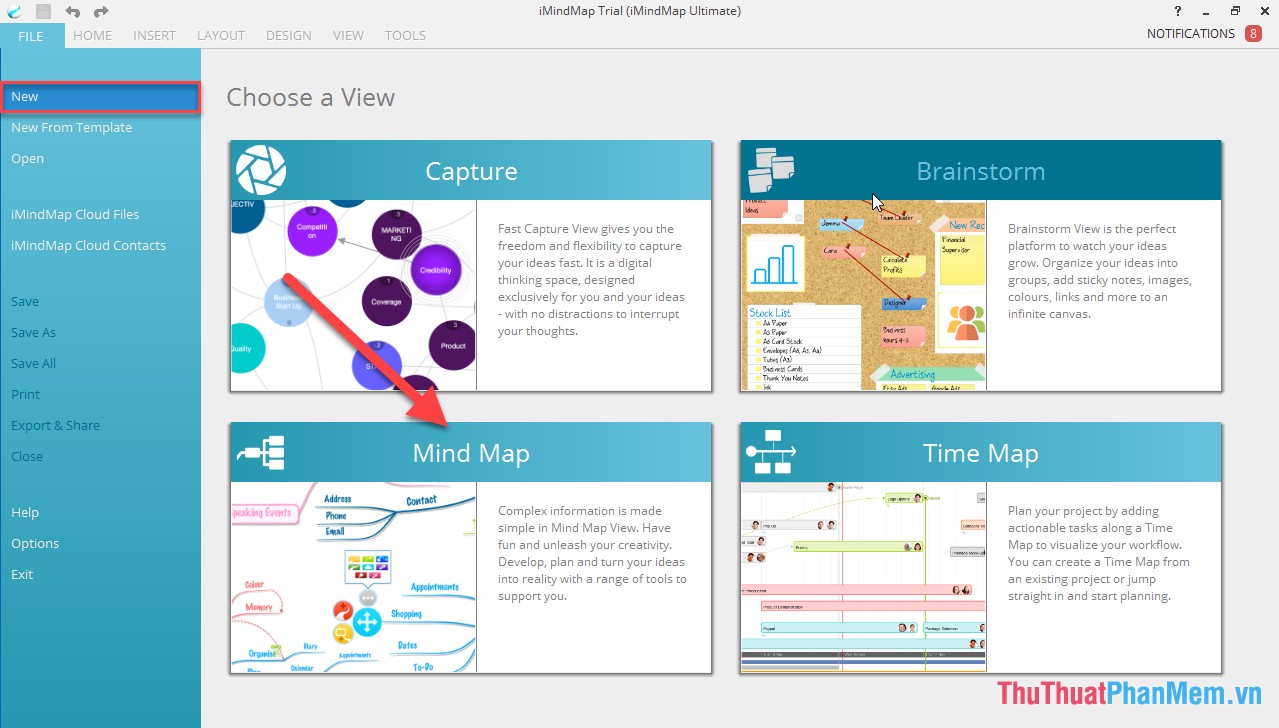
Step 2: Select Mind map -> select the icon set as the main keyword ( central idea) -> Start:

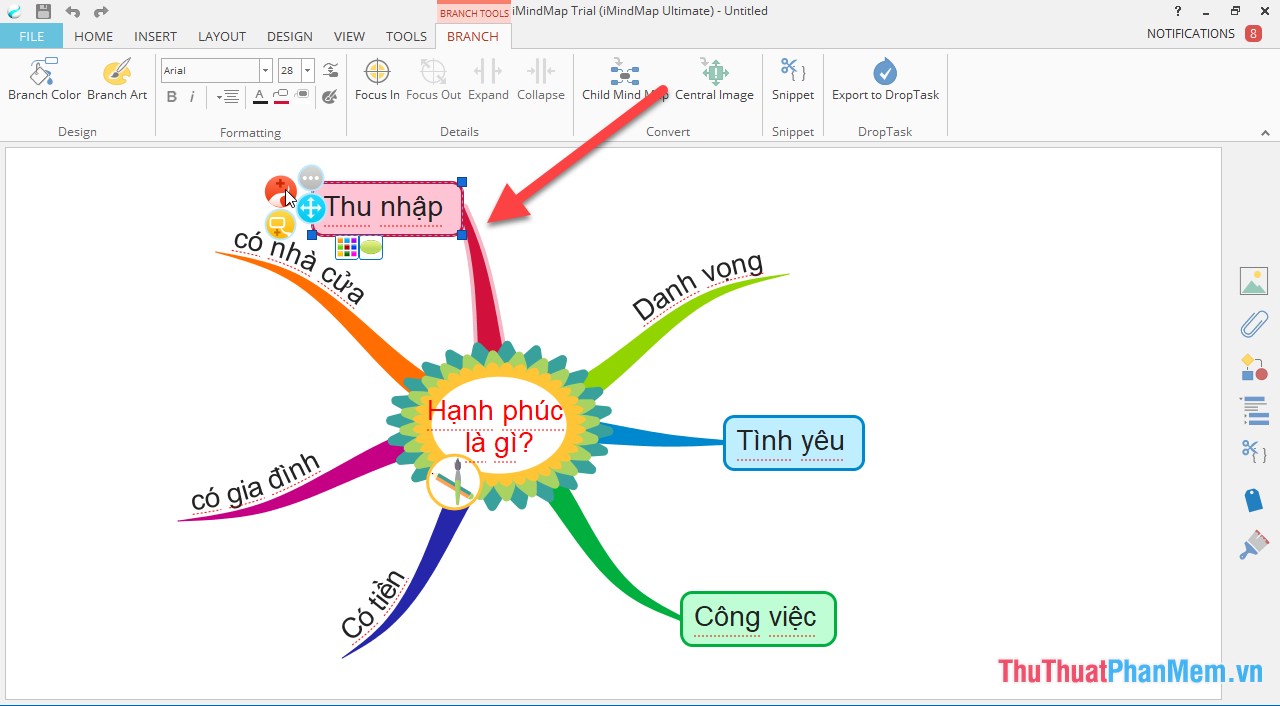
Step 3: Enter the content as the main keyword, choose the font style, font and font color .

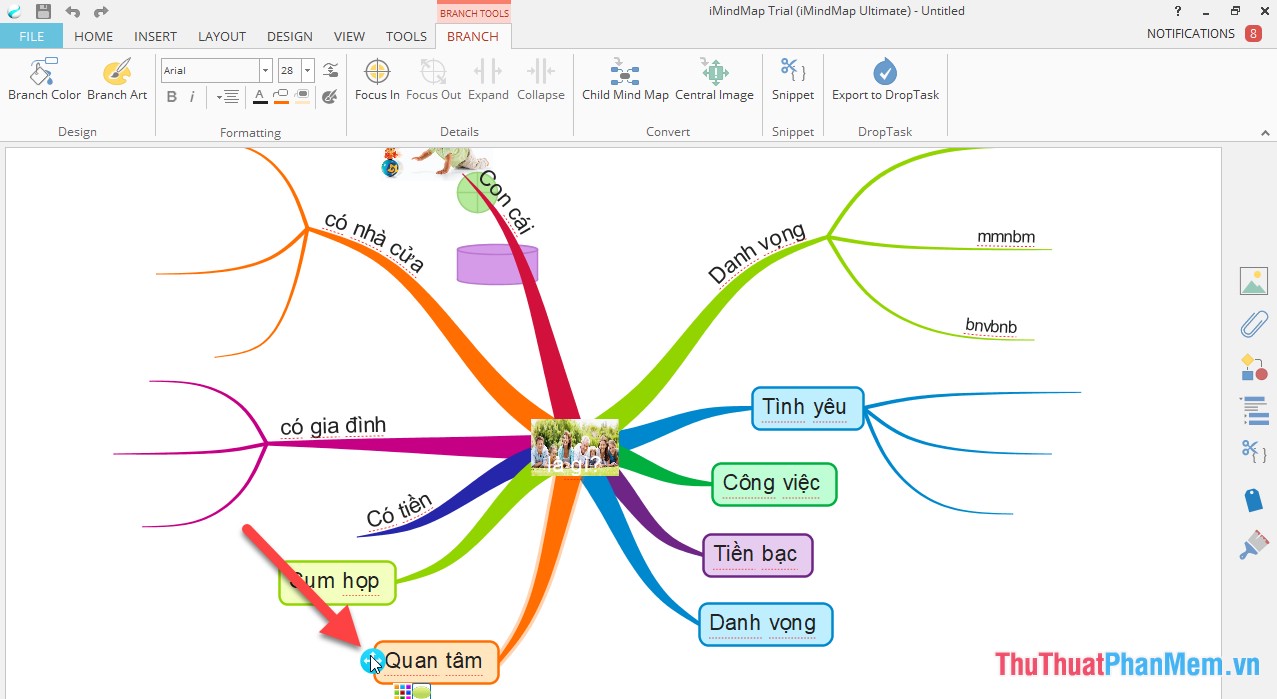
In case you want to move to another location -> move the mouse to the position in the middle of the white background -> click and hold the left mouse button to move the central idea to the desired location:

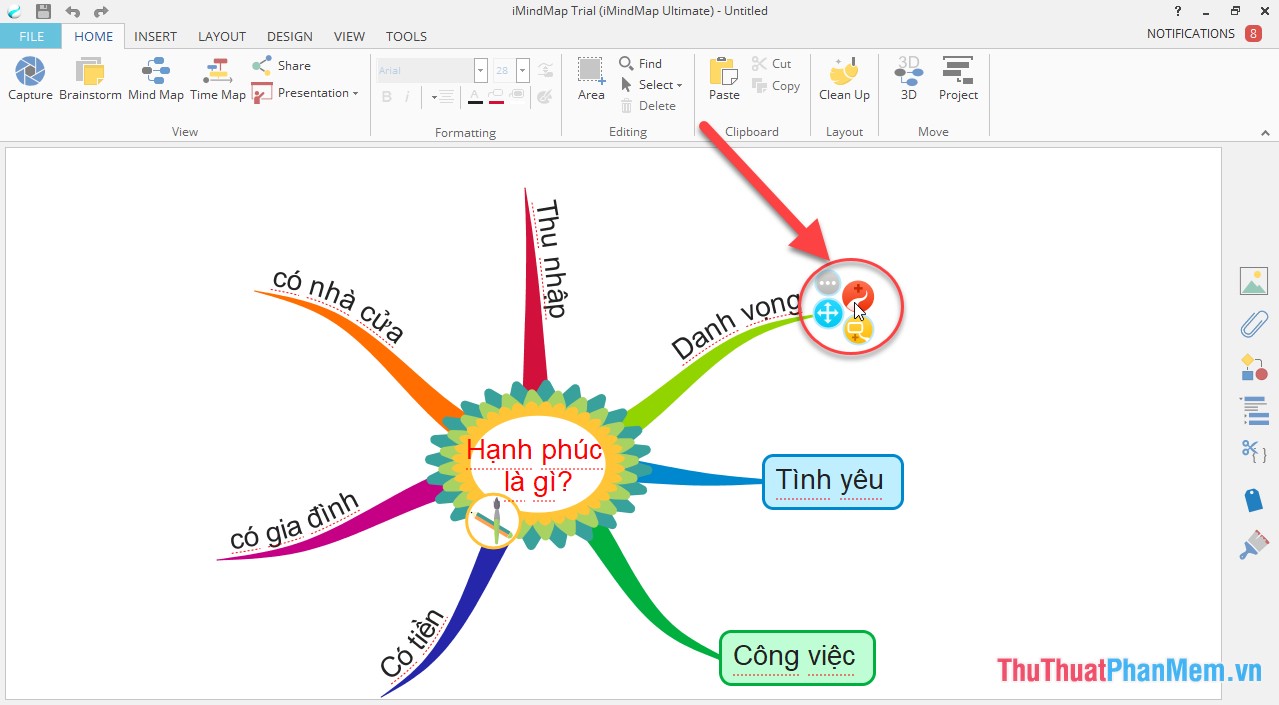
Step 4: Click the icon in the central position of the Central idea -> click and hold the left mouse button to move to the position you want to create a branch -> enter keywords for the newly created branch:

Step 5: Similarly create other branches. Change the branch type by clicking the icon:
- Branch: Smooth branch (yellow icon)
- Box Branch: Branch with text box attached (red icon)

Example of selecting branch with text box attached:
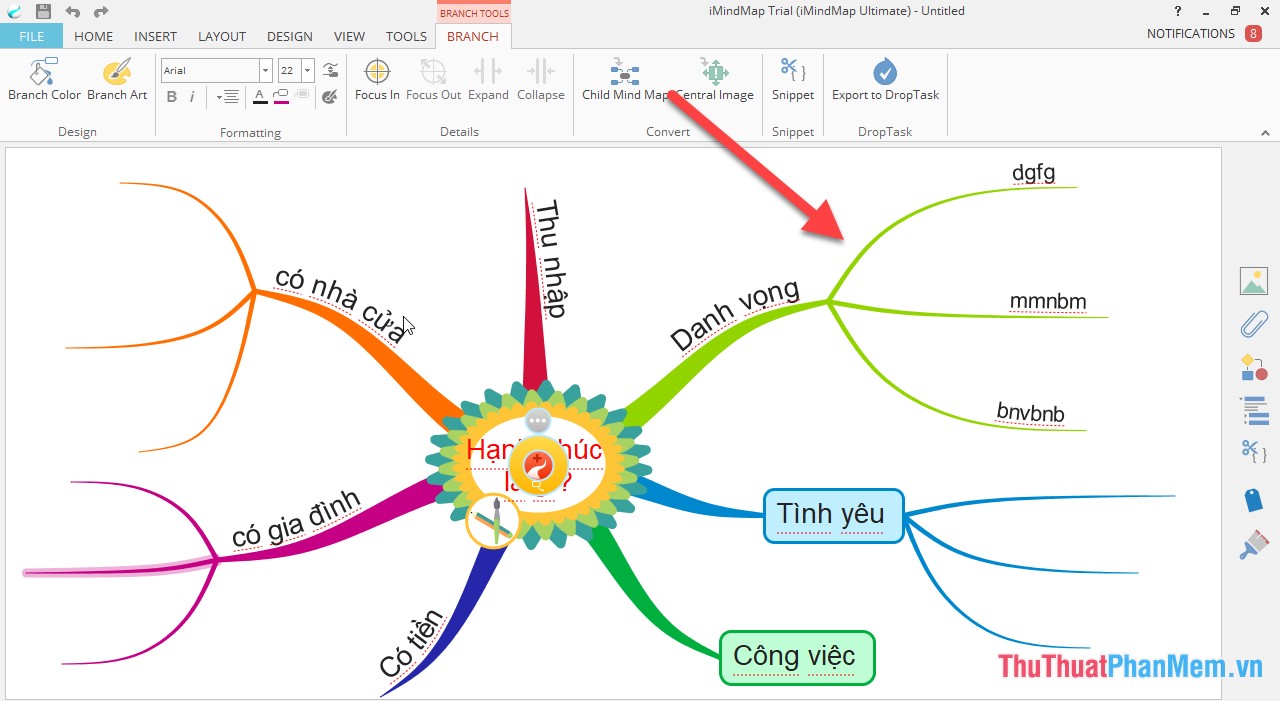
Step 6: After creating the branch, create branch level 1 by clicking on the plus sign of the parent branch -> select the branch type -> click and hold the left mouse button to draw the branch you need to create:
The result has created branch level 1:
In case you want to insert illustrations for the diagram on the Insert tab -> Image File -> select the path to the image file to be inserted:
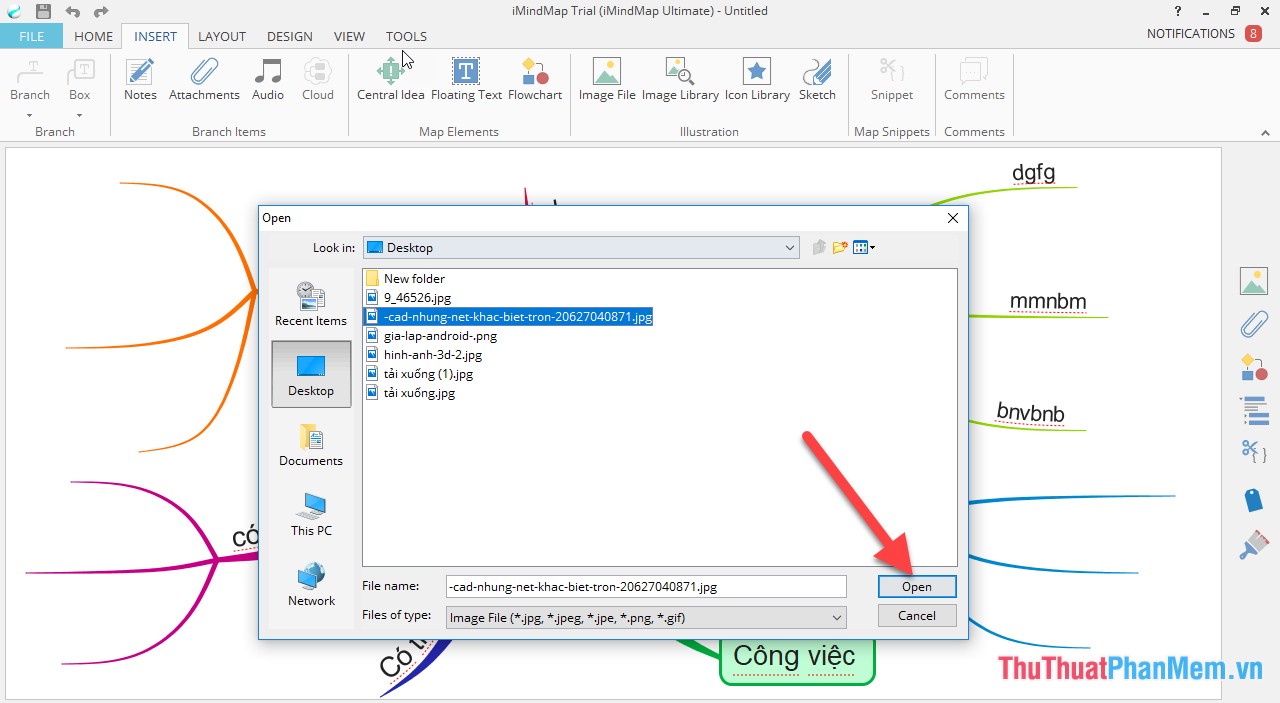
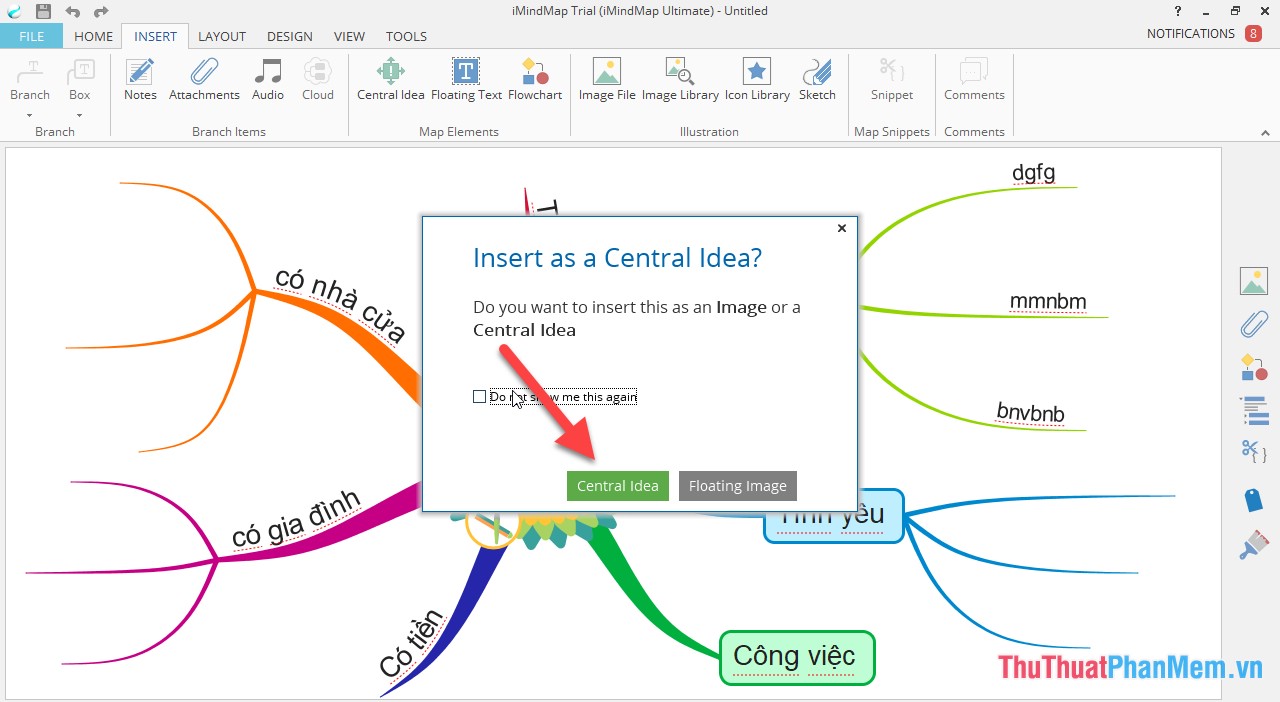
After selecting the image file, the dialog box informs you that you use the image as the main keyword or the branches, for example here set the image as the central keyword -> select Central idea:
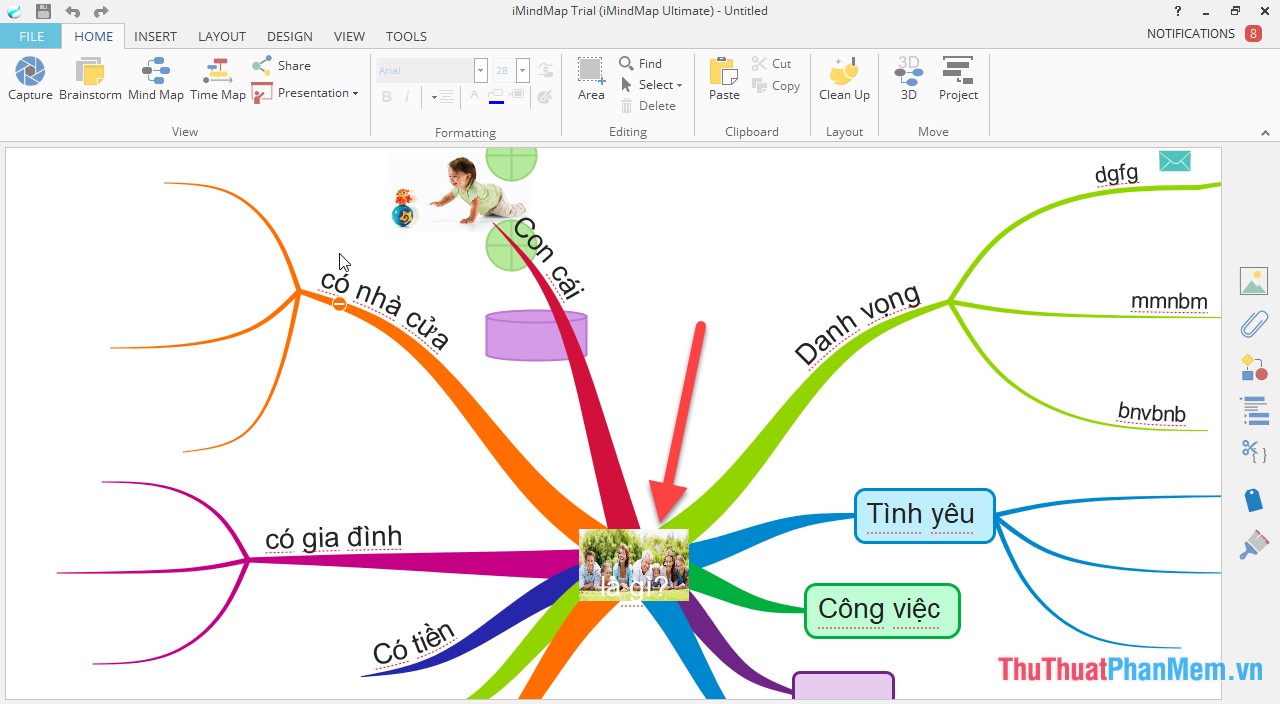
Resize images as the main keyword accordingly -> get results:
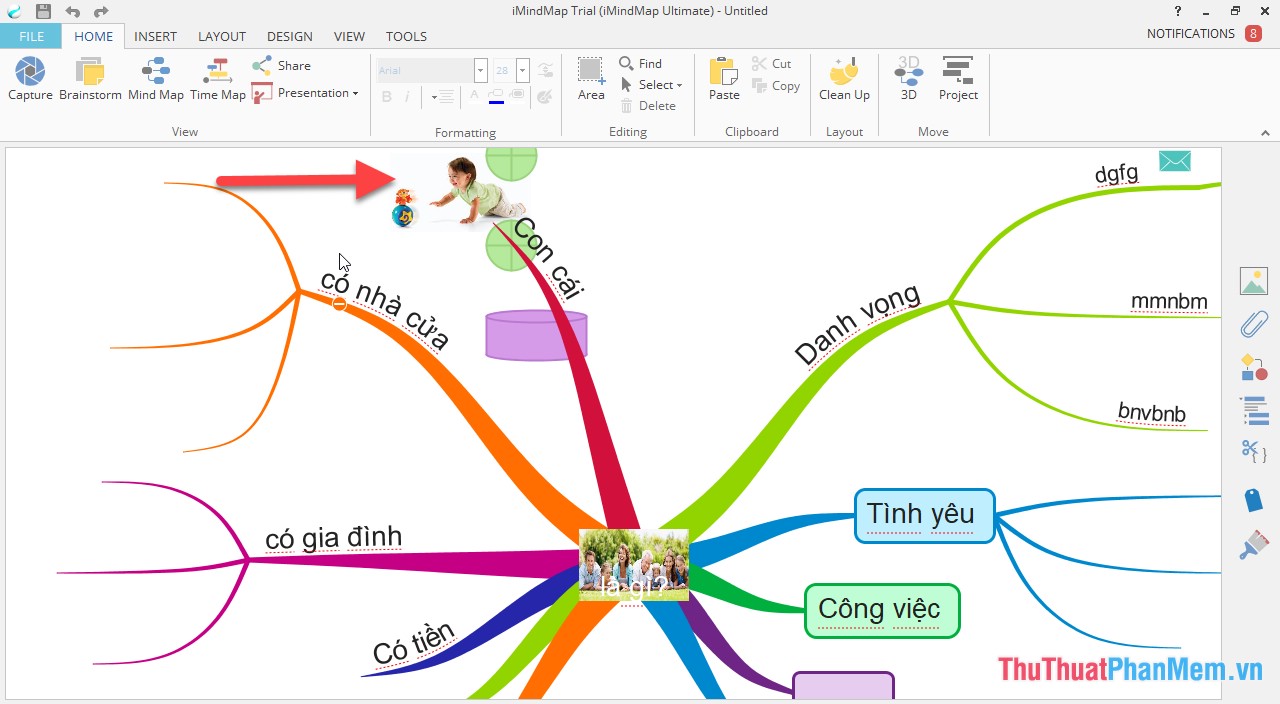
Similarly, you can insert illustrations for the branch in the mind map:
In addition, to edit, move the branch position, click the 4-way arrow icon -> click and hold the left mouse button to move as you like:
Above is a detailed guide How to draw beautiful mind maps with iMindMap.
Good luck!