How to draw a mind map using Mindjet MindManager
Mind maps help you organize everything in your thoughts in a clear, scientific way. So, how to draw mind maps with Mindjet MindManager software? Please follow the article below.
Table of Contents
Mind maps help you organize everything in your thoughts in a clear, scientific way. You will not need to keep many things in mind, moreover the mind map is suitable for all industries, all ages from students, students, or people working, teachers, business . So how to draw mind maps with Mindjet MindManager software? Please follow the article below.

An article on how to draw mind maps for beginners using Mindjet MindManager software.
First you need to download the latest version of Mindjet MindManager here https://www.mindjet.com/mindmanager/. Then install the software on your computer, after the installation is complete you start making mind maps with Mindjet MindManager.
Method 1: Draw a mind map using blank patterns Team Teamplates
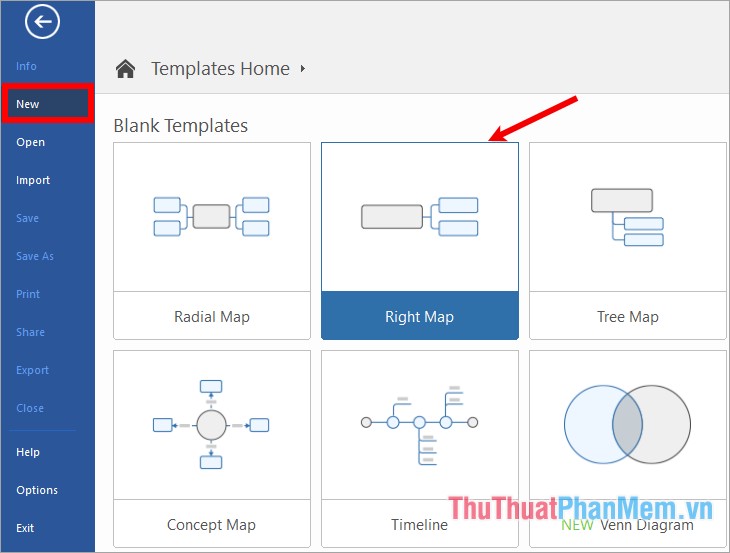
Step 1: Open Mindjet MindManager, the File -> New section will appear . Here you can left click to select any template in the Blank Templates section so that you can draw the mind map.
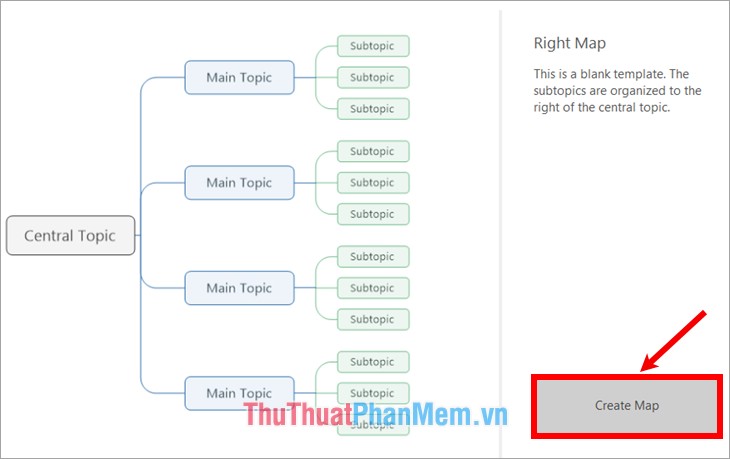
Step 2 : Appear the Template Preview, select Create Map.
Step 3: Edit the central theme name (Central Topic)
Appears a graphical interface with the blank template you have chosen, on the graphical interface with the topic Central Topic (central topic). You put the cursor in the subject and enter a name for the central topic.

To edit the text in your theme and select Font on the toolbar and edit the font, font size, font style, font color similar to word editing in Word.

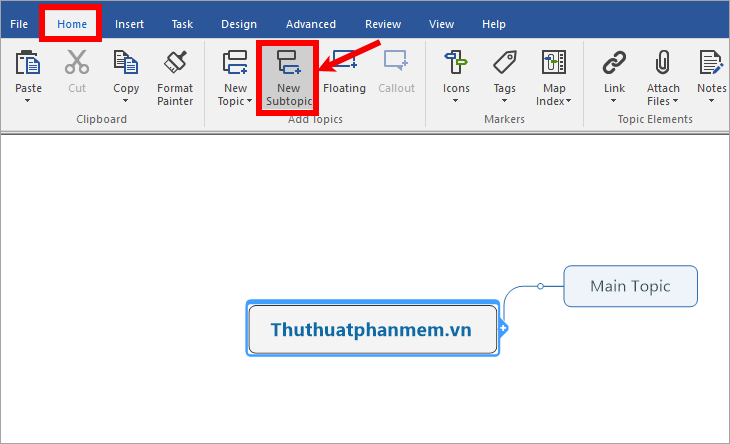
Step 4: Add the main topics (Main Topic)
You can select the central theme and select the + symbol (or Ctrl + Enter ) to add the main theme.

Or you can use the toolbar to add the main topic by selecting the central theme and choosing Home -> New Subtopic , you can add as many main themes as you like.
Then you add the name for the main topic and edit the text similar to editing text for the central theme.

Step 5: Add subtopics
You make more subtopics by selecting the main topic and doing the same as adding the main topic.

Next, you add the name and edit the name of the sub topic similar to the central topic.

Step 6: Adjust the colors
If you do not like the default colors of Mindjet, you can adjust the colors for themes, threads of the same level, the same color will be easier to see. You choose the theme to adjust the color, select the Design tab -> Fill Color -> choose the color for the theme .

To save time editing text and color for the theme, you can use the Format Painter format copy feature like Word. You can copy the format by selecting the topic to copy (1), click Home -> Format Painter (2) to copy the format, then place the cursor on the topic you want to format. (3). The topic will immediately be formatted exactly the same as the topic you copied it in.

Step 7: Some other edits
1. Add notes to the topic
You can add more descriptive notes to the topic by right-clicking on the topic and selecting Notes (or pressing Ctrl + T )

Or you can also choose Home -> Notes -> select the note display horizontally ( Vertical - display vertically, Horizontal - display horizontally).

The Topic Notes section appears, enter the note for the topic, to close the note, select Close .

To view notes or edit notes, click the pen icon next to the subject or press Ctrl + T.

Delete notes, right-click on the pen icon and choose Remove Notes .

2. Insert the link (link) for the topic
Select the topic to insert the path, then you select Home -> Link -> URL / File Path on the toolbar or press Ctrl + Shift + K.

Add Link appears, you can choose the type of link insertion in Link Type:
- URL / File Path : the path of the web or the path to the file.
- Topic in this Map : topic in this mind map.
- Email Address : email address.
Then enter the appropriate information required by the software, after entering it, click OK .

3. Add attachments to the topic
Note: when you attach an attachment, you can open the file right on the diagram, but if you change the location to save the file, you will not be able to open the attachment on the diagram.
There are many ways for you to add attachments for topics: you can drag and drop files to the topic to be attached or select the topic to add and select the Attach Files pin icon on the toolbar or you guys. Right-click and select the topic, select Attach Files , or press Ctrl + Shift + H.

The Add File dialog box appears, you can choose the path to the attachment in the Attach one or more existing files , or create a new white document as an attachment in the Create new empty document as attachment section . Click OK to add the attachment.

To open the attachment on the diagram, click on the pin icon next to the topic.

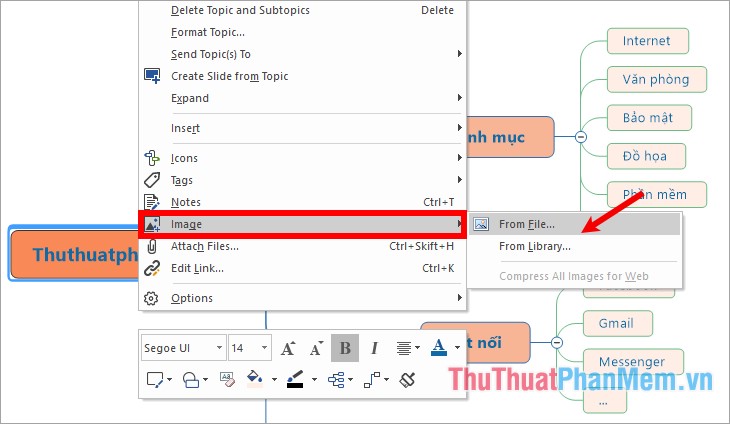
4. Add images to the topic.
If you want to add a descriptive image to the topic, select the topic and select Insert -> Image or right-click the topic and select Image . To add images from your computer, select From File , add images from the library of the software, select From Library . You then select the image and add the subject.
5. Add icons to the theme
Select the theme to add icons and select Insert -> Icons -> select the icons you want to add (or right-click the topic and select Icons -> select the icons you want to add).

6. Add relationships between different topics.
Select Home -> Relationship -> click on the two topics to create relationships. So between the two topics will appear more dotted lines.

7. Shortening the branches
Select the icon of the inner circle marked - to shorten the branch, to reopen the branch, click the circle icon.

Step 8: Save the mind map.
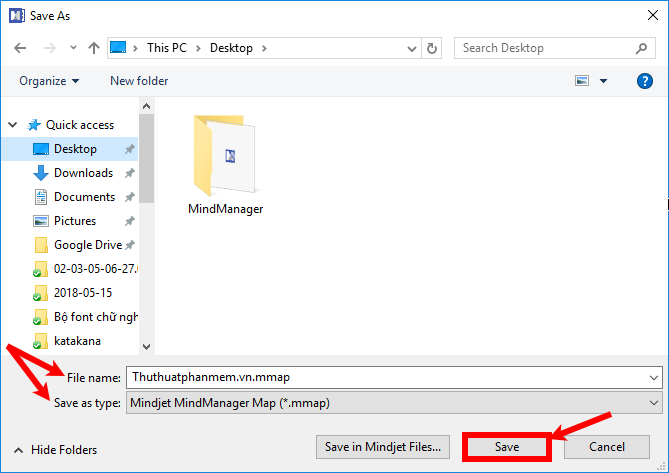
Select File -> Save.

The Save As dialog box appears, select the location to save the file and name the file in the File name , and select the format that you want to save in the Save as type section (if you want to save the file to be able to edit it then Choose the format Mindjet MindManager Map (* .mmap) ). Finally select Save to save.
Method 2: Draw a mind map using available templates Local Templates.
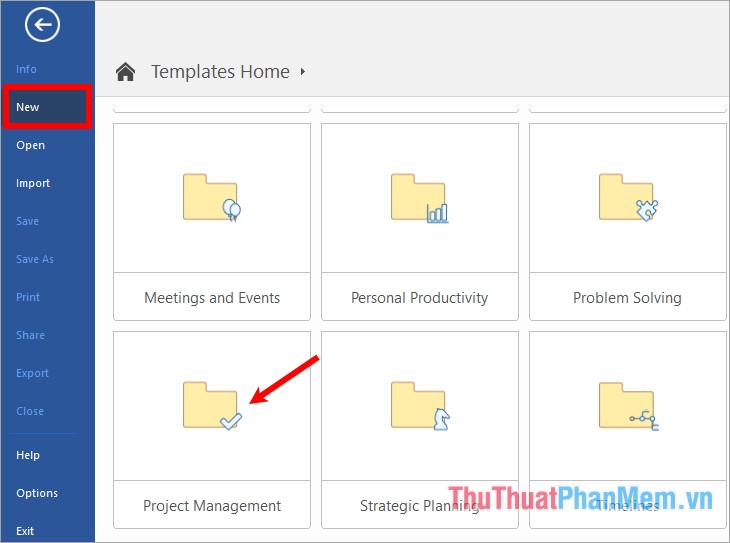
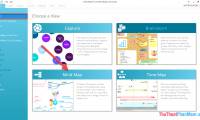
Step 1: Open Mindjet MindManager, on File -> New interface , select the template folder available in Local Templates suitable for the mind map you need to draw. There are many templates in Local Templates: Circular Diagrams (pie charts), Flowcharts ( flowcharts ), Management (management), Meetings and Events (meetings and events), Project Management (project management). .
Step 2 : Choose a specific pattern of thinking.

Appearance Templates Preview, select Create Map to create thinking diagrams according to the template you have selected.

Step 3 : Edit the mind map with appropriate content.
You edit the content name of the topic, add images, links, attachments . save the file after drawing is similar to how 1.

So the article has shared with you two ways to draw mind maps with Mindjet MindManager. Hopefully after this article, you will be able to draw your mind maps. Good luck!
Was this article helpful?
Your feedback helps us improve.
Related Articles
 MindManager 2012 - Powerful and professional collaboration 'on the cloud'4 minutes read
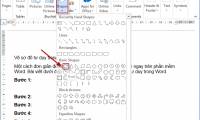
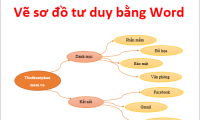 How to draw mind maps with Word6 minutes read
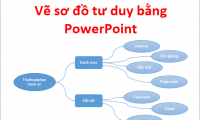 How to draw mind maps using PowerPoint6 minutes read
 Draw a mind map in Word2 minutes read
 How to draw a beautiful, professional mind map in Powerpoint2 minutes read
 How to draw beautiful mind maps with iMindMap3 minutes read
Reader Comments 0
Sign in with email or Google to join the discussion.