How to Draw Gears in Inkscape
Drawing uniform, symmetrical gears can be difficult, whether you do it by hand or on the computer. If you have Inkscape, though, it's much easier! Start with the gears effect included in Inkscape. For the current version 0.46 you can find....
Method 1 of 3:
Coloring the gears - Golden
-
 Now we will make the gears "real", emulating a metallic surface, like gold (or call it bronze, the process is about the same).
 -
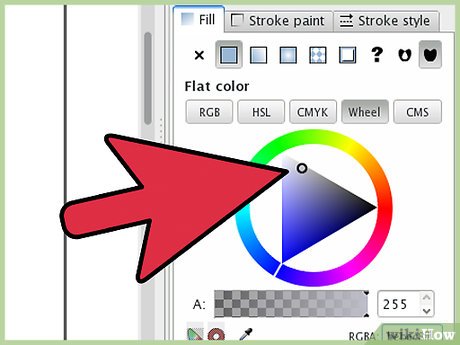
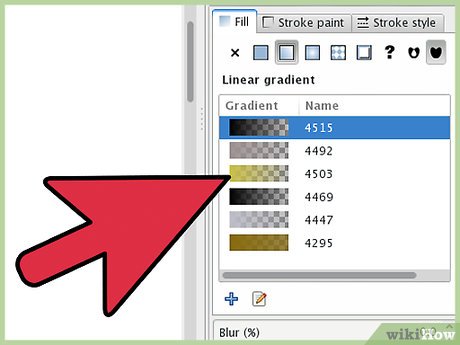
 Define the color. Metallic is not a color, it is created by light reflection, so this article will use a multi-stop gradient (a gradient with more than two colors).
- For gold it should contain a succession of lighter and darker shades of yellow, maybe also a bit of orange.
- For bronze, yellow with a shade of green (copper oxidation is green),
- For steel it should contains greys.
- The chrome is also greys but more reflective (more contrast, from almost black to almost white), silver is less reflective grey and so on.
-
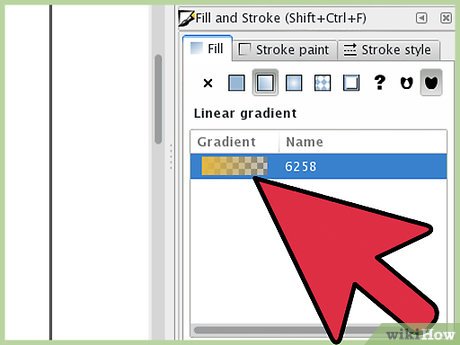
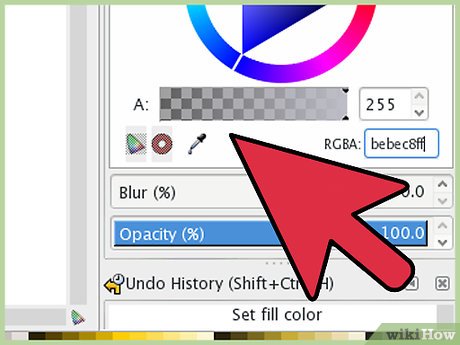
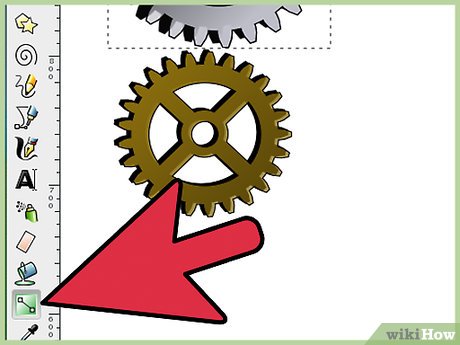
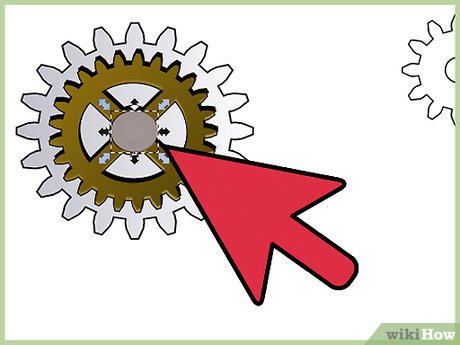
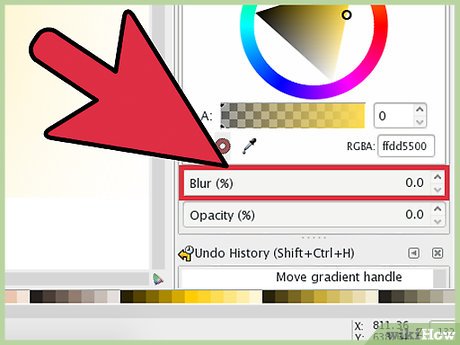
 Then take one wheel and apply the gradient to it.
 -
 For a 3D look, add a drop shadow (duplicate, make it black, move a few pixels down and right, move it under the wheel, add a bit of blur and maybe decrease the opacity).
- The gear does not stay on air, so add a background, and use the same golden gradient (if using this example). For the sake of simplicity, you can use a different one, maybe darker.
-
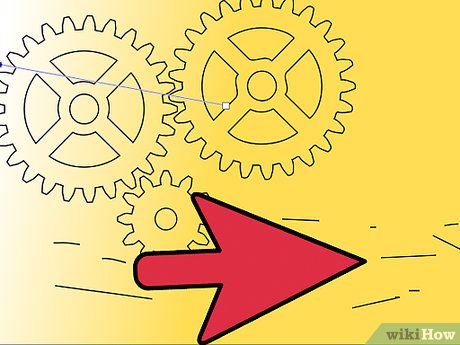
 Add some more gears (all your golden gears).
- Note the usefulness of the drop shadow, without it it would be hard to set apart the gear from the background, now they are distinct objects.
Method 2 of 3:
Coloring the gears - Steel
-
 To make the image more vivid, try adding some steel gears.
 -
 Start this by defining the gradient (multi-stop, greys, with a shade of blue).
 -
 Apply the gradient to some wheels.
- Here is one trick to get some of the wheels richer, not that plain and boring: add a groove - two smaller circles, aligned to the center of the gear, filled with the same grey gradient, the larger in an opposite direction, the smaller in the same direction as the rest of the wheel.
-
 Put the steel gears in the device (just take care to not couple steel gears with gold gears: steel with steel and gold with gold).
- Now for some axles: small circles, made from gold, steel, ruby or sapphire. Do not forget the drop shadow and consider a white highlight.
-
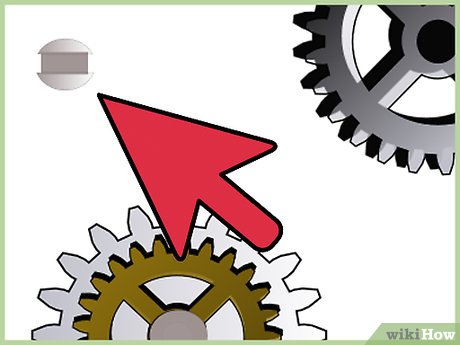
 Place the axles in the center of the gears and we are set.
 -
 Add some screws holding the device. They are easy to do: create a steel circle, subtract a rectangle to create the groove, add a darker steel rectangle, the bottom of the groove, rotate the screw to a random angle (we don't want all the screws to have parallel grooves, that would be repeating and boring), fix the gradient and add a drop shadow. Maybe a hole: a larger circle colored with the same gradient as the background but with an opposed orientation. (I increased the zoom level in this step for a clearer illustration)
 -
 Distribute the screws evenly (or randomly if you feel like it) and it's done!
Method 3 of 3:
Coloring the gears - On paper
-
 Give the gears an aged look. Now is the time to try about the completely different approach, making the gears look like old schematics, old writing on old paper, where we will work on the strokes.
 -
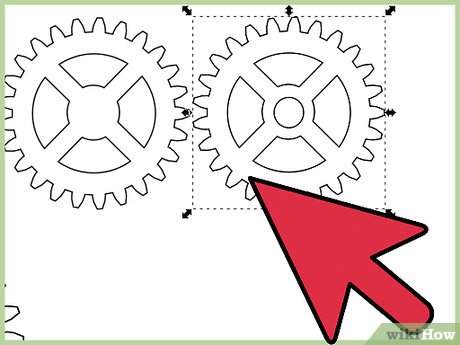 Go back to the black and white drawing.
 -
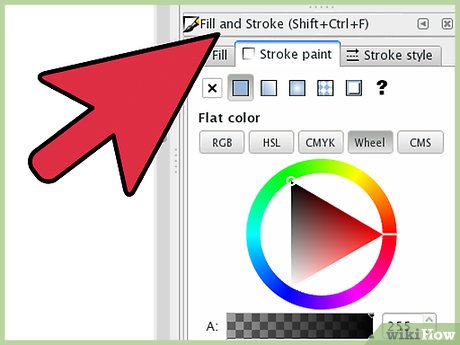 'Set the stroke color and unset the fill color. This will get you something like this, with overlapping contours, we will have to get rid of.
 -
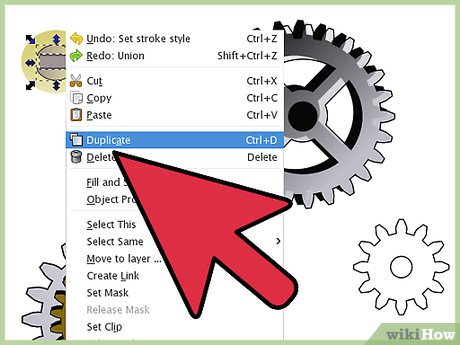
 So select the gear (gears if we have more) suffering due to this unwanted overlap and convert the stroke to path.
 -
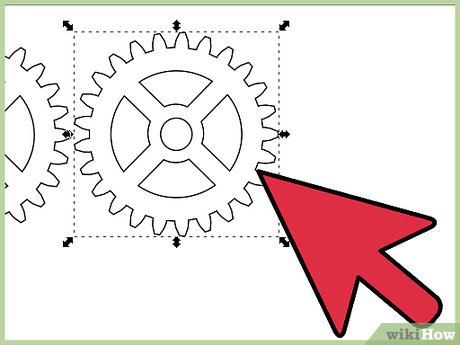
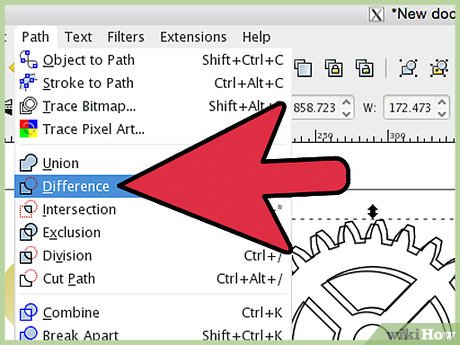
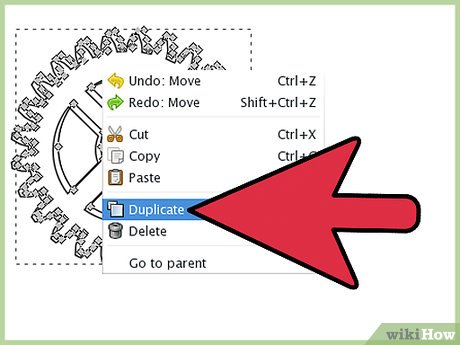 Then go to another gear which covers it, duplicate, select the duplicate and the former stroke and do a difference operation.
 -
 Repeat with all the gears covering it until we get to something like this.
 -
 Then convert all the remaining strokes to paths.
 -
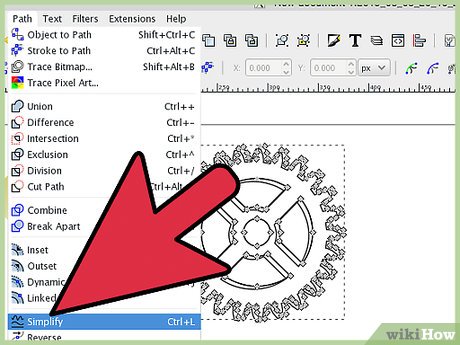
 Now make the drawing look rough. But it has a large number of nodes, it will take quite a while to edit them manually for the desired rough look, so, here is an automatic simplify operation (shown at an increased zoom level).
 -
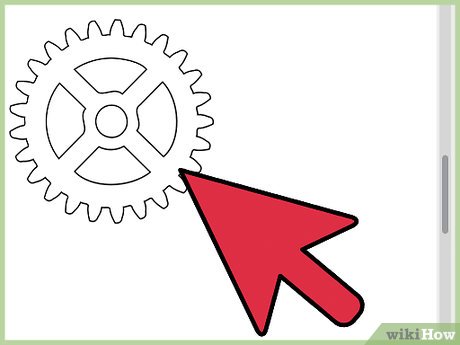
 Repeat for all your gears.
 -
 Now define a multi-stop gradient for the paper - light brown/yellow for old paper or dark blues if we want to go with a blueprint (I have not decided yet about the way to go).
- A multi-stop gradient is needed for ink also (not shown), and it has to have fitting colors but good contrast with the paper (like browns for old paper and light blue for blueprints). Apply the gradients.
-
 Then add some texture to the paper: draw a random blob with the freehand tool, will it in a color similar with the background (but slightly darker or lighter), unset the stroke, simplify if needed and blur a lot:
 -
 Add some more until you are happy with the texture.
 -
 Soften the focus. Select all the gears, duplicate, make the duplicate darker (black), apply some blur and decrease the opacity: