How to Make a File Read Only
You create a file and put some important things in it; you don't want to lose it by deleting it mistakenly, and for safety reasons want a warning message before deletion (or for any other reason). Making a file Read-only is an easy and...
Table of Contents
Method 1 of 2:
GUI Method
-
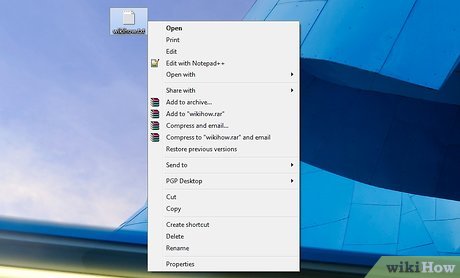 Right click on the file, you want to make it Read-only.
 -
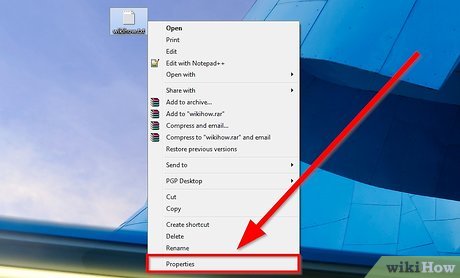 Click on the Properties tab from the context menu.
 -
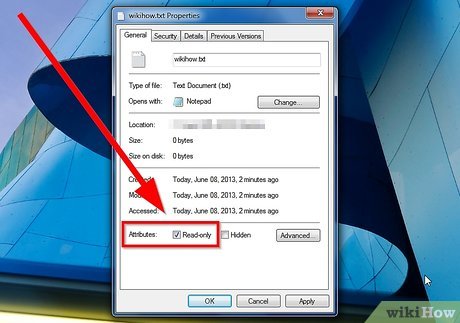 Click the Read-only check box belong to Attributes from on the General tab from the popped up Properties window.
 -
 Click on Apply and then click on Okay.
Method 2 of 2:
Command Prompt Method
-
 Open command prompt. You can open it by clicking on Start->Run, then type cmd and hit Enter. You can also press Win Key+R.
 - Write below codes and hit Enter to make your file Read-only.
attrib +r ""- Example:
attrib +r "D:wikiHow.txt"
Was this article helpful?
Your feedback helps us improve.
Related Articles
 What are CBR and CBZ files? How to read CBR and CBZ files in Linux4 minutes read
 Differences between PPT and PPS files (PPTX and PPSX)3 minutes read
 How to Be Well Read19 minutes read
 How to Delete Read Only Files3 minutes read
 What is a PRC file? How to open PRC file?2 minutes read
 How to read XML files with iTaxViewer software3 minutes read
Reader Comments 0
Sign in with email or Google to join the discussion.