How to create actions in Photoshop for batch processing images
How to create actions in Photoshop for batch processing images. If you have too many photos to fix and don't want to go through them one by one, why not let the system do it for you? With the Action function in Photoshop, you'll only need to model for an image, then t.
If you have too many photos to fix and don't want to go through them one by one, why not let the system do it for you? With the Action function in Photoshop, you'll only need to model one image, then all of the following images in your collection will be edited exactly according to the formula you have given. Very convenient, right?
Now follow this article to learn how to create actions in Photoshop for batch processing images .
How to create actions in Photoshop for batch processing images
Step 1: You prepare the folder containing the photos you want to edit.

Step 2: Open any one of them in Photoshop to start modeling.

Step 3: Click F9 to open the Action window, the interface is as follows:

Click the icon below to create a new Action:

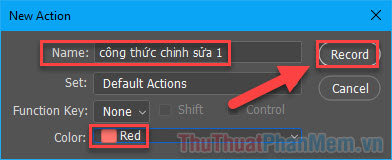
You name the Action, select a particular color and press Record to start recording the process:
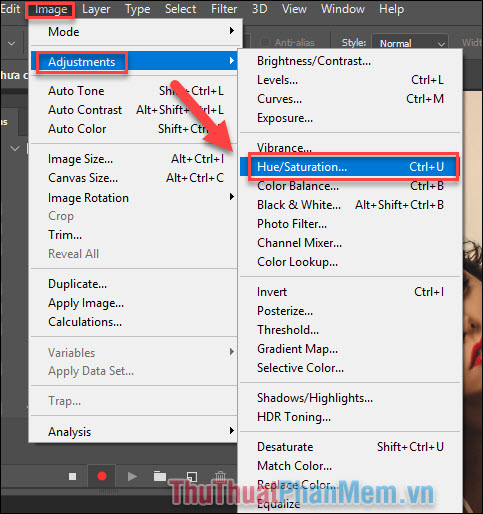
Step 4: Start editing the image as you like: brightness, contrast (Image >> Adjustments >> Brightness / Contrast .), colors (Hue / Saturation .) or filters ( Photo Filter .). This stage depends on your editing needs and intent.
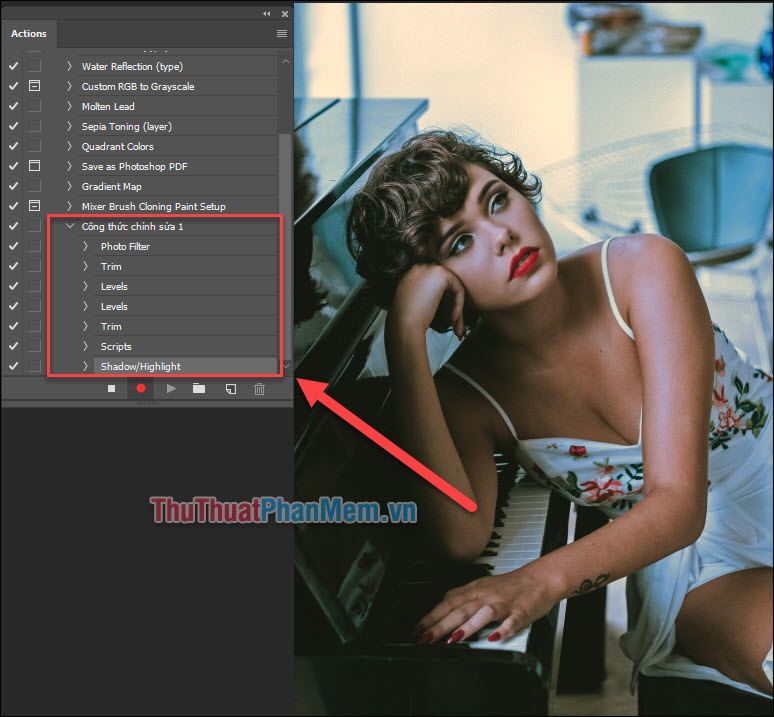
The editing steps will be saved as a list as follows:
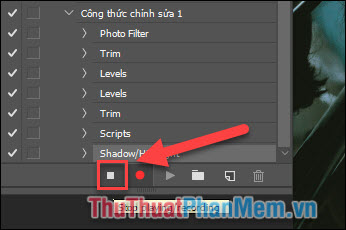
Step 5: When all editing steps are finished, finish recording by clicking the Stop icon.
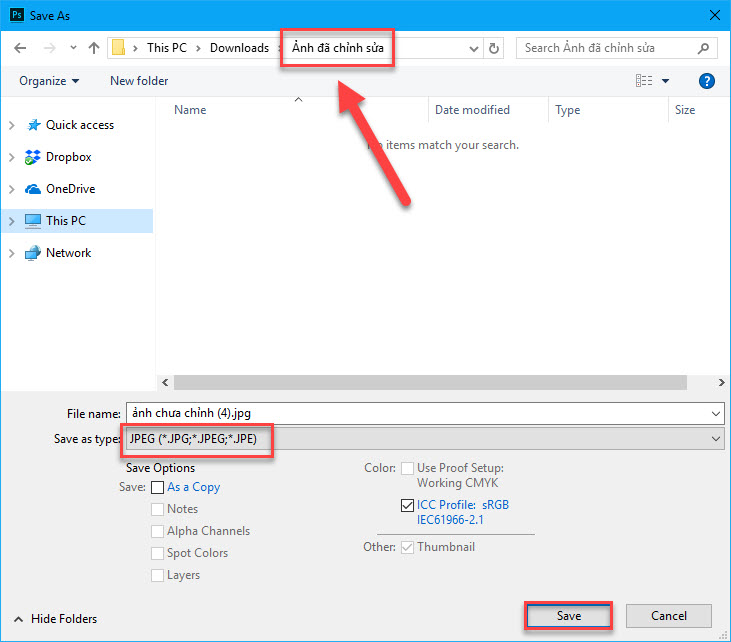
Step 6: You create a new folder as the destination to save the image after editing.
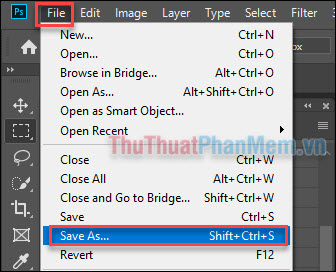
Choose File >> Save As . to save the sample image here as a JPEG file.
Step 7: Conduct batch processing, select File >> Automate >> Batch .

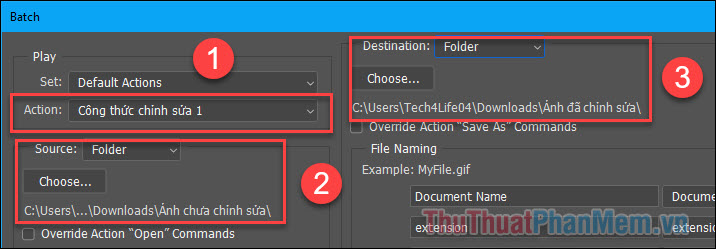
You install the following:
(1) Action: Select the Action set you have just recorded.
(2) Source: Select the source that is the folder containing the unprocessed photos.
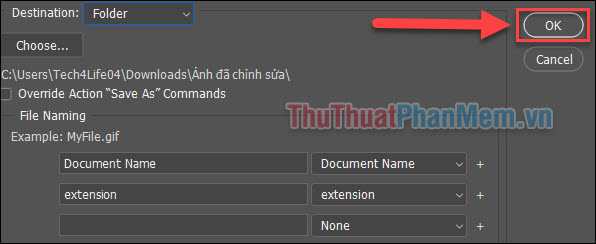
(3) Destination: The destination is the folder that will contain the image after processing.
Then you just need to click OK and wait for the batch processing is complete.
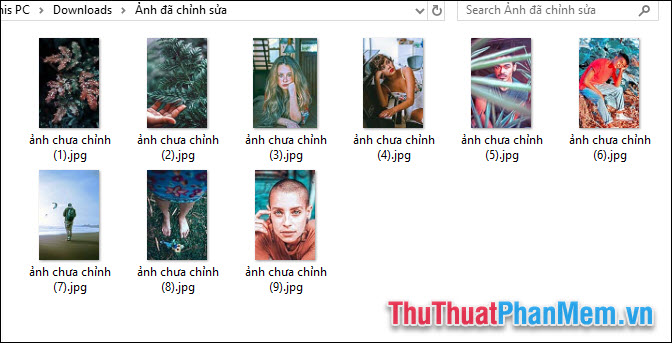
Open the destination folder and all your photos have been edited according to the following formula:
Wishing you a successful practice!