How to Connect Computer to TV
Use HDMI
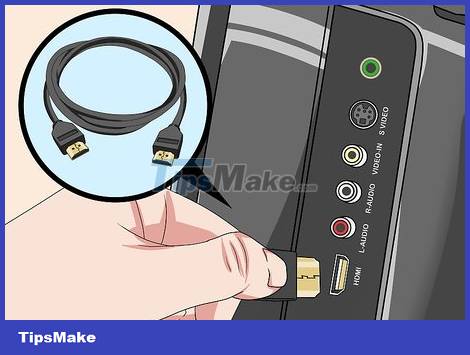
Connect the computer to the TV using an HDMI cable with two identical ends. The HDMI port on the computer and on the TV are the same and the HDMI cable must also have two identical connectors.
If your TV has multiple HDMI ports, you need to remember the serial number of the port used to connect.
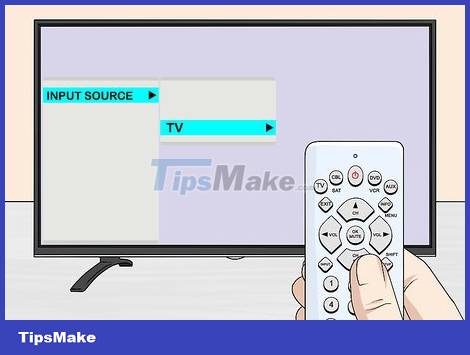
Change the TV input. Use the buttons on the TV or controller and press the Input button to change the TV's input to HDMI.
If your TV has multiple HDMI ports, select the port that is connected to the computer.
Some TVs will automatically do this when a signal is found.

Right-click your computer's home screen and select Display Settings to open the menu.

Click Detect . This operation requires the computer to detect the TV signal you have connected. Look to see if you see two squares numbered 1 and 2 displayed on the settings window.
Your computer may already recognize the TV.
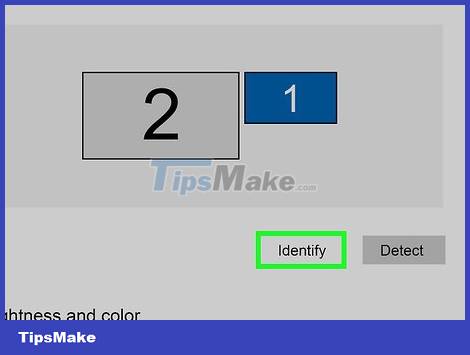
Click Identify . With this operation, you will see a label displayed on each screen to know which number is for the computer screen and which number is for the TV (number "1" is the main projection screen and number "2" is the monitor). secondary slideshow).
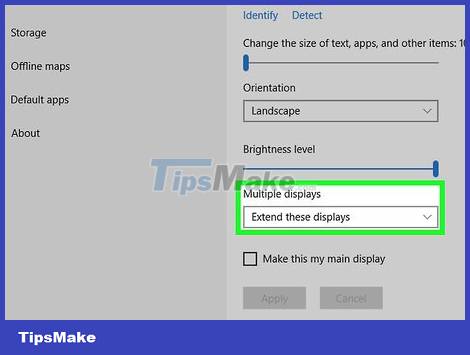
Click the "Multiple displays" box and select the appropriate option. Here, you will see a few options for projecting from your computer to your TV as follows:
Duplicate these displays . This is the option to project exactly what is being displayed on the computer onto the TV.
Extend these displays . This is an option to display additional TV screens on the computer.
Show only on 1 (Show only on number 1). This is option to turn off slideshow number 2.
Show only on 2 (Show only on number 2). This is the number 1 slideshow turn off option.
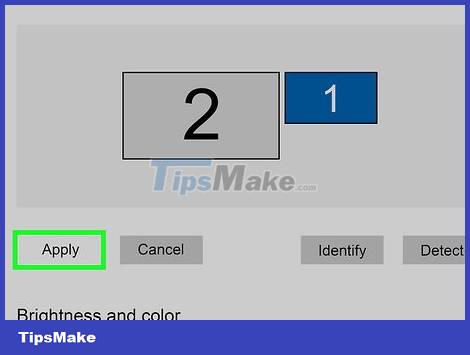
Click Apply . This will apply display settings changes to your computer monitor and TV. Now your TV is connected to the computer.
You can continue to adjust each slideshow by clicking the appropriate numbered square and selecting Advanced display settings . You can also drag and rearrange the squares to change the presentation direction.
Use DVI or VGA
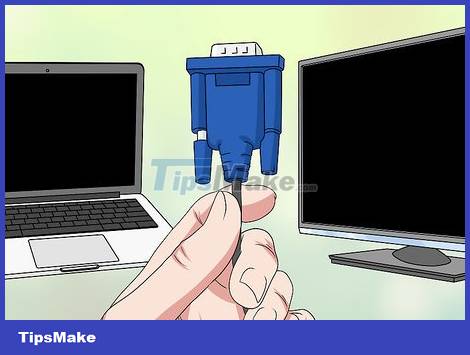
Connect the computer to the TV using a DVI or VGA cable with two identical ends or a regular cable. The DVI and VGA ports on the computer must be the same as the TV and the cable must also have the same two connectors.
Some TV VGA inputs are marked "PC IN" or "Computer IN".
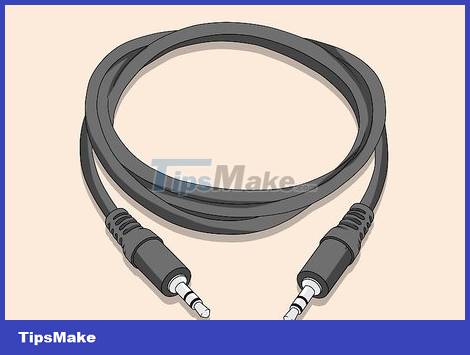
Connect the computer to the TV using an audio cable with two identical ends. This is a 3.5mm audio cable, similar to the headphone connector. Attach one end of the cable to the headphone connection port on your computer, usually the green port. The next thing is to connect the other end to the audio input on the TV.
The audio input on your TV is usually near the DVI or VGA port you connected earlier.
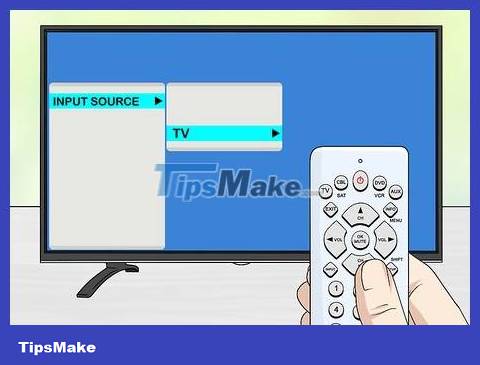
Change the TV input. Use the buttons on the TV or TV remote and press the Input button to change the TV's input to DVI or VGA.
On some televisions, this input is labeled "PC" or "Computer".
Some TVs will automatically do this when detecting a signal.
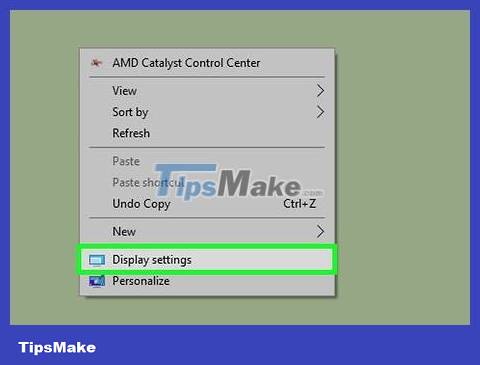
Right-click your computer's home screen and select Display Settings to open the menu.
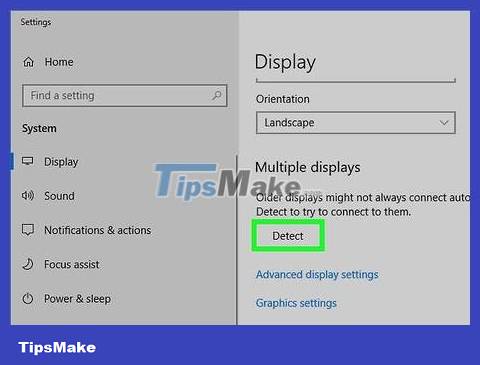
Click Detect . This is an operation that requires the computer to find the TV signal you have connected. Look to see if you see two squares numbered 1 and 2 displayed on the settings window.
Your computer may already recognize the TV.
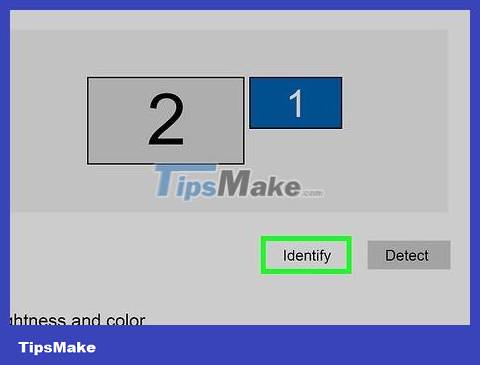
Click Identify . With this operation, you will see a label displayed on each screen to know which number is for the computer screen and which number is for the television.
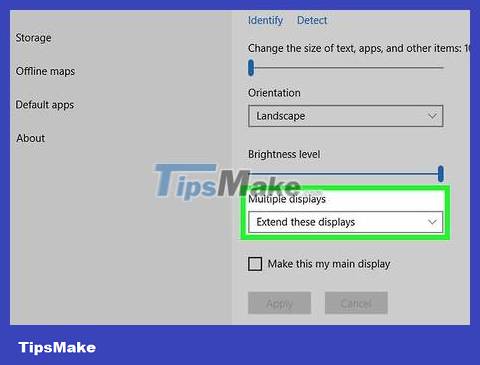
Click the "Multiple displays" box and select the appropriate option. Here, you will see a few options for projecting from your computer to your TV as follows:
Duplicate these displays . This is the option to project exactly what is being displayed on the computer onto the TV.
Extend these displays . This is an option to display additional TV screens on the computer.
Show only on 1 (Show only on number 1). This is option to turn off slideshow number 2.
Show only on 2 (Show only on number 2). This is the number 1 slideshow turn off option.
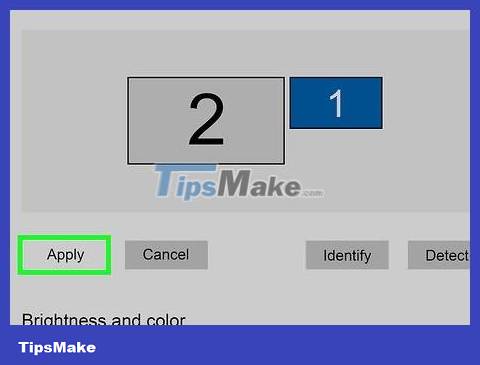
Click Apply . This will apply display settings changes to your computer monitor and TV. Now your TV is connected to the computer.
You can continue to adjust each slideshow by clicking the appropriate numbered square and selecting Advanced display settings . You can also drag and rearrange the squares to change the presentation direction.
Use Wi-Fi
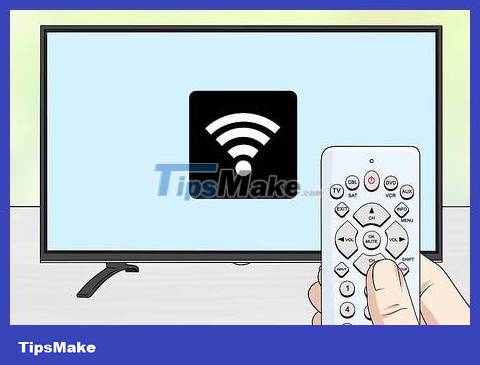
Turn on Wi-Fi on the TV. Follow the manufacturer's instructions to access the Miracast transmission protocol to set up your TV's Wi-Fi connection.
Not all TVs with Wi-Fi support this feature. Check your TV's manual before continuing.
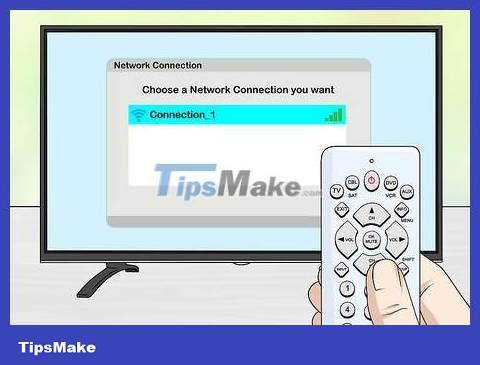
Connect the TV to the Wi-Fi network. This must be the Wi-Fi network used on the computer.
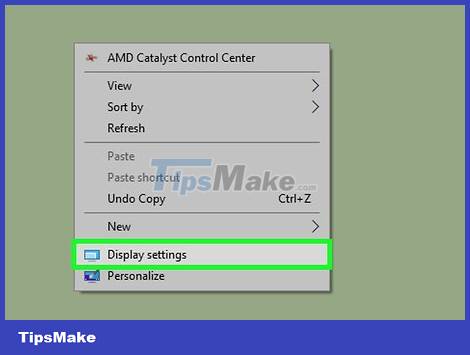
Right-click on your computer screen and select Display settings .
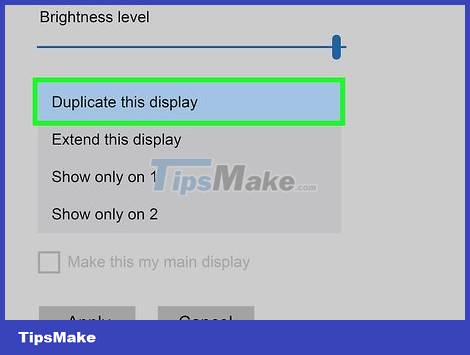
Click the "Multiple displays" box and select Duplicate this display .
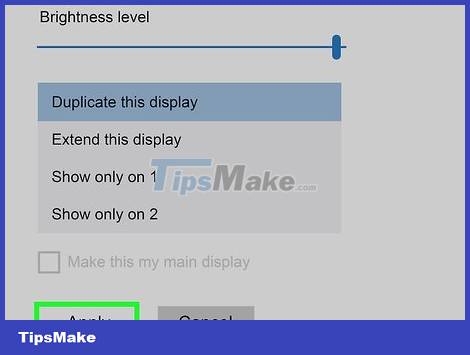
Select Apply .
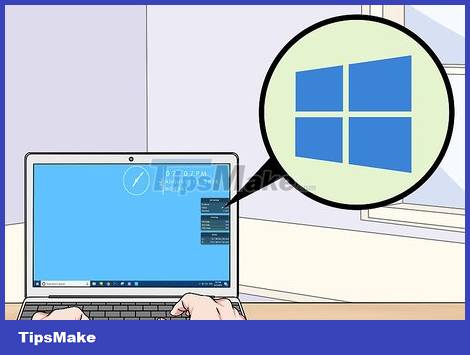
Open Start and then click (Settings) to open the main Windows settings menu.
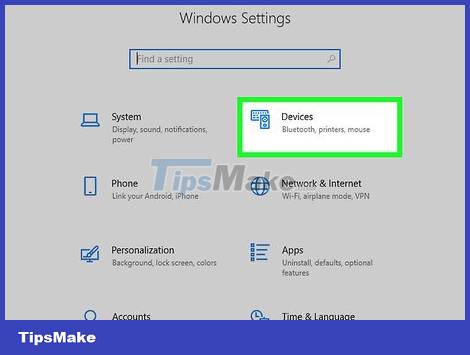
Click Devices and then select Connected Devices .
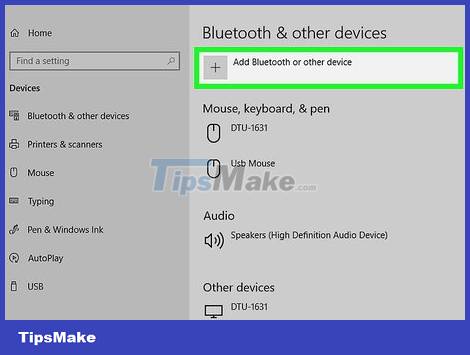
Click Add a device . Windows will begin the process of searching for connected devices on the network.
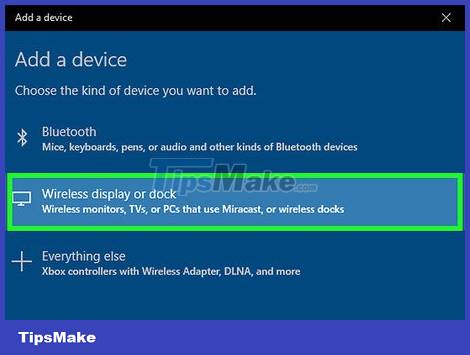
Select your TV when it appears. Windows will automatically connect to the TV.
Troubleshoot
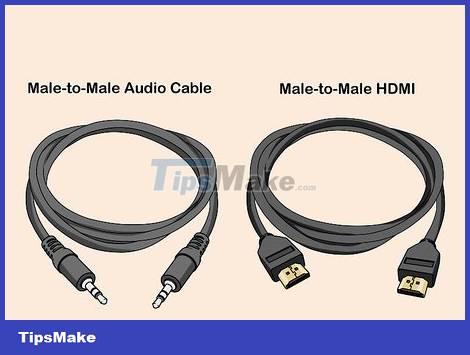
Make sure you have the right cable or adapter. Sometimes the cable has the right connection but is not used for the purpose of transmitting audio or video signals. So, make sure the cable is dedicated for audio/visual use.
Most computers do not transmit audio through the DVI port, so a DVI to HDMI converter will not transmit audio in most cases. Therefore, you will need to attach a separate audio cable.
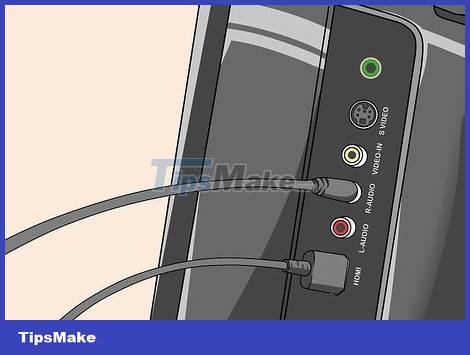
Make sure all cables are connected properly. You need to check if the cables are attached to the appropriate port and are not loose. If the cable has screws in place, such as most DVI and VGA cables, make sure the screws are tight.
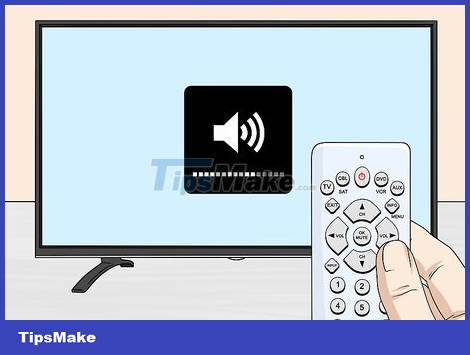
Check the volume. You need to make sure that the volume is turned on on your computer and TV and not set to silent mode.

Change audio output. If you don't hear sound, make sure you've selected the correct audio output.
Right click .
Click Playback devices.
Select the appropriate audio output (HDMI output for HDMI connection, or headphones if you use an audio cable).
If you don't see the right output, right-click on any displayed devices and make sure Show Disabled Devices and Show Disconnected Devices are selected. connection) has been selected. This will tell you the sound has been disconnected or disabled.
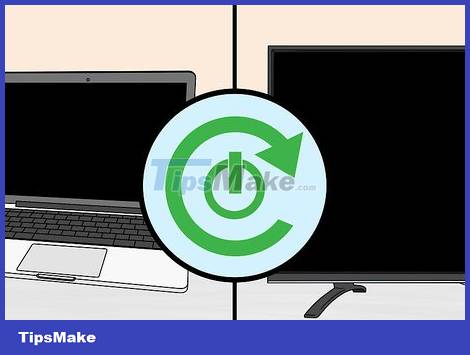
Restart your computer and TV. When all else fails, restarting the computer and TV can help the computer detect the newly connected display.

Check your computer's presentation calibration. Sometimes, you will receive the error message "HDMI not supported" when the TV and computer have different resolution settings.
You should read it
- ★ How to connect a computer to Wi-Fi without a password on Windows 10
- ★ Instructions for connecting the projector to a computer, laptop
- ★ How to connect and use the PS4 handle on the computer
- ★ How to connect a wireless microphone to a computer to sing karaoke
- ★ Should I use HDTV instead of a computer monitor?