Steps to connect the printer to the computer
While in the past offices used to share a single, centrally located printer, now a variety of connections allow users to access a small desktop USB printer and You can also connect to separate black and white or color printers without installing separate print servers.
1. Connect the printer to the computer via USB cable
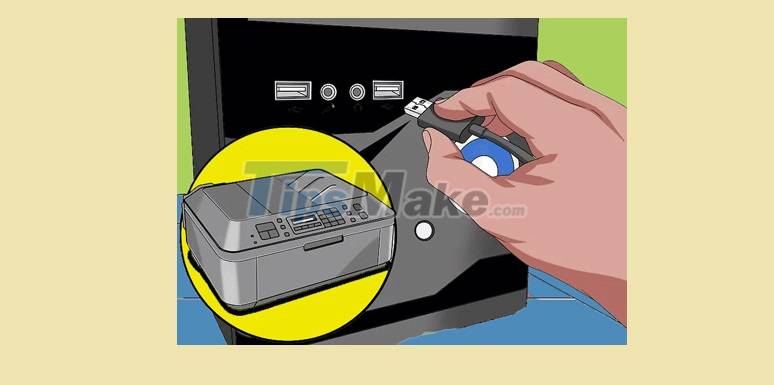
Most smaller printers connect directly to a computer via the Universal Serial Bus (USB) standard. Connections using this standard are small, lightweight and universal - available on Windows, Macintosh and Linux computers. Furthermore, because the USB connection is bidirectional, it allows the printer to send data such as ink levels back to the computer.
Note: Please install the printer driver and other necessary software before connecting the printer to the computer with a USB cable.
Step 1: Make sure the printer is turned off before connecting the USB cable.
Step 2: Connect the printer end of the USB cable to the USB port on the side of the printer.
Note: The location of the USB port varies depending on the printer.

Step 3: Connect the other end of the USB cable to the USB port on the computer.
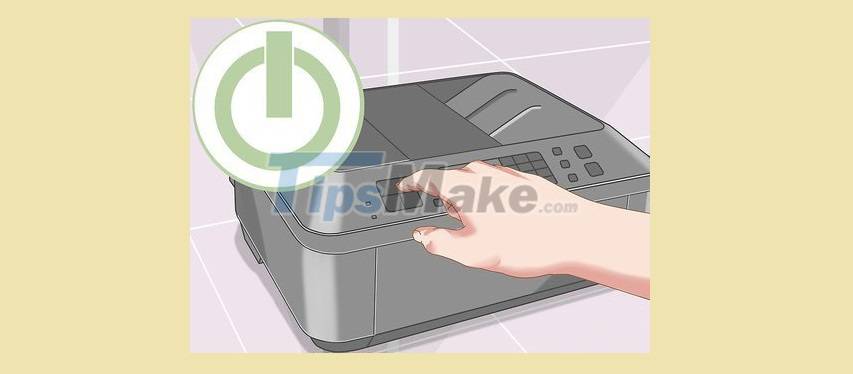
Step 4: Turn on the printer by pressing the power button.

Step 5: Load paper and print.
2. Connect the printer via Ethernet
Higher-end printers often have a built-in wired Ethernet connection for use with a local area network (LAN). Along with the LAN connection, they often contain a built-in print server. This allows other computers on the network to connect directly to the printer without connecting to another computer acting as a controller.
3. Connect the printer via WiFi

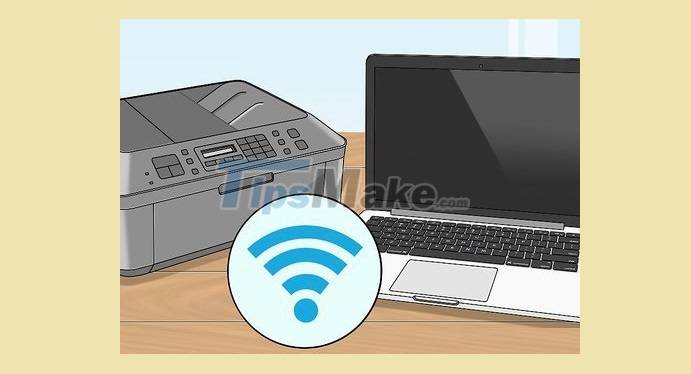
Printers with built-in WiFi network connectivity offer the same benefits as Ethernet-equipped devices, with one key difference. Since they connect to a wireless network, they can be placed anywhere without the need for a physical network connection jack. This makes them an especially good choice for workgroups that need a printer they can share while working together, but will eventually move elsewhere at the end of the project.
4. Share another computer's printer
Printers that are not built-in to a network can still be shared on a network through the printer sharing tools built into most operating systems. In this case, the printer connects to the computer via USB, and then the computer shares the printer over the network. While this can be an effective way to share a printer that is not connected to the network, it only works if the computer is always on and connected to the network.
5. Connect via old-fashioned ports

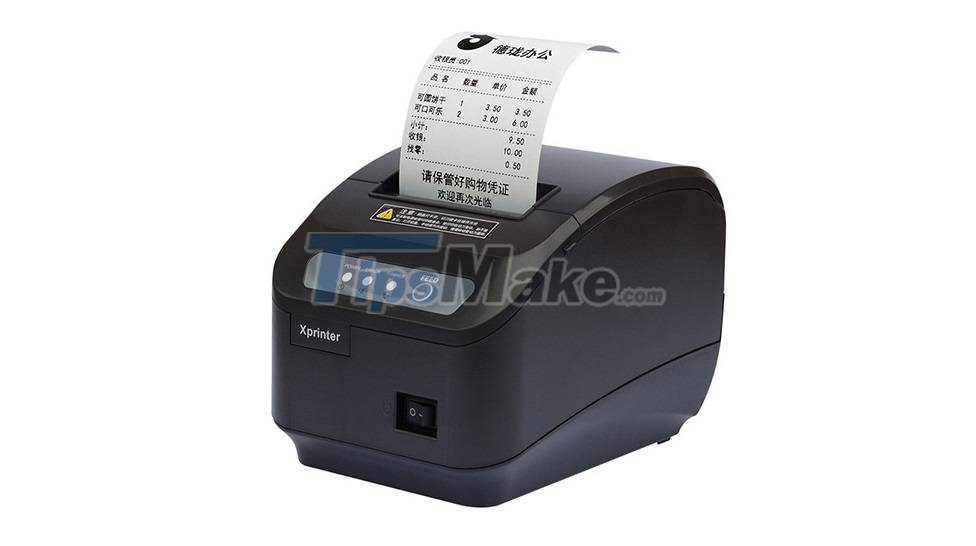
Some printers connect via legacy ports, like parallel and serial ports. Although modern printers no longer use parallel connections, some specialized printers, such as bill payment printers, still connect via RS-232C, using the 9-pin serial standard. Computers lacking a serial or parallel port can connect to these types of printers via a USB-to-parallel or USB-to-serial adapter.
You should read it
- ★ Instructions for renaming the printer on Windows 10
- ★ These are the types of printer cables needed to connect to the computer
- ★ How to share a printer via LAN
- ★ Instructions on how to fix the error of the computer not recognizing the printer
- ★ Instructions on how to connect the printer to a laptop