How to check if your Windows computer supports Miracast
The Miracast connection protocol is almost already provided on laptops, allowing users to stream content directly from the computer to TV screens, projectors,....
Currently, some laptop models support Miracast wireless transmission technology. This connection protocol will help connect laptops to projectors, tablets, smartphones,. to TVs, external monitors and can transmit images directly. The advantage of Miracast is that the images and sounds transmitted from the computer to the TV remain intact, unchanged, especially with online games and movies. Besides, the content transmission speed is fast and stable without users having to prepare too many devices.
So how do you know if your computer supports Miracast? Please follow the article below.
On Windows 11
Method 1: Check Miracast compatibility using Settings

You can review your system settings to see Miracast compatibility on your PC. Here's how to do it.
1. Press Win + I to open Settings.
2. Next, in the System tab , scroll down and click Projecting to this PC .
Depending on your system configuration, you will see one of the following results:

On Miracast-compatible systems, you'll see options to configure your wireless display. You can configure the PC discovery feature and allow and disallow other devices to connect to your PC.
If you see the message Add the "Wireless Display" optional feature to project this PC , you will need to install the Wireless Display feature to enable Miracast.
If your PC does not support Miracast, it will indicate that the device does not support Miracast reception, so you cannot project wirelessly.
However, this error can also occur due to WiFi problems, problems with display drivers, and third-party application conflicts.
Method 2: Check Miracast compatibility with Action Center
The new Action Center in Windows 11 has Quick Actions that let you manage network connections, control brightness, and adjust volume levels. You can use the Cast option in Action Center to detect whether your computer supports Miracast or not.
1. Click the Network, Volume, and Battery icon on the Taskbar, open Action Center.
2. Here, click the Cast icon.
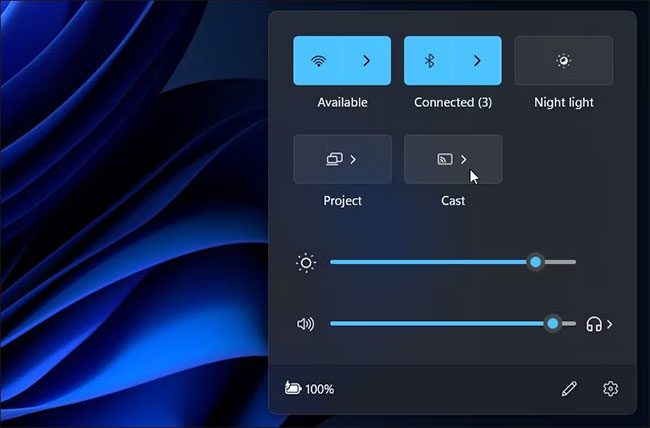
3. On systems that support Miracast, the Cast option will begin scanning for available Wireless Displays.
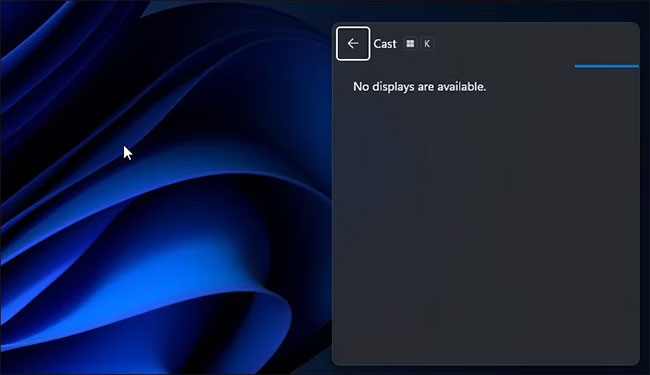
4. Otherwise, you may see the message Your device doesn't support Miracast .
5. You can also access Cast options using the keyboard shortcut Win + K.
Method 3: Use Command Prompt to detect Miracast compatibility

You can also use Command Prompt to detect your Windows 11 computer's Miracast compatibility. The netsh command line tool allows you to view and manage your WiFi connections.
This article will use the command "netsh wlan show drivers" to view the WiFi network driver to detect Miracast compatibility. Here's how to do it.
1. Press Win + R to open Run.
2. Type cmd and click OK to open Command Prompt.
3. In the Command Prompt window, enter the following command and press Enter :
netsh wlan show drivers4. Scroll down and find the Wireless Display Supported section . If it shows Yes, (Graphics Drive: Yes, Wi-Fi Driver: Yes) , your computer is Miracast supported.
Method 4: Check Miracast compatibility using Windows PowerShell
You can also use Windows PowerShell to check Miracast compatibility on your Windows 11 PC. Miracast requires your PC to support WiFi Direct and Virtual WiFi, available in NDIS version 6.3 or later. While you can use the Command Prompt command in PowerShell, it also has cmdlets to view WiFi driver details.
1. Press Win + S to open Windows search.
2. Type powershell and open it from the search results.
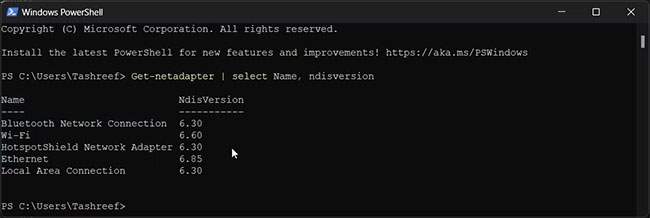
3. In the PowerShell window , enter the following command and press Enter to list the supported versions of available network adapters:
Get-netadapter | select Name, ndisversion4. If Wi-Fi NdisVersion shows 6.30 or higher, your computer supports Miracast.
5. Type exit and press Enter to close Command Prompt.
Method 5: Detect Miracast compatibility using DirectX Diagnostic Tool
DirectX Diagnostic Tool (DxDiag) helps you gather information about connected devices and troubleshoot problems with DirectX audio and video.
You can use this tool to detect Miracast compatibility on your system. Here's how to do it.
1. Press Win + R to open Run.
2. Type dxdiag and click OK.
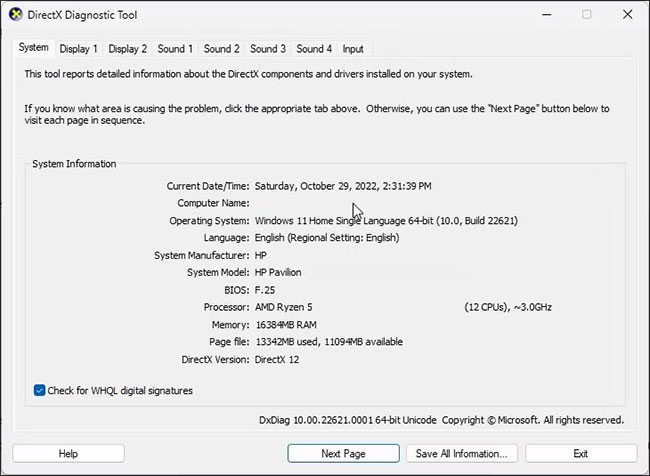
3. DirectX Diagnostic Tool will open with the System tab selected.
4. Next, click the Save All Information button .
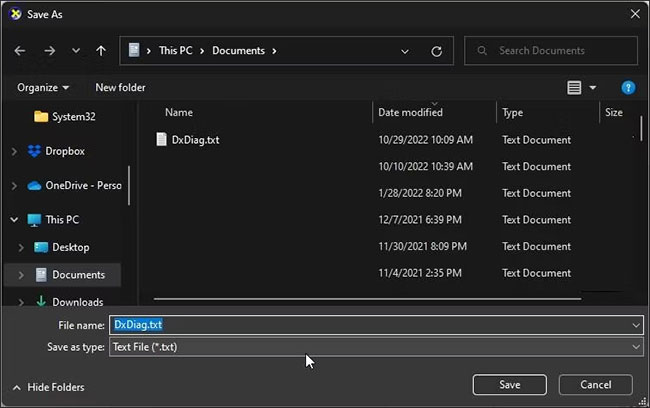
5. Select a destination to save the file and click Save.
6. Next, open File Explorer, navigate to the location where the DxDiag file is saved and open the DxDiag.txt file.
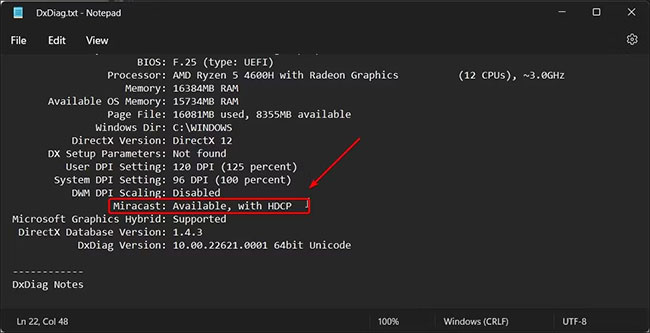
7. Here, scroll down and find Miracast. If it says Supported, you will be able to cast and project your screen to other devices. If the message "Not Supported by Graphics driver" appears , check to see if you have installed the optional Wireless Display feature.
On Windows 10
Method 1: Check Miracast via Settings
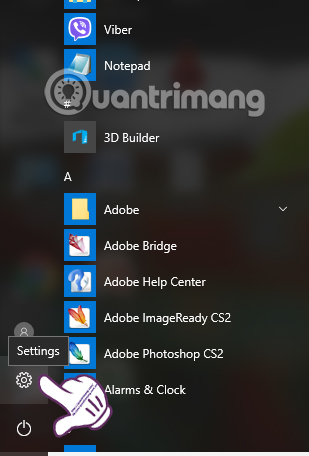
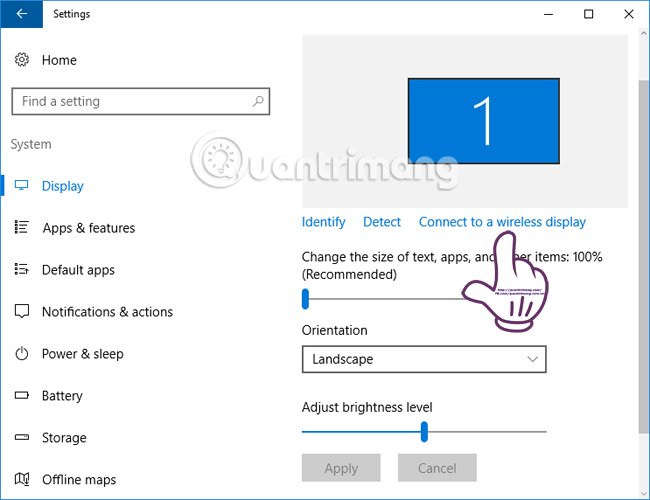
Step 1: At the interface on the computer, click on the Settings icon as shown below.
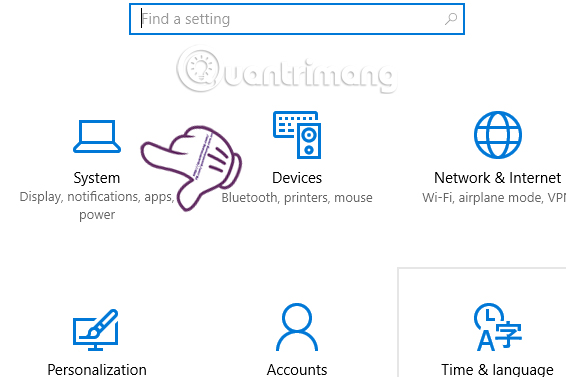
Step 2: In the list of Settings settings on the computer, the user clicks on System .
Step 3: Next, the user will click on Display . Look to the right if you see the Connect to a wireless display option as shown below, it means your computer supports Miracast connection.
Method 2: Check Miracast connection using DirectX Diagnostic Tool
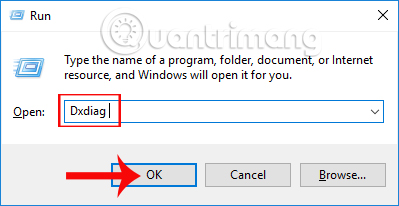
Step 1: Press the Windows + R key combination to open the Run dialog box. Next we enter the keyword Dxdiag , click OK to open the DirectX Diagnostic Tool. This tool will help users check the correct Windows computer configuration.
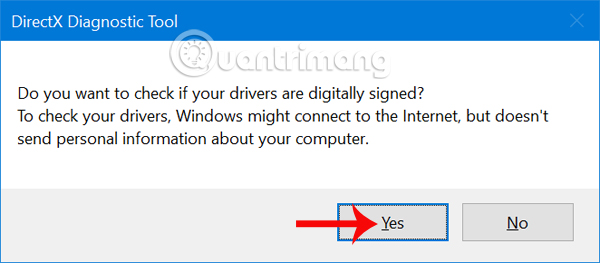
Step 2: The next day a notification interface from DirectX Diagnostic Tool appears , click Yes .
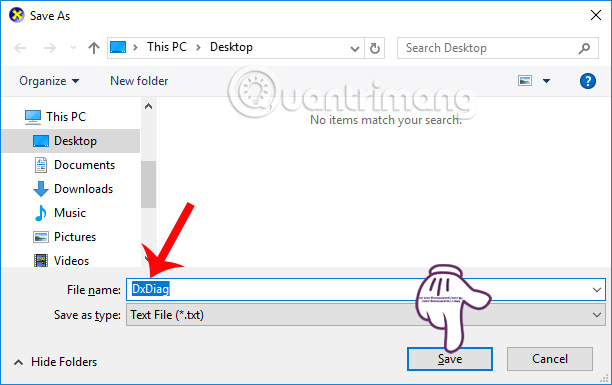
Step 3: The DirectX Diagnostic Tool window interface appears. Click on Save All Information and then select a location to save the DxDiag text file.
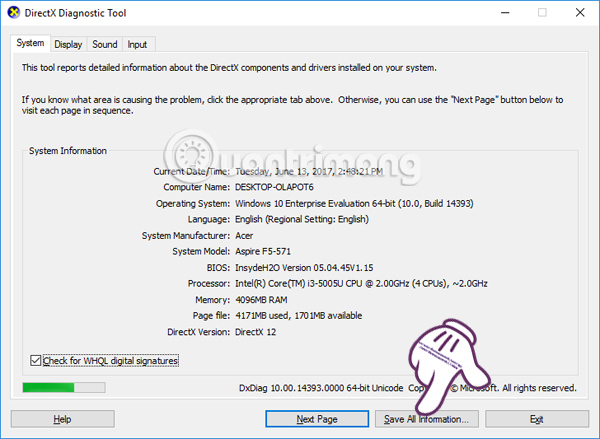
By default this text file will be saved on the Desktop screen, or otherwise you can save the file on the computer screen to easily find the file. Click Save to save.
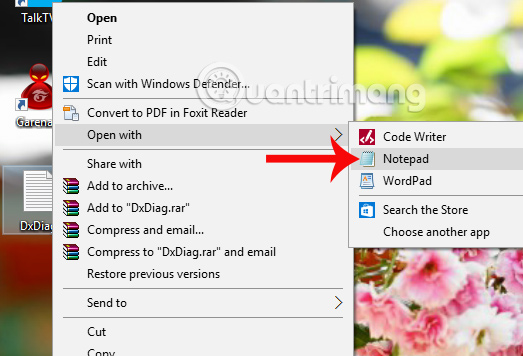
Step 4: Open the saved DxDiag text file on the computer screen. If you cannot double-click to open the file, users right-click on the file and select Open with > Notepad .
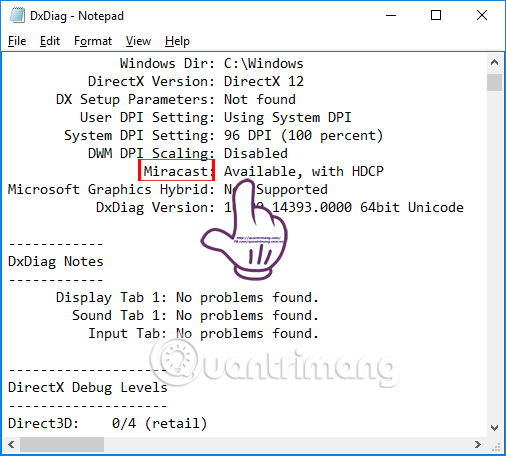
Step 5: In the Notepad DxDiag file interface, we find the Miracast section and check if there is an Available message as shown below, meaning the computer supports the Miracast protocol.
Above are 2 ways for users to check whether the computer supports Miracast wireless connection or not. With this check, you will know exactly if your computer has the Miracast protocol, thereby helping us easily transfer images and videos from the computer to the TV.
Hope the above article is useful to you!