How to blur an image to a background color in Photoshop quickly with Live Gradients
In this tutorial, we will look at the newest and easiest way to fade an image to a background color in Photoshop, which is using Live Gradients.
Need to fade an image into a background color to add space for text or other design elements?
Live Gradients are a way to change everything about the gradient (color, angle, etc.) after the gradient is applied. And when combined with Photoshop's foreground to transparent gradient, we have a quick and easy way to fade an image to any color we need. Let's see how it works!
Step 1: Create a new Photoshop document
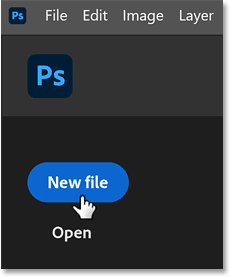
Let's start by creating a new document. If you're on the main screen, click the New file button .
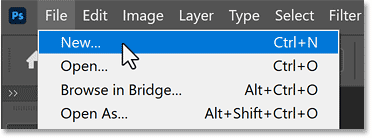
Or from the main Photoshop interface, go to the File menu and select New .
In the New Document dialog box, enter settings for your document.
This guide will set:
- Width is 3000 pixels
- Height is 1600 pixels
- Resolution is 300 pixels/inch
- The background is white

Then click the Create button .

The new document will appear.
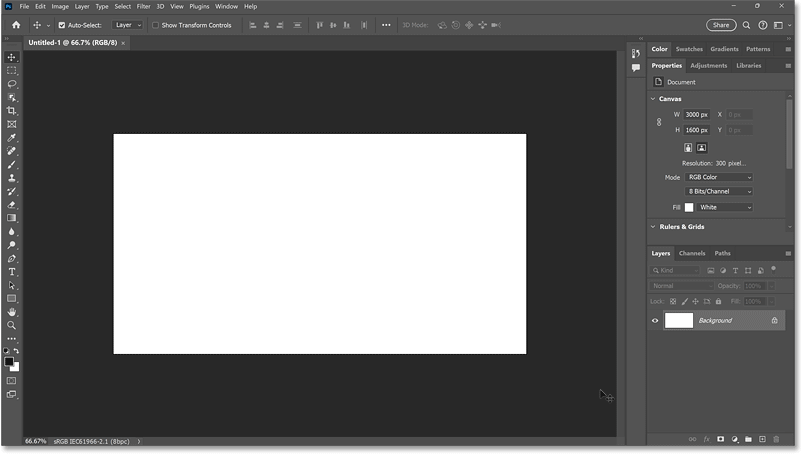
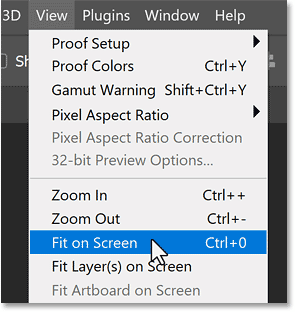
If necessary, zoom in on the document by going to the View menu and selecting Fit on Screen .
Step 2: Place the image in the document
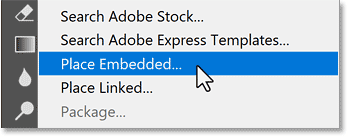
Add an image to your document by going to the File menu and selecting Place Embedded .
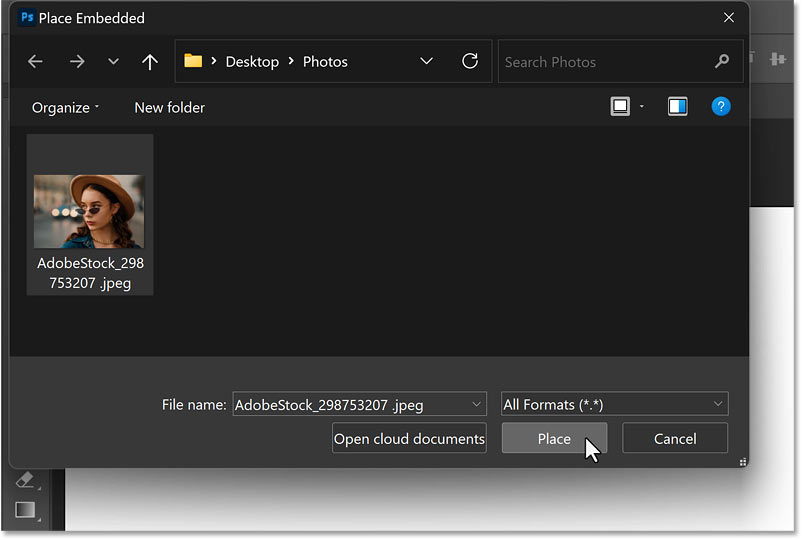
Navigate to where the image is stored on your computer, click the image to select it, and click Place .
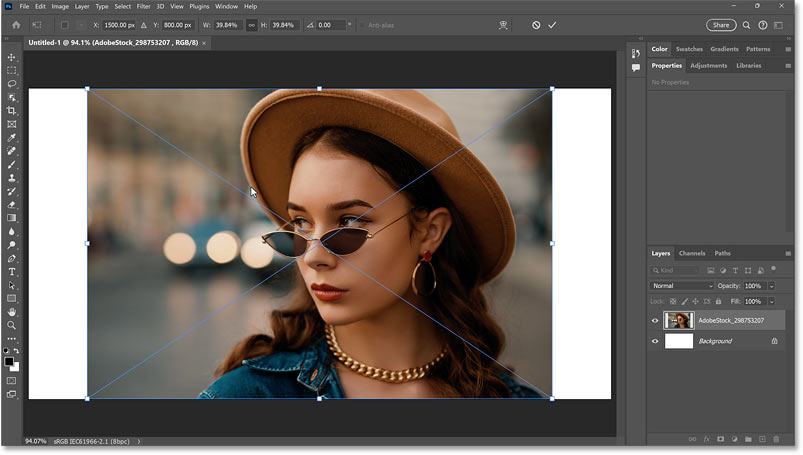
Photoshop places the image on the canvas. It also adds Free Transform controls around the image so you can resize it if needed and move it into the right position.
Step 3: Reposition the image on the canvas
Move the image to the left or right of the canvas to make room for the color. Hold down the Shift key on your keyboard as you drag to make it easier to move the image horizontally.
For example, you want your subject to appear on the right side of the canvas and fade in color on the left. So the image will be dragged to the right.
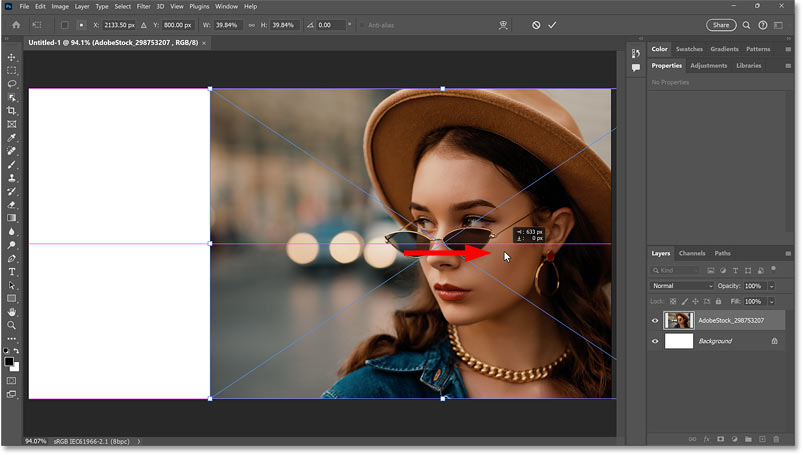
Then click the check mark in the Options Bar to accept and close Free Transform.
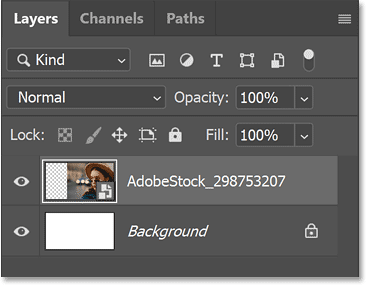
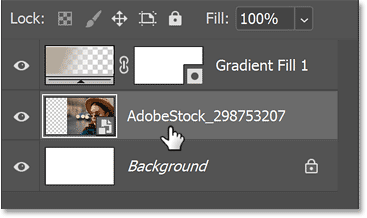
In the Layers panel, the image appears on its own layer above the Background layer.
Step 4: Select Gradient Tool
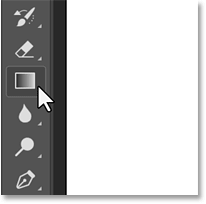
To fade the image to any color, select the Gradient Tool from the toolbar.
Then, in the Options Bar, make sure that the Tool Mode is set to Gradient , which will allow us to draw a live gradient. If it is set to Classic Gradient , you will draw the old style gradient without any live gradient features.

Step 5: Select Foreground to Transparent gradient
Still in the Options Bar, click the gradient swatch.

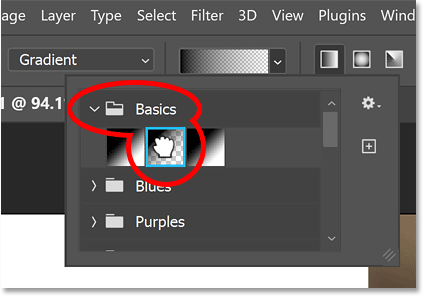
Then, rotate open the Basics folder and select the Foreground to Transparent gradient . Press Enter or Return on a Mac to accept.
Make sure the Gradient Style is set to Linear since we want to draw the gradient in a straight line. Also make sure Reverse is turned off, Dither is turned on to help reduce any banding, and Method is set to Perceptual.

Step 6: Choose a color to blur the image
Select a color for the gradient by clicking the Foreground color swatch on the toolbar.
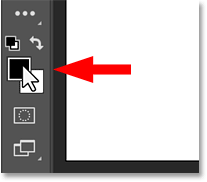
This will be the color the image fades to. Since we're drawing a live gradient, you can always go back and change the color later.
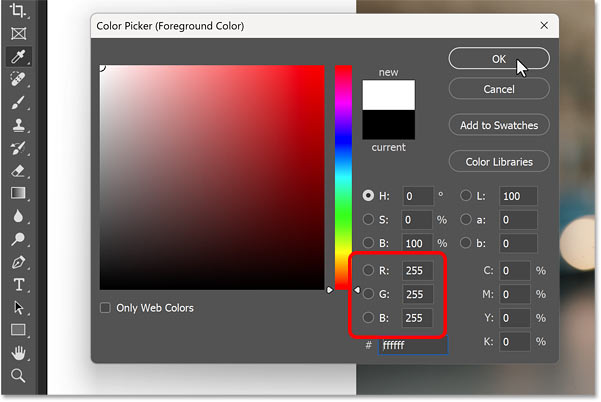
The example will select white for now (set all R, G, and B values to 255). Then click OK to close the Color Picker.
Step 7: Draw gradient on image
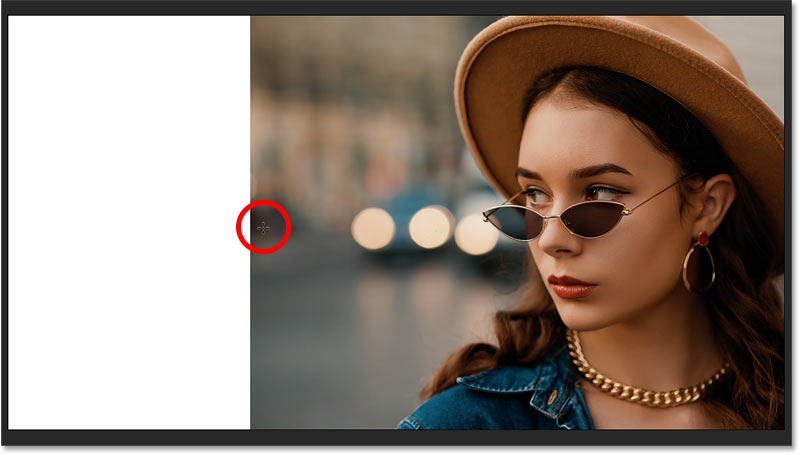
Click and hold on the image to set the starting point for the gradient. For example, we'll start near the left edge of the image.
Then, hold down the mouse button and start dragging away from that point. Hold down the Shift key on your keyboard as you drag to make it easier to drag straight across.
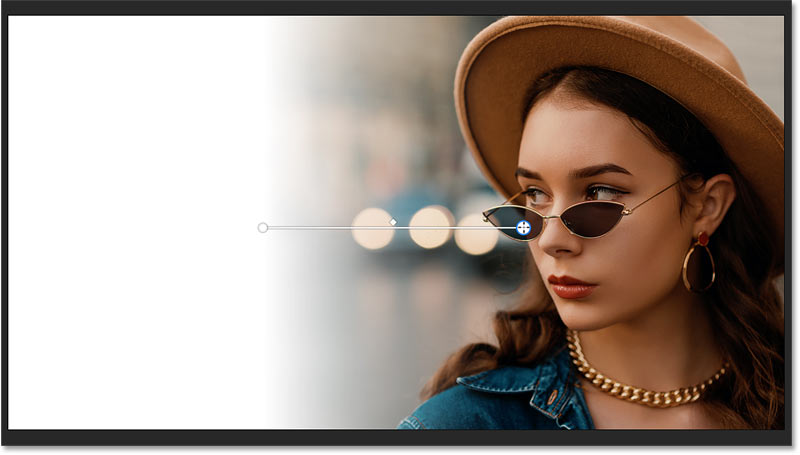
One advantage of live gradients over classic gradients is that we can preview the gradient as we draw.
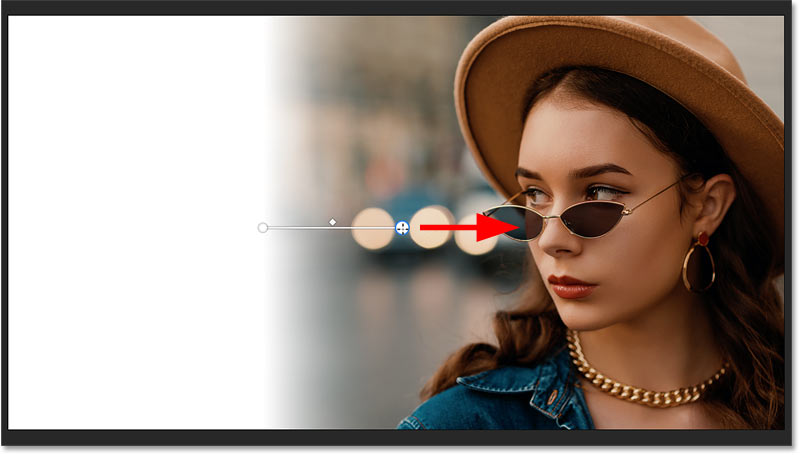
Don't worry about getting the gradient exact right now. Just draw the initial gradient and release the mouse button.
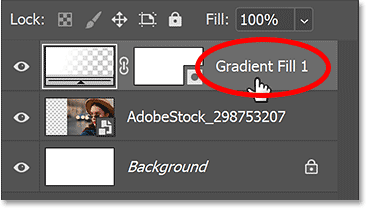
In the Layers panel, the gradient is added to its own Gradient Fill layer above the image, keeping the gradient and image separate.
Step 8: Adjust the start and end points of the fade effect
Notice the controls on the canvas that we can now use to edit the gradient.
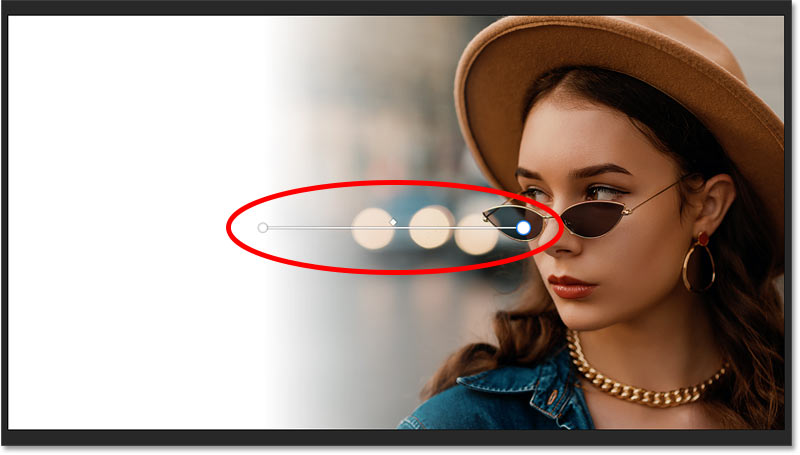
You can click and drag the color stops at either end of the gradient to adjust where the change starts and ends. Hold down Shift as you drag to move the color stops in a straight line.
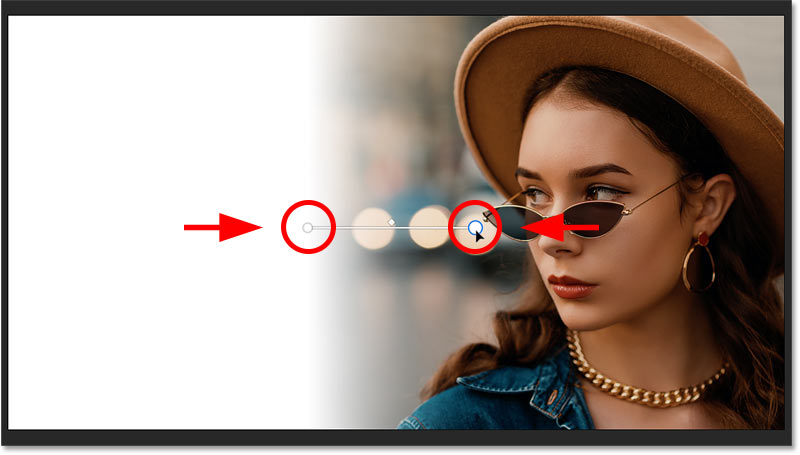
You can even click and drag the line connecting the color stops to reposition the gradient on the canvas.
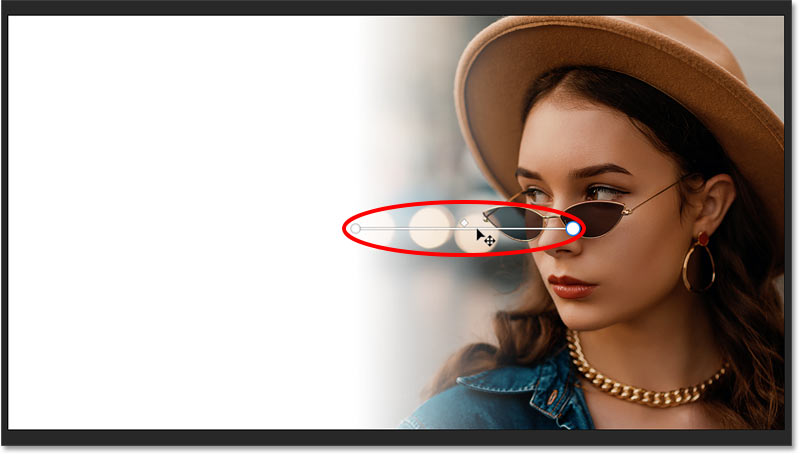
Above that line, you'll see a diamond icon. Normally, this controls the midpoint between the colors on either side. But since we're working with a Foreground to Transparent gradient, dragging the icon won't do anything.
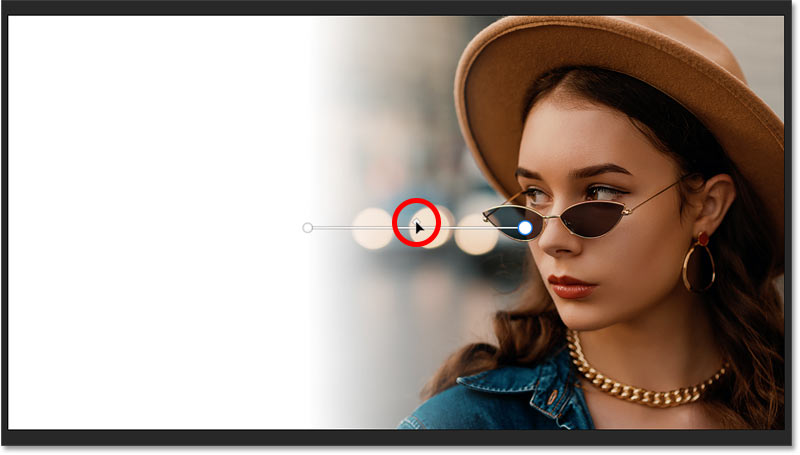
Step 9: Adjust the Fade Midpoint
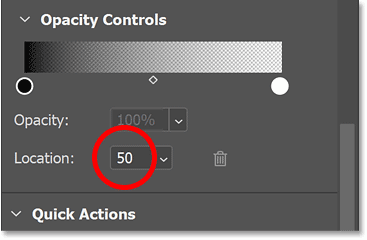
But you can adjust the midpoint between color and transparency by going to the Properties panel and scrolling down until you find Opacity Controls .
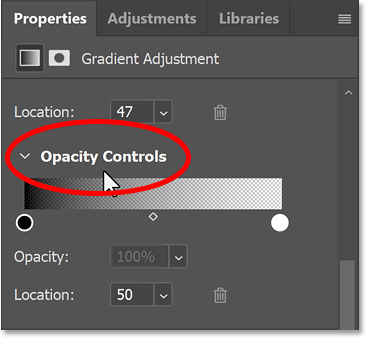
Then drag the diamond icon below the preview bar to move the midpoint closer to the color or transparency.
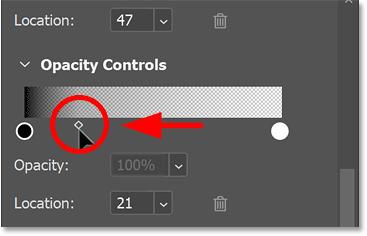
To reset to the center, set Location to 50 .
Step 10: Adjust the fade
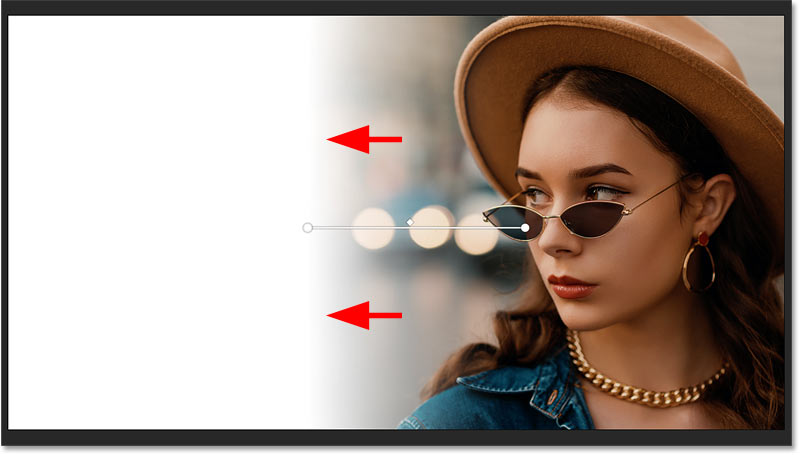
Notice that the transition in the gradient between color and transparency doesn't look smooth. Most of the color is concentrated along the left side, then fades very quickly towards the right.
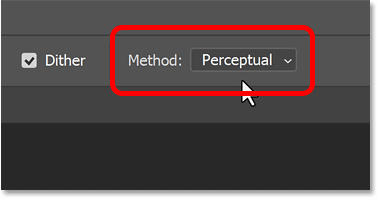
Sometimes switching the gradient to a different method in the Options Bar can make things smoother.
The default method is Perceptual . It draws colors the way our eyes naturally see them, which is usually what you want when working with gradients. But Perceptual isn't always the best choice for this effect.
There is another method called Classic , which draws gradients the way Photoshop used to draw them.
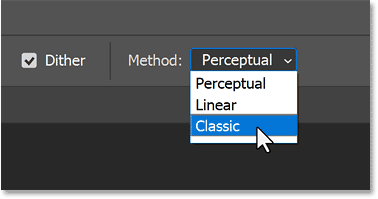
And notice that the transition now looks smoother and more gradual. You can choose the method that best suits your image, but in the example case, Classic looks better.
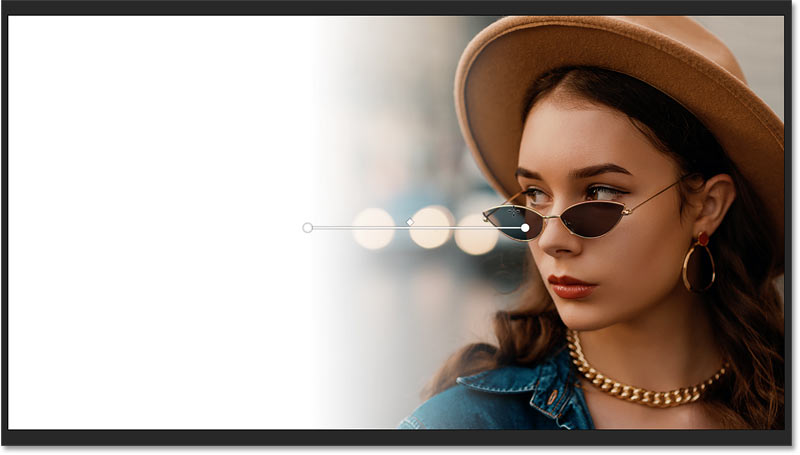
Step 11: Choose another color to blur (optional)
To change the color the image is fading to, double-click the color stop for that image. Make sure you select the stop for the color, not the transparency.
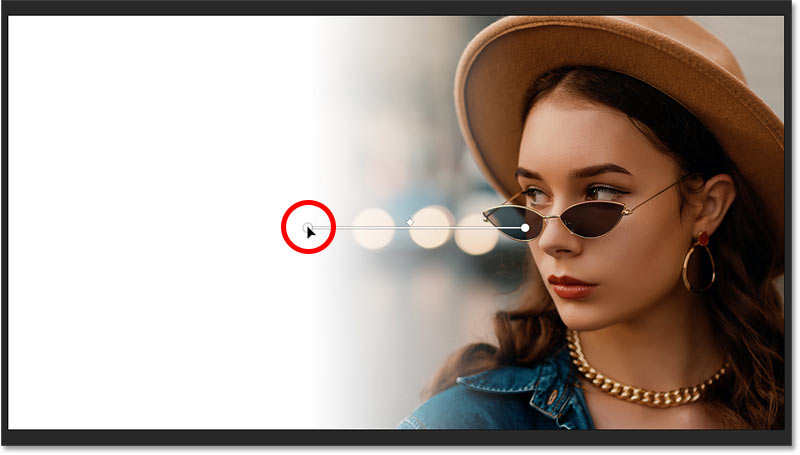
Then there is a way to choose another color from the Color Picker.
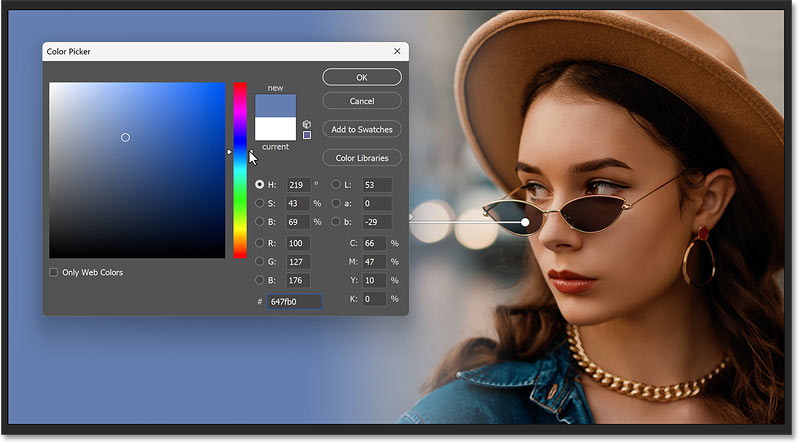
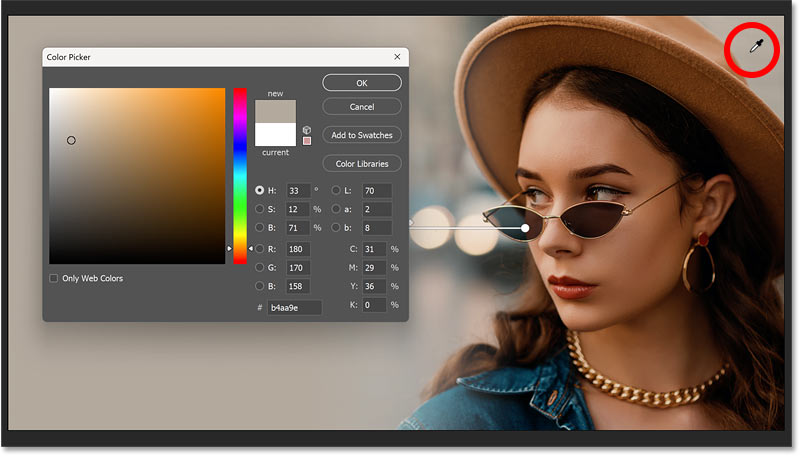
Or while the Color Picker is still open, you can sample colors directly from the image.
But before you sample the color, go to the Sample Size option in the Options Bar and change it from Point Sample to something larger like 5 x 5 or 11 x 11. That way, you'll sample the average color of the area you click on instead of the color of a specific pixel. For example, I'll choose 5 x 5.
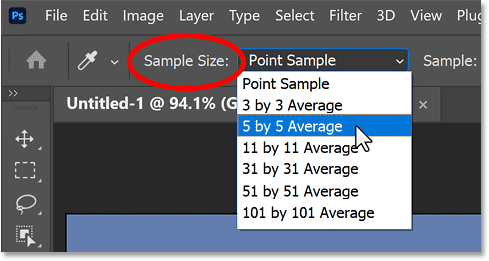
Then, click on a color in the image to sample it. For example, we will select a shade of gray from the top right corner. Click OK to close the Color Picker when finished.
Step 12: Make final adjustments to the fade effect
At this point, you can still make final adjustments to the start and end points of the gradient effect by dragging the color stops.
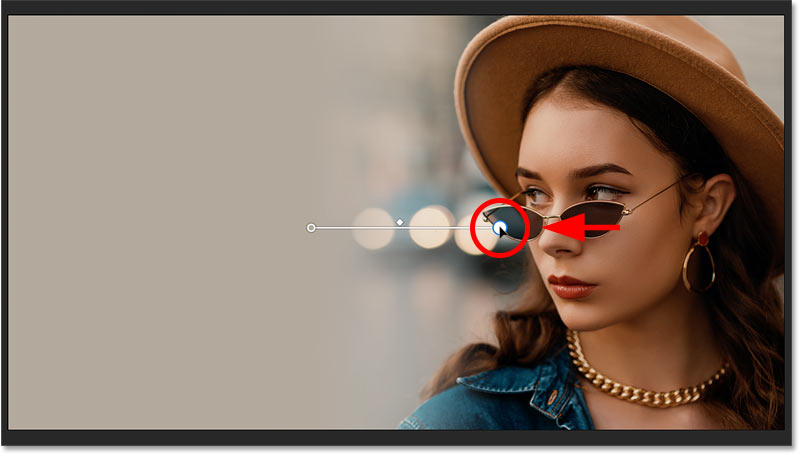
To hide the canvas controls when finished, simply select any layer other than the Gradient Fill layer in the Layers panel.
You can bring the canvas controls back by reselecting the Gradient Fill layer, but you also need to activate the Gradient Tool in the toolbar.
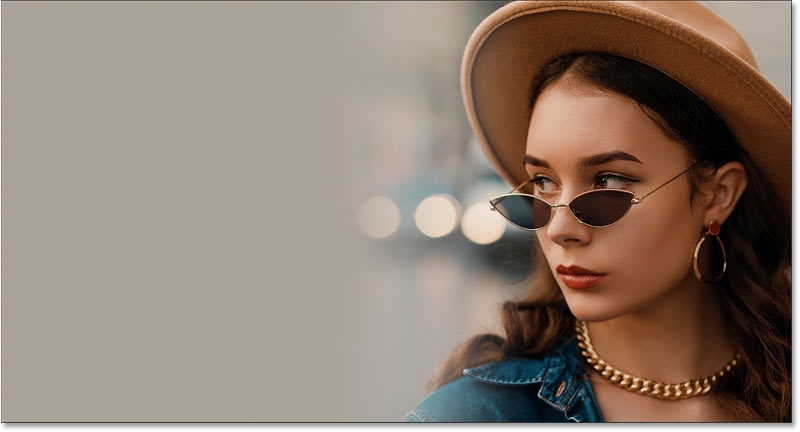
Here is the final result of the image blurred to the background color, ready to add text or other design elements to the left.
- Coloring gradients in Photoshop - Guidelines for using gradients in Photoshop
- How to change the background color in Photoshop
- How to add a background color for a portrait photo, product in Photoshop
- How to create custom gradients using Photoshop CC
- How to blur an image online with Photoshop Online
- How to use Photoshop CS5 - Part 11: Change colors from black and white photos


 How to create and use custom gradients in Google Slides
  Gradient - color linear transformation in CSS
  How to Draw Gears in Inkscape
  It is possible to change the gradient color frame of chat in the Facebook Messenger application on all devices
  How to Create a Gradient in Google Slides
  Instructions for using the gradient tool in Photoshop