Create reports in Access 2016 and use advanced reporting options
In this article, we'll learn how to create, edit, and print reports in Access 2016 and how to use advanced reporting options.
Table of Contents
The report helps you organize and present data in a user-friendly, printable format that helps share information without having to grant database access. In this article, we'll learn how to create, edit, and print reports in Access 2016 and how to use advanced reporting options.
Create report in Access 2016
Access allows you to create reports from tables and query results.
Open the table or query the data you want to use to create the report:

Select Create > Reports group> Report :

Access will create a new report based on the object you choose. Part of the data may be on the other side of the page, change the width of the columns in the report so they are on one page.

Click Save to save the report.
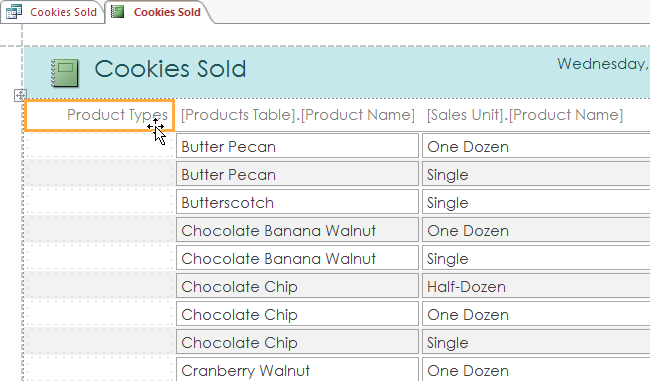
Delete field in report:
Click any box in the field you want to delete, press Delete from the keyboard.
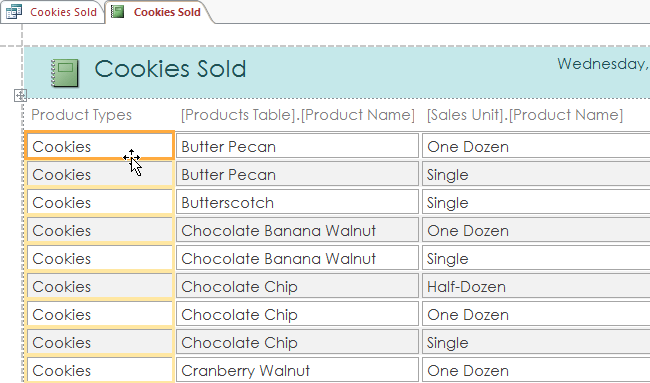
Then the field will be deleted. Make sure that the title of the field is also deleted, by selecting the title> press Delete on the keyboard.
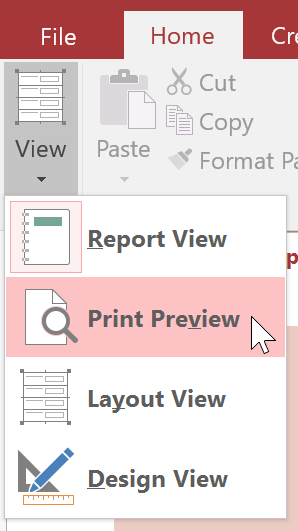
Print and save the report in Print Preview
To print your report to Home > View > select Print Preview from the drop-down menu, the report will appear on the printed page.
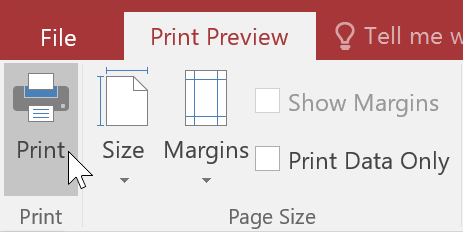
If necessary, edit the page size, width, rotate the page with the commands in Print Preview.

When finished, click Print, the print dialog box appears, adjust the printing options and click OK to print the report.
Save report
You can save the report in various formats such as Excel, text, PDF, HTML, etc. This is called exporting the report file. Thanks to this feature, you can view and edit the report to better suit your needs.
To export a report in Access 2016 you do the following:
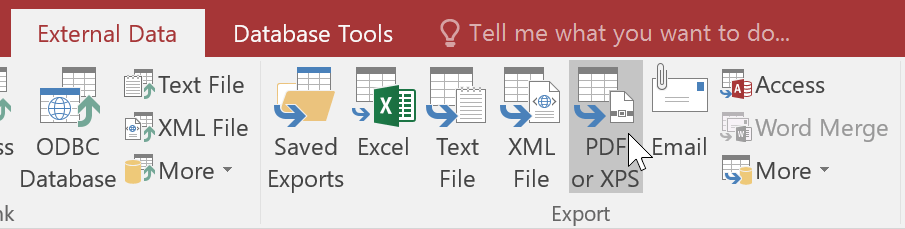
In the Home > View > Print Preview tab> find the External Data group> select the file type, click More to see more options.
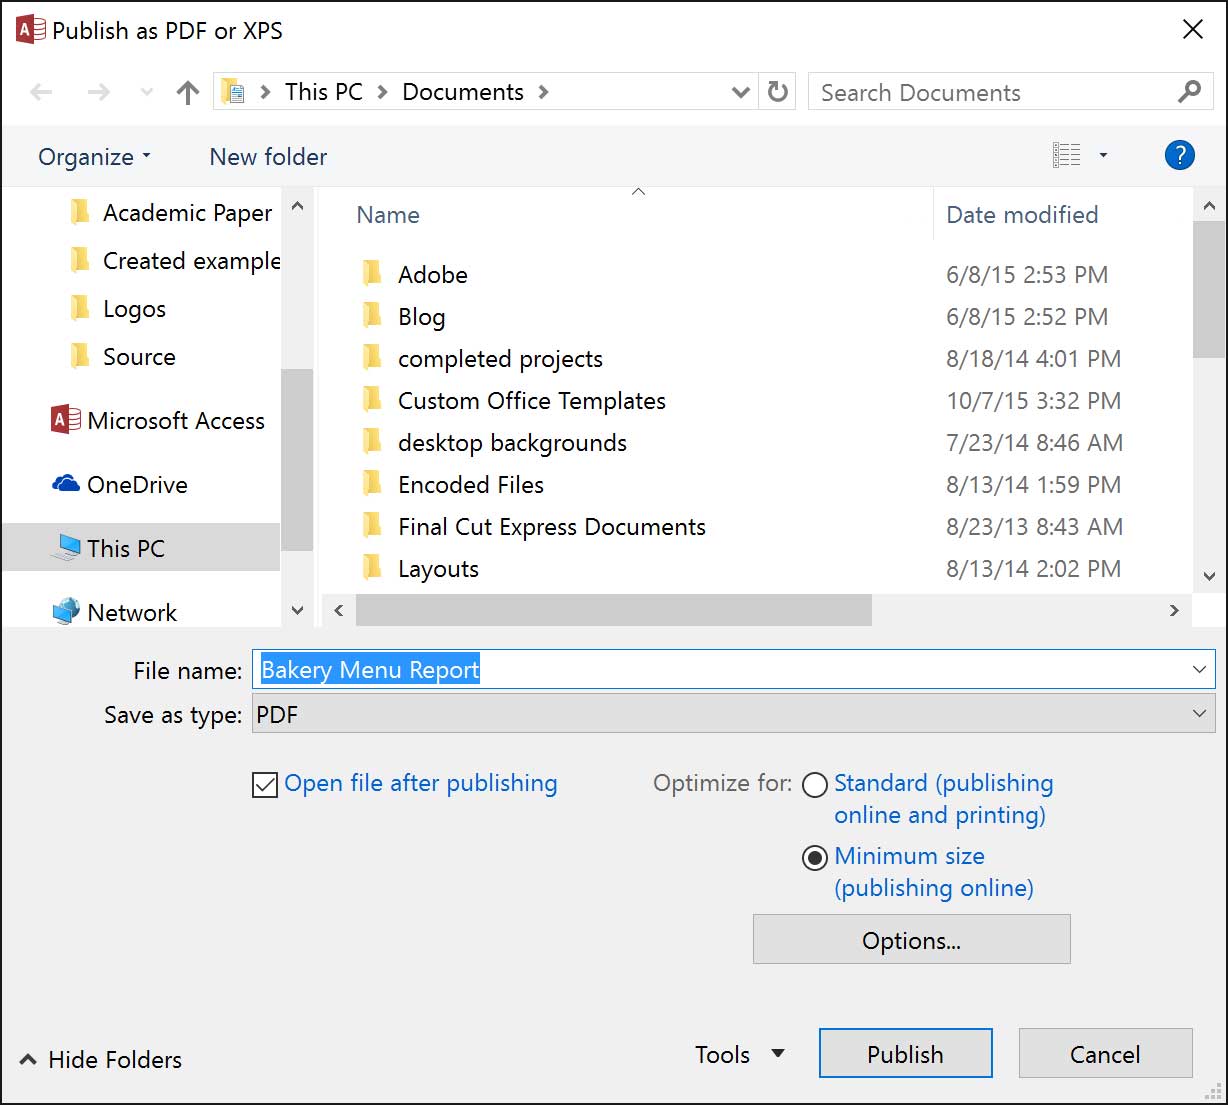
Select the folder you want to save the report> enter the name> Publish :
Advanced reporting options
Report Wizard:
This tool makes it easier to create reports from multiple tables and multiple queries.
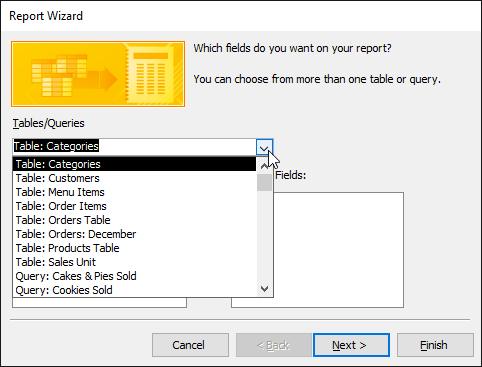
In the Create tab> Reports group> Report Wizard :

The Report Wizard will appear.
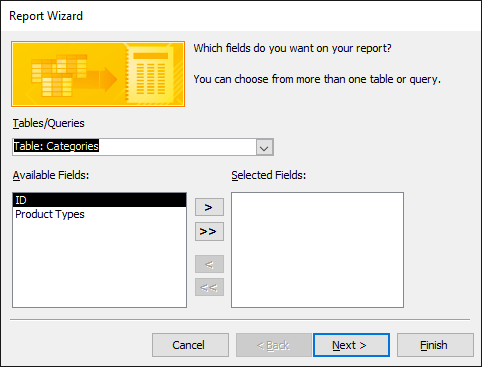
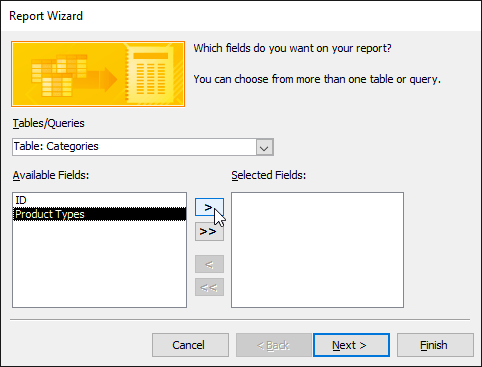
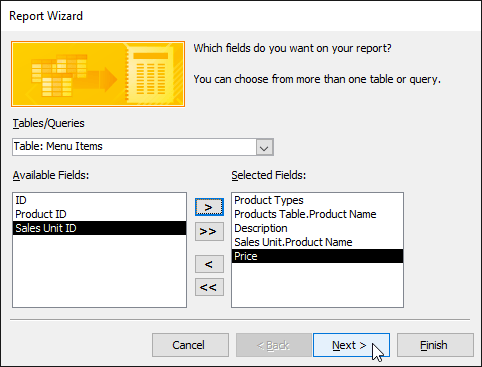
Select the field you want to appear in the report> click the right arrow> click Next :
Presentation of the report:
If you only create a report from a table or a query, you can skip this step.
Select the option in the list to preview the report:
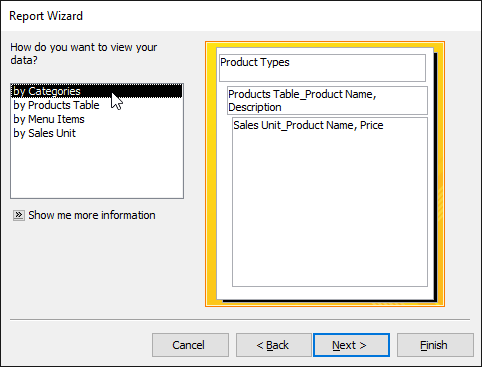
Click Next if satisfied with the presentation of the selected report. If not, you can customize group levels. Select a field from the list, then press the right arrow to add it to the new level.
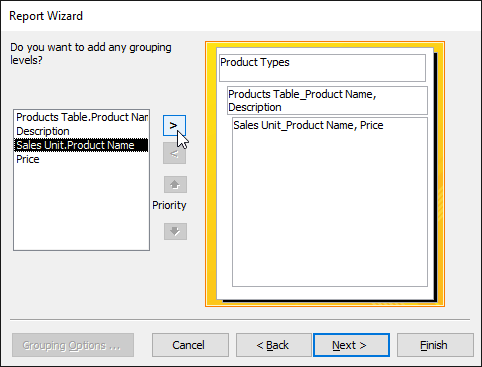
If necessary, you can modify the order of the grouped fields, by selecting the field and clicking the nose on Priority to move it up a step or down a step. Click Next when done.

Sort data in reports:
Click the arrow as shown, select the name of the first field you want to sort, then select the Ascending or Descending sort on the right.
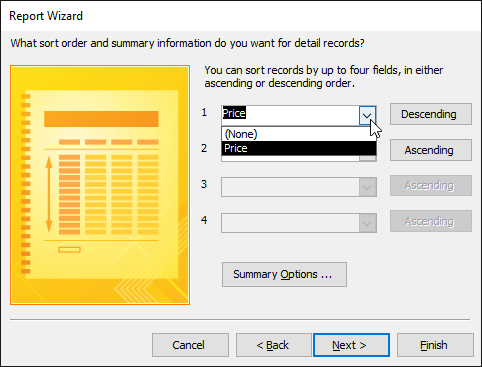
You can arrange up to 4 fields, the sort will be applied one by one from top to bottom, the first sort will be main. When satisfied with the layout you created, click Next .
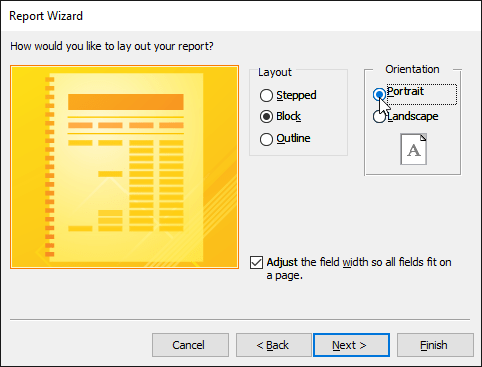
Choose layout and report title
Click on the layout option to see what they look like, choose the one that's suitable for use.
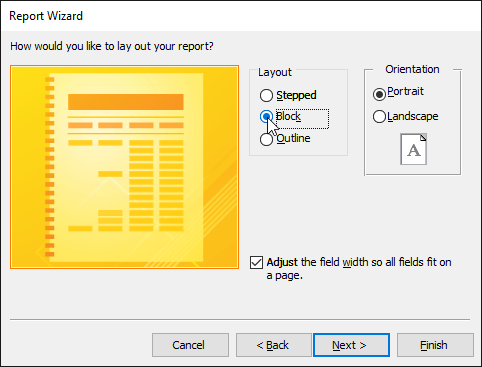
Select vertical or horizontal rotation for the report.
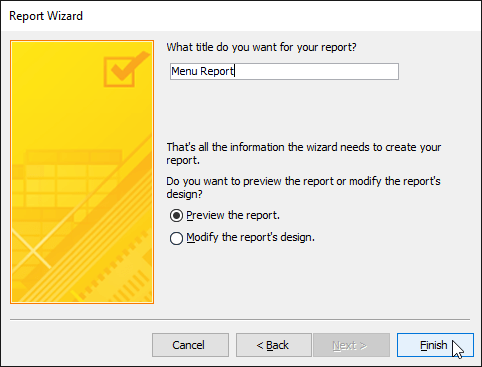
When satisfied with the layout of your report, click Next , enter a title for the report, select whether you want to preview or modify its design, and then click Finish.
Report format
Like other applications in Office 2016, Access allows you to edit text colors, fonts, add images and more.
Edit the header and footer of the report:
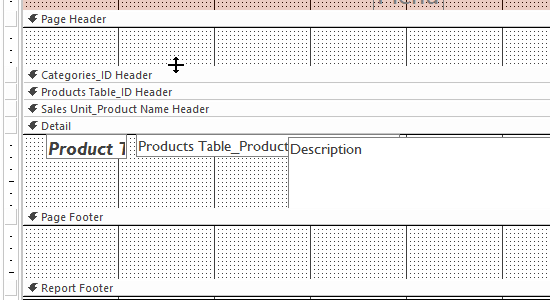
To view and edit the header, footer of the report, select View > Design View . Headers and footers are placed in the blank section below the Page Header and Page Footer:
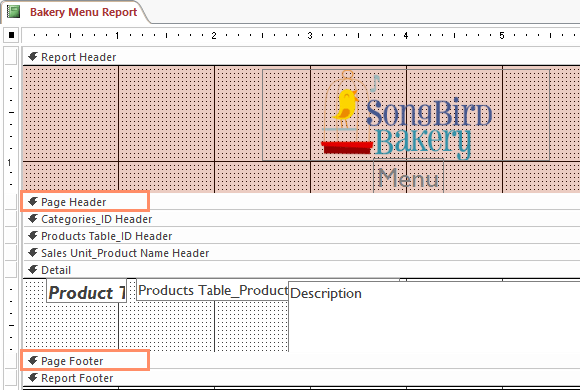
Depending on the design of the report, you will sometimes see no whitespace in the header and footer as shown. If this is the case, you must change the header size and footer before adding anything to it. Just click on the border and drag is okay.
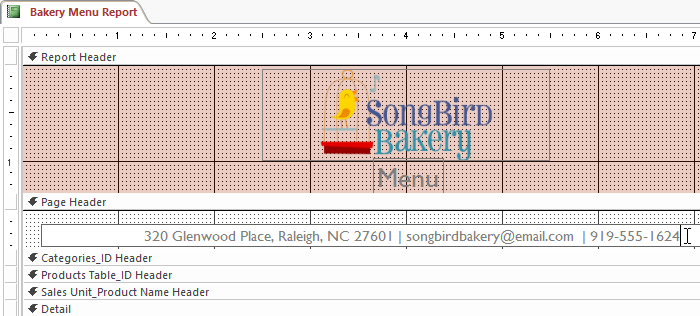
Add text to the header, footer:
Select the Design tab> Controls group> Label > drag the mouse in the white area to create a label, release the mouse when the desired size is reached.

Click on the newly created label to enter the text you need:
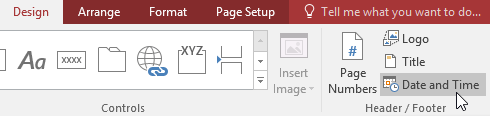
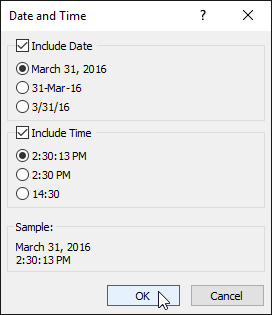
Adding dates to the header, footer:
In the Design > tab Header / Footer > Date and Time group :
The dialog box appears, select the preferred date format, click OK .
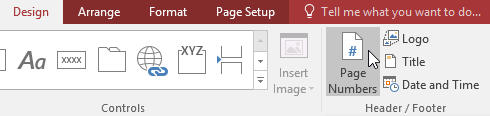
Add page numbers to the header or footer:
In the Design > Header / Footer tab > Page Numbers :
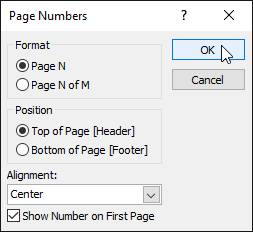
The Page Numbers dialog box appears. Under Format > Page N to display only the number of the current page or Page N of M to display the current page number and the total number of pages.
Under Position , select Top of Page or Bottom of Page so that the number of pages appears at the top or bottom of the page.
Click on the drop-down arrow and select the alignment for the page number. When satisfied, click OK.
Customize the look of the report:
Add a logo:
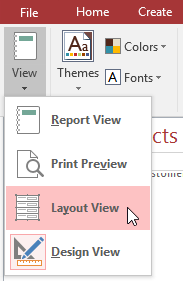
Go to Design > View > Layout View tab from the drop down list:
In the Header / Footer group> Logo
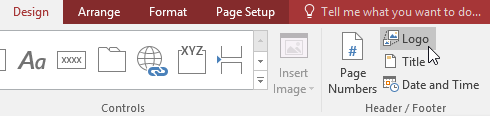
Select the logo you want to add> OK .
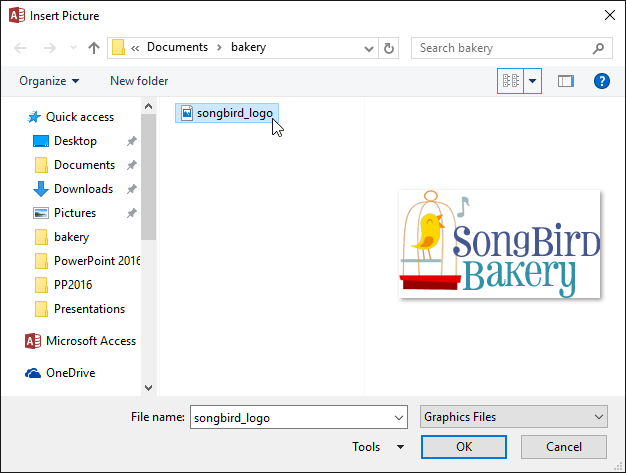
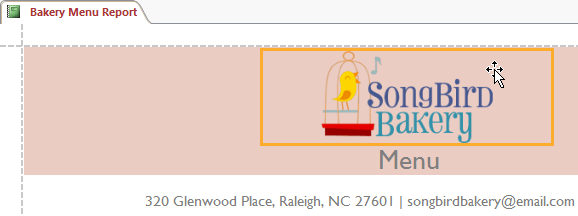
A small image of the logo will appear, drag to when the desired size is reached.

If necessary, move the logo to the desired location by dragging and dropping.
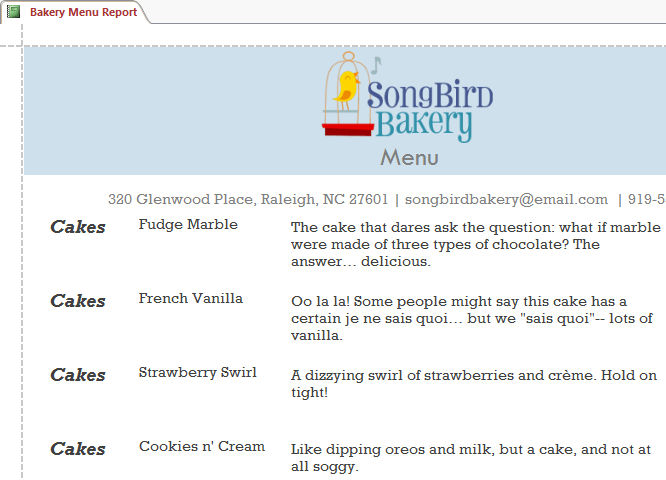
Change theme report:
Go to the Design tab> Themes > Themes group:

Select the theme you want:
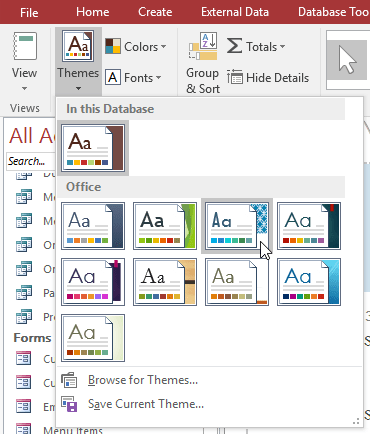
The theme will be applied to the entire database:
Change theme font:
In the Design tab> Themes group > Fonts :

Select the font you want:
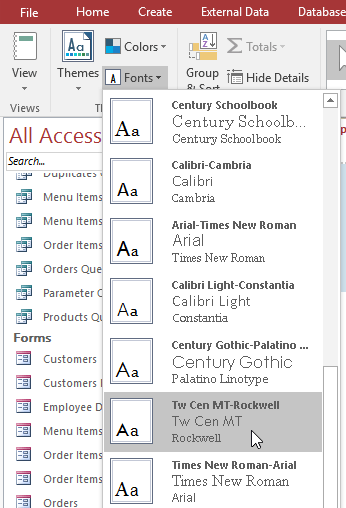
The font will be applied to the entire database:
In the next lesson, we will learn how to edit the table in Access, select the data type for the field, limit the data, the number of characters for the data entered in the field, and how to set the error message for the user. when they enter the wrong data. Please read it.
Next article: Edit tables in Access 2016
Previous article: Options to create data queries in Access 2016
Was this article helpful?
Your feedback helps us improve.
Related Articles
 Instructions for creating and editing reports in SQL Server Reporting Services6 minutes read
 Introduction to SQL Server Reporting Services6 minutes read
 5 ways to access Advanced Options on Windows 10/8 / 8.16 minutes read
 4 how to open Advanced Startup Options on Windows 103 minutes read
 MS Access - Lesson 13: Creating Reports (report)4 minutes read
 How to disable / enable F8 Advanced Boot Options in Windows 104 minutes read
Reader Comments 0
Sign in with email or Google to join the discussion.