Create group of email addresses in MS Outlook 2010
Not only useful in sending an email to many people in the same group, you can also use the email address group (Contact Group) to assign a task request (task request), meeting request (meeting request).
Creating email address groups (Contact Group with MS. Outlook 2010 or Distribution List with MS. Outlook 2007) makes it easier to send the same email to multiple recipients in the same group. Instead of entering each email address to send in the To section, simply enter the group name and MS.
Outlook will automatically add the corresponding email addresses in the group. Not only useful in sending email, you can also use email address group to assign task request (task request), meeting request, etc. This is especially useful for people. Use office computers to work in a collaborative environment.

1. Create Contact Group
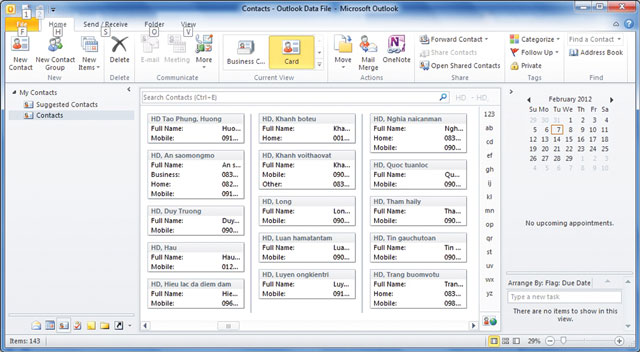
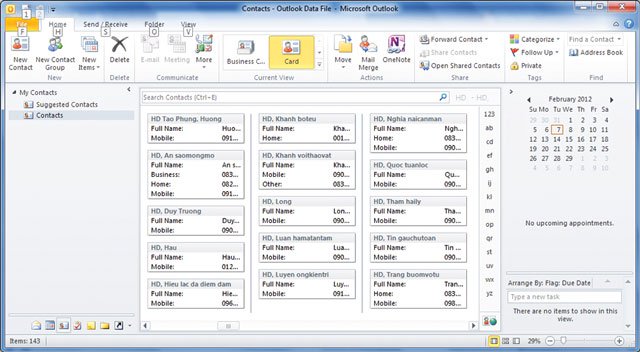
- Launch MS. Outlook . On the Home tab, select the Contact item (or press Ctrl + 3 ). (Figure 1)
- Select New Contact Group in the main interface of the Contact section and name the group according to individual needs; such as ' BanCongNghe'.
- You can enter recipients' email addresses from Address Book, Outlook Contacts and New Email Contact. For example, with Address Book, select Add Members and click From Address Book. Browse the display list, select the user name (or email address) to create the group and click Members.
Hold down Ctrl to select multiple users, multiple email addresses at once. Check personal information such as name and email address to avoid confusion (Figure 2).
- Select Save & Close to finish creating Contact Group.

So, to send a message to the group of newly created addresses, select New (or Ctrl + N ) to open the window, select Address Book and click the Group name to send in the window Select Name: Contacts . You can check the list of email addresses in the group by clicking on the ' +' sign .
Note: You can also use user information through email received to put into Contact Group.
Do as follows:
- Back to Mail ( Ctrl + 1) , right-click on the sender's name (or email address) in the email received, select Copy.
- In the Home tab, select New Items and click Contact Group in More Items.
- Enter the name of the email address group, such as BanCongNghe in the Name box. Select Add Members and click From Outlook Contacts .
- Right-click in the Members frame and select Paste to enter the user information.
- Click OK and select Save & Close to finish adding a new name (or email address).

2. Edit Contact Group
In the Contacts section , select the name of the address group to change information. Click Add Members in the window that displays the group name that appears. With Address Book, click From Address Book and browse through the display list to select additional email addresses. Select Save & Close to finish.
Do the same to delete the email address in the group. Select the name of the group to change, browse the display list, select the email addresses to remove and click Remove Member. Select Save & Close to finish.
You should read it
- ★ New security feature on Android allows offline DNS requests
- ★ How to Block All Friend Requests on Facebook
- ★ How to block first-rate reviews of iPhone and iPad apps on iOS 11
- ★ Create a Rule to move and store email to another folder in Outlook
- ★ Instructions for blocking evaluation requests in applications