Burn Video DVD disc with Windows DVD Maker
In this article, we will show you how to burn Video DVD using the features provided right in the Windows Vista operating system. Before I get started, there are a few things to consider: creating a Video DVD disc is not a difficult task and Windows Vista has been removed..
In this article, we will show you how to burn Video DVD using the features provided right in the Windows Vista operating system. Before I get started, there are a few things to consider: creating a Video DVD is not a difficult task and Windows Vista has a great solution. However, there are a few other more specialized software packages with more features and easier to use.
Nero and Roxio are the two most popular solutions for burning CDs and DVDs. If you need more features than simply burning CDs and DVDs or want something better than Windows' available programs, you might consider buying a software like Nero or Roxio.
If you do not want to pay extra for a software or do not need to add advanced features in addition to burning, you can use the excellent solution of Windows Vista.
If Windows Vista's solution is your choice, we can start on the main part:
1. Click the Start button and select Windows DVD Maker (or go to Start -> All Programs -> Windows DVD Maker )

2. Click the Add items button from the top menu and browse to the folder containing the video you want to record. By default, the program will search from the Videos folder
3. Select one or more videos you want to record and enter the title of the disc in the Disc title section. In addition, you can choose to arrange videos in each order recorded to disc. To do this, select the video to arrange and press the Up or Down key to place it in the desired position.

4. If necessary, you can click the Options button and set some features such as burning speed, aspect ratio, video format or you can choose whether or not the DVD has a menu.

5. After you have made your choices, click OK and then click Next .
6. At this step you can create a custom DVD menu or pre-select an existing menu. To select an existing menu, scroll through the Menu Styles list and select the menu you like. You can customize it by clicking the Customize Menu button and making custom changes. Alternatively, you can change the text on the menu by clicking the Menu text button and entering the desired text.

7. When the editing is done, click the Burn button
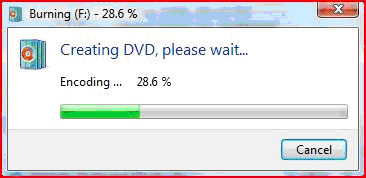
First, Windows DVD Maker will encode the video in the proper format and then burn it to DVD. Usually, the encryption process takes longer than the disk burning process, so it takes a while to wait.
PS : I recorded a Video DVD disc with a time of 107 minutes with 21.6GB. The time to wait from pressing the Burn button until the recording is completed is 2 hours 3 minutes .