Add - Delete columns in Excel
In the process of working with Excel, when we need to add more data fields, we need to add or delete unnecessary columns. So how to do it?.
Exel is an application integrated in the Microsoft Office suite that is quite popular with office workers. But to master this application is not easy. Today, Hanoicomputer will guide you how to delete - add columns in Exel.
Add column in Excel
Adding columns in Excel is very simple. You can follow these instructions:
Step 1: Select the column you want to add a column next to by clicking on the column letter icon. (The column will be added to the right of the selected column)

Step 2: Right click on the selected column > select Insert
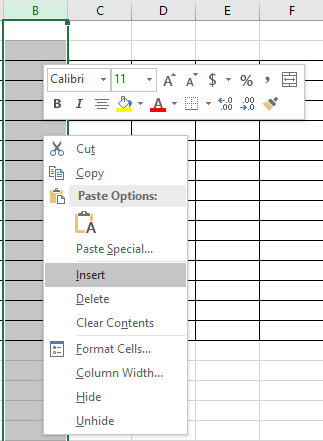
In addition to selecting Insert, to quickly add columns, you can also press the shortcut key combination Ctrl + Shift + plus sign to quickly add columns.
Delete column in Excel
To delete a column in Excel, you also select the column to delete like step 1 of adding a column, then right-click and select Delete to delete the selected column.
