Table of Contents
Overview
This guide covers 2 steps to connect printer via Wi-Fi network in clear, practical terms. It covers the key concepts, recommended steps, common limitations, and useful checks so you can make a better-informed decision.
Printers are devices that serve the printing needs that almost every office has. For offices with small areas, connecting too many wired devices is always a big obstacle, making them unsightly and unprofessional. But what if you don't use a LAN connection? Today, this guide explains how to connect a printer via Wi-Fi - an effective solution to free up space in your office.
How to connect printer via Wi-Fi network?
Printer Settings
Step 1: Start the computer and printer
Step 2: Install the Driver for the printer. Most computer or peripheral devices need to install the driver to work on the computer. Usually when you buy a printer, the driver disk will come in the box. However, if you do not have the installation disk, you can still download the printer driver online.
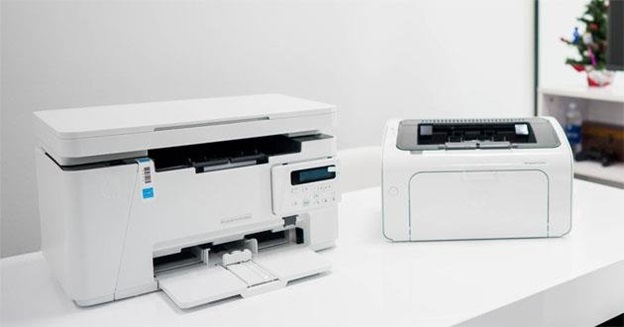
Step 3: Create a printer installation server to share with other computers in the LAN/Wi-Fi network
- Click on the Window 10 icon in the left corner of the screen, select Setting.
- Select Devices (Bluetooth, printers, mouse)
- Select Printers & scanner then click on Add a printer or scanner to install the printer.
- After installing the printer, right-click on the printer icon, select Sharing -> select Share this Printer -> Apply -> OK
Now we have finished the printer installation step, now we can use the printer by connecting to the server via LAN or Wi-Fi. However, to be able to connect the printer via Wi-Fi successfully, you need to make sure that your printer supports connecting via Wi-Fi.
Connect computer to printer via Wi-Fi network
To connect your computer to the printer via Wi-Fi, on your laptop you connect to the Wi-Fi network being used for the printer.
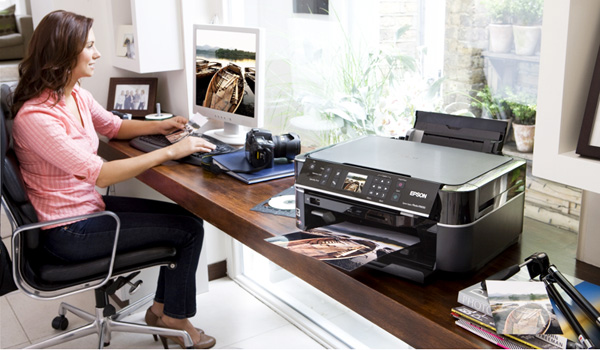
The operation to connect the printer via Wi-Fi network is similar to the installation step.
- Click on the Window 10 icon in the left corner of the screen, select Setting.
- Select Devices (Bluetooth, printers, mouse)
- Select Printers & scanner then click on Add a printer or scanner to detect printers that are being shared on the network.
- Ping the printer address: open the Run dialog box (Windows+R), enter the server IP and printer name to connect to the printer.
After this step you can use the printer normally.
Above are 2 steps to connect the printer via Wi-Fi network that this guide wants to share with you. Hopefully this information will provide a solution to help you optimize your work efficiency and office space!
Key Takeaways
Use the guidance above as a practical reference for 2 steps to connect printer via Wi-Fi network. Check compatibility, follow the steps carefully, and verify important details with official documentation when software, security, accounts, health, or purchases are involved.
FAQ
What is the main point of this article?
This article explains 2 steps to connect printer via Wi-Fi network, including the central facts, context, practical implications, and details needed to understand the topic.
Why does this topic matter?
It may affect performance, cost, safety, convenience, purchasing decisions, or how people understand a broader development.
Could the information change over time?
Yes. Product details, software features, prices, policies, codes, and news developments can change, so verify time-sensitive information with official sources.
Related Articles
 Connect Printer via Wi-Fi: How to Connect the Printer via Wi-Fi6 minutes read
 How to Connect a Printer via Wifi, Install a Printer via17 minutes read
 Steps to Connect Wi-Fi for LG Smart TV3 minutes read
 Steps to Connect the Printer to the Computer5 minutes read
 How to Share a Printer via LAN5 minutes read
 Connect Your Windows 7 Computer to the Hidden Wi-Fi Network6 minutes read
Reader Comments 0
Sign in with email or Google to join the discussion.