How to create snowflakes in Photoshop
Do you want to make your photos more vivid and bold Christmas atmosphere coming. The following article Admin network will guide you how to create snowflakes on photos in Photoshop.
Table of Contents
Counting down the time, Christmas is about to come. If you want to make your photos more vivid, bring more Christmas atmosphere by creating more snowflakes on the photo. The following article Admin network will guide you how to create snowflakes on photos in Photoshop.
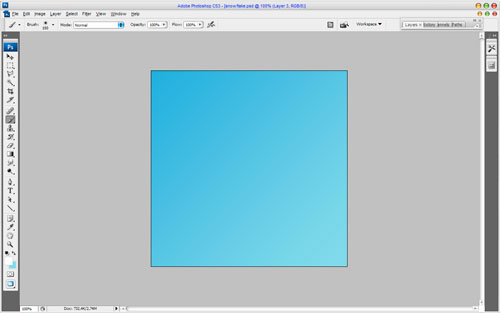
First open your Photoshop . Next, select on the Gradient Tool bar to make a fill color for the Background. On the settings bar, click on the color strip to display the Gradient Editor window. Click the left button below the color strip, then continue to click the color box next to Color to display the color correction window. Do the same with the right button below the color strip. The two color values for the two ends are # 8cdbe8 and # 49aedd respectively.
Next create a new layer. Click the New Layer icon in the lower bar of the Layer window to create a new Layer. Next select the Brush Tool in the toolbar.
Further reference: 14 simple steps to create a snow effect for the photo
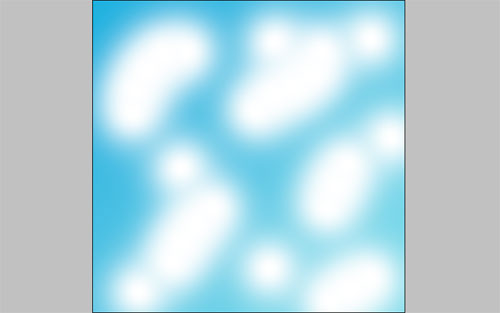
On the settings bar, select Soft round brush , adjust Size to about 150px. Click on the color selection box at the bottom of the toolbar and change the color value to #ffffff . Add some lines (by adding white parts) as shown below.
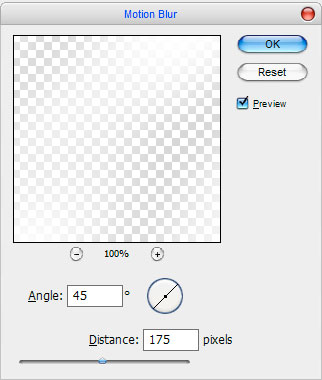
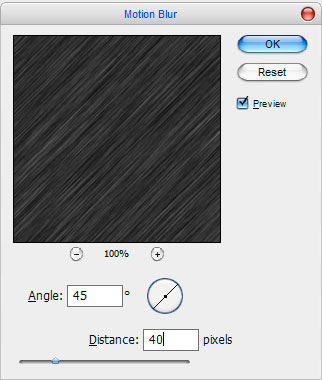
Next go to Filter> Blur> Motion Blur and adjust the value as shown below:
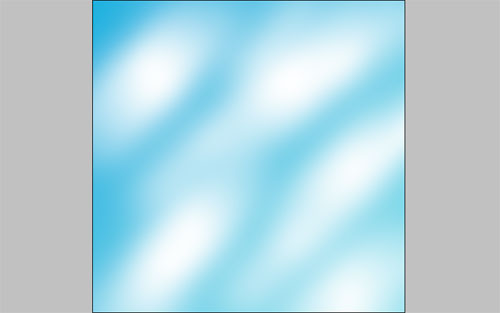
You will get a new image as shown below:
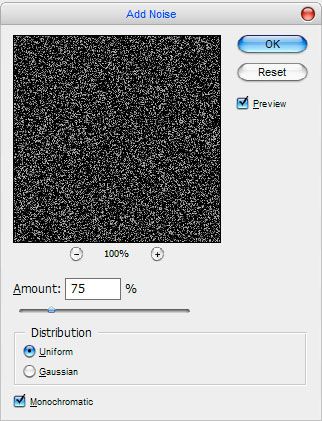
The next step is to create a new layer, but this layer will fill with black. Then select Filter> Noise> Add Noise and adjust the value as shown below:
Change Layer mode to Screen .

Continue to select Filter> Blur> Motion Blur and adjust the values as shown below.
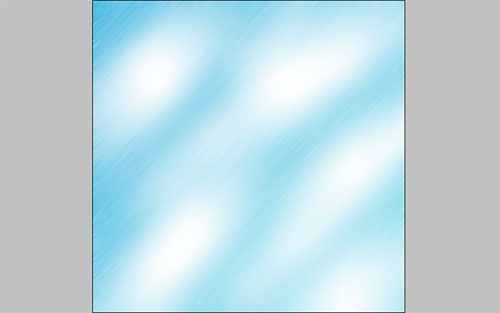
You will get a new image as shown below.
See also: Tutorial for creating animations in Photoshop CS6
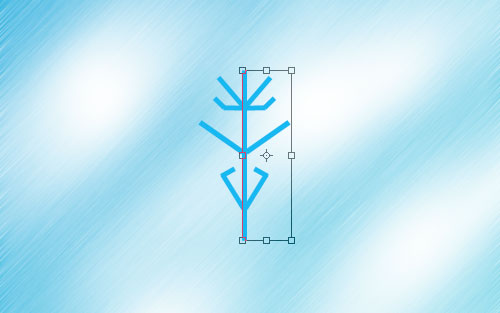
After you've created the Background, continue to the snowflake section. Select the Line Tool toolbar (remember to change the 5 px Weight value) and change the color value to # 4bb4f0 , using the mouse to draw straight lines as shown below.

The next step is to merge the above layers into one layer by holding down the Ctrl key and clicking on the layers containing the drawn lines to select these layers. Right-click and select Merge Layers to merge the layers into one.
Then press Ctrl + J to copy this new Composite Layer. Go to menu Edit -> Transform -> Flip Horizontal to create a symmetrical horizontal copy.
Continue to merge these two layers and press Ctrl + J to copy a new merged layer. Select Edit> Transform> Flip Vertical to create a symmetrical copy vertically.
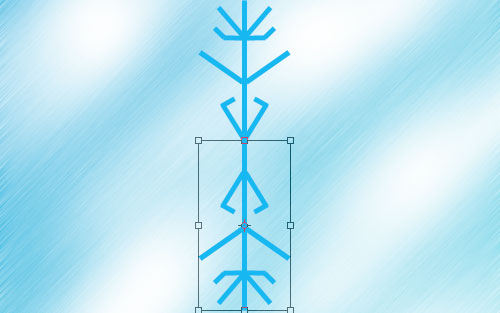
Next, merge these two symmetrical layers together and press Ctrl + J to copy the new lump layer. Rotate the copy layer 90 degrees by selecting Edit -> Transform -> Rotate 90 CW :
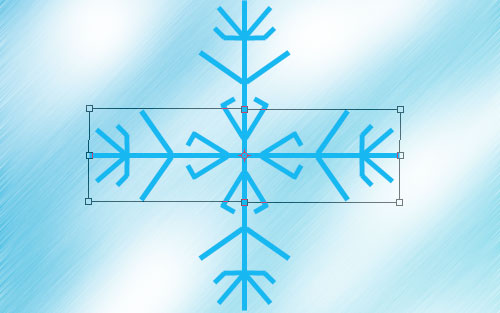
Merge these two symmetrical layers, continue pressing Ctrl + J. Select Edit> Transform> Free Transform to copy a new merged layer.

Finally, combine 2 layers containing snowflake shapes. Go to Filter> Stylize> Diffuse to adjust the values as shown below:
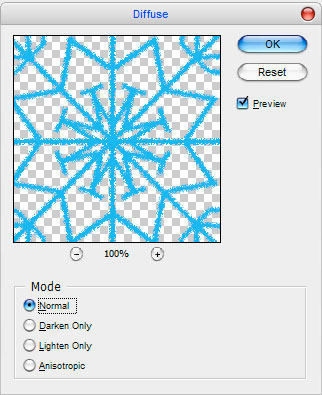
You will get a snowflake shaped like the image below:
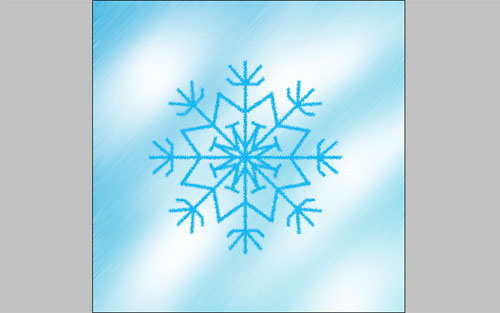
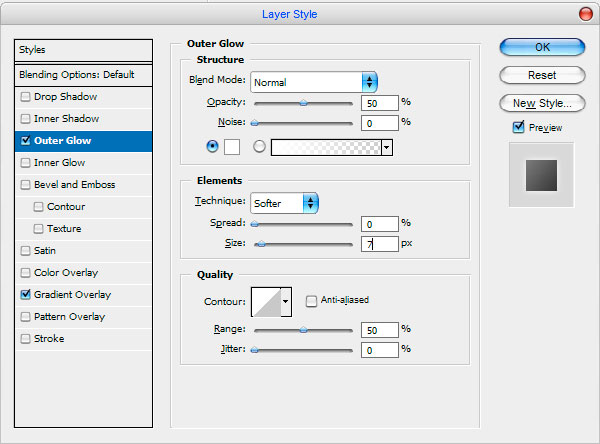
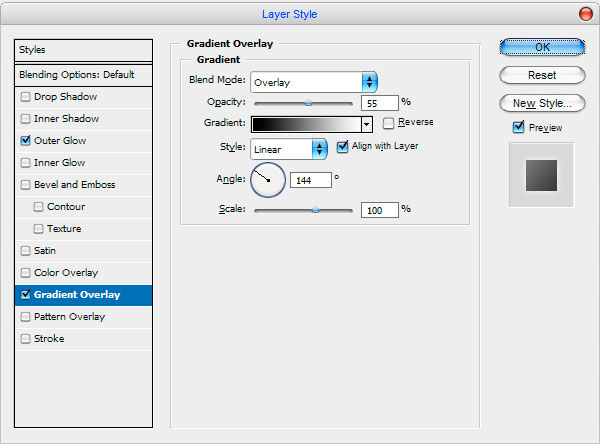
Finally, install the Outer Glow and Gradient Overlay values for the new layer as shown below.
Final result:
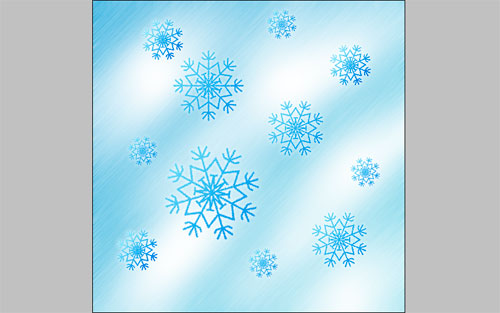

Good luck!
Was this article helpful?
Your feedback helps us improve.
Related Articles
 Instructions for using Photoshop CS6 (Part 5): Create christmas cards with snowflakes on a red background6 minutes read
 Why no two snowflakes are 100% alike?3 minutes read
 Tutorial to create a sparkling snow effect using Photoshop Brush3 minutes read
 How to create GIF animations in Photoshop5 minutes read
 How to create a snowman in Photoshop2 minutes read
 How to create SVG from PNG or JPG in Photoshop3 minutes read
Reader Comments 0
Sign in with email or Google to join the discussion.