Share a folder on the local network for new users
TipsMake.com - Today, it is normal for a person to own more than a computer, even if he or she is not a computer expert. Transferring files between these machines is a simple process, but not everyone knows how to do them. If you or someone else has never learned how to share a folder over a local network, this tutorial will show you how.
On Windows operating system
Here's how to share a folder on a Windows computer:
1. Search for the folder you want to share and right click on it .
2. Select " Share with . " then choose " Specific People ".
3. A sharing table will appear with the option to share with any user on the computer or a homegroup group. Users can also choose to share with everyone - " Everyone ", meaning that the file is accessible on your local network by anyone, even if they do not have a password. This option is quite handy but not secure. If you choose this option, you can find it by clicking on the up and down arrow at the top of the table.
4. After selecting, click Share .

After clicking on Share, Windows will take a while to set up a new shared folder and this folder can be accessed on any computer on the same local network. To access it, simply search the Network section on the computer. Once you've selected it, you'll see the option to connect to that folder.
On Mac OS X operating system
Sharing a folder on Mac OS X is not as obvious as it is on Windows, but it is still very easy to do. Here's how to do it:
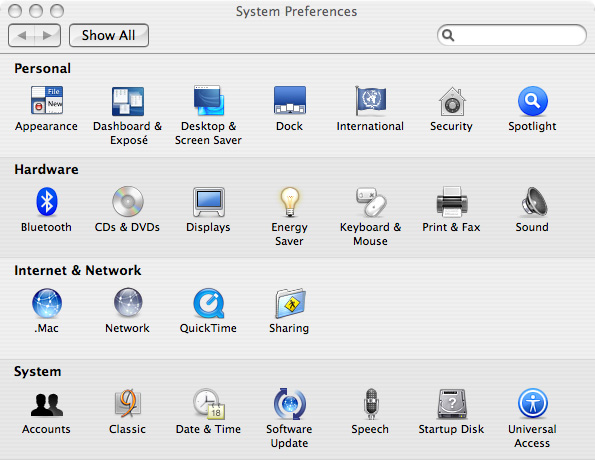
1. Visit the Apple menu and select " System Preferences ".
2. From the System Preferences table, select " Sharing ".
3. On the left, you have several options. Above is " File Sharing ", which is the feature you need. Click it and make sure that the dialog box next to its name is checked.
4. When the File Sharing item loads, you will see 2 boxes. The box on the left contains the shared folder and the box on the right contains users who can access that folder. To add a folder, click the + sign in the bottom of the Shared Folders box. Select the correct folder you want to share and click the Choose button.
5. This folder has been shared, but on its right you will see a list of users who can access this folder over the network and what they can do. For example, if you want them to only be able to read files in the folder but can't make any changes, you can select the " Read Only " option. No matter what you choose, this folder is now shared on the local network.

To access this new shared folder on another computer, simply create a new Finder window in the finder (by pressing the + N command on the keyboard or selecting " New Finder Window " from the File menu). In the left bar of the window, there will be the SHARED section. Under it there is a list of shared computers. Click on the computer name that contains the folder you just shared and want to access. After a while, a list of shared folders will appear. Double-click on the shared folder you want to access and you have access to it (you may access it if you don't have "Everyone" access allowed after you have entered your username and password).