How to install Hyper Terminal in Ubuntu 20.04
Note:
- The procedure discussed in this article has been tested on Ubuntu 20.04 LTS.
- The same procedure can be done in a Debian system.
- To launch Command Line Terminal, press Ctrl + Alt + T.
Install Hyper Terminal
Follow the steps below to install Hyper Terminal in Ubuntu:
Step 1: Download the Hyper Terminal
First, head over to Hyper's official website and download the Hyper Terminal installer file.
To do so, open this link in your browser and download the package labeled Debian (.deb).
When the following dialog box appears, click OK to save this file.
The downloaded installer (.deb) for Hyper Terminal will be saved in the Downloads folder.
Alternatively, you can download the installer file with a single command in the Terminal command line. The command to download the .deb installer for Hyper Terminal is as follows:
$ wget -O hyper_3.0.2_amd64 https://releases.hyper.is/download/deb
The downloaded installer will be saved in the Home folder.
Step 2: Install Hyper Terminal
The next step is to install the Hyper Terminal application. Navigate to the folder containing the file (.deb) for the Hyper Terminal. Then run the command below to install it:
$ sudo gdebi hyper_3.0.2_amd64
When prompted for the password, enter the sudo password.

Then the system will ask you to confirm whether you want to install the application or not. Press y to confirm, then the Hyper Terminal installation will begin.
Step 3: Launch Hyper Terminal
Once installed, you can open Hyper either from the command line or with the GUI.
To open the Hyper Terminal application via the command line, run the following command in Terminal:
$ hyper
To open the Hyper Terminal app via GUI, press the super key on your keyboard and type hyper. When the icon for Hyper Terminal appears as shown in the following screenshot, click on it to launch it.
After Hyper Terminal is launched, you will see the following window. You can see that it looks a lot like Ubuntu's default Terminal app.

Similar to Ubuntu's default Terminal application, you can run any command in Hyper Terminal.

The Hyper Terminal configuration file is hyper.js located in the Home directory. You can edit this file and configure various properties including font, line height, letter spacing, background color and many more.
To edit this file, run the following command in the default Terminal or Hyper Terminal:
$ sudo nano ~ / .hyper.js
You can also access this file by clicking on the menu (Hamburger icon) on the left and then going to Edit> Preferences.

When the configuration is finished, save the file to apply the changes you have made.
Removed Hyper Terminal
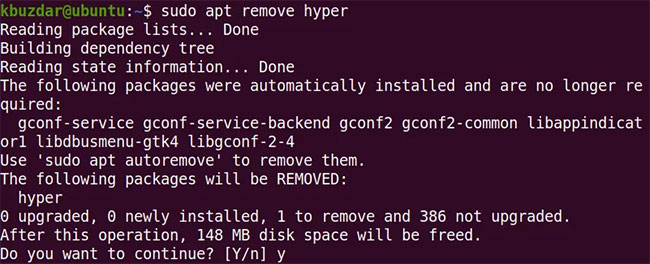
In case you no longer need the Hyper Terminal, you can delete it by running the following command in Terminal:
$ sudo apt remove hyper
If prompted for a password, provide the password sudo.

Then the system will ask you to confirm whether you want to remove the package or not. Press y to confirm, then the Hyper Terminal will be removed from the system.