PhotoShop - Create embossed photos
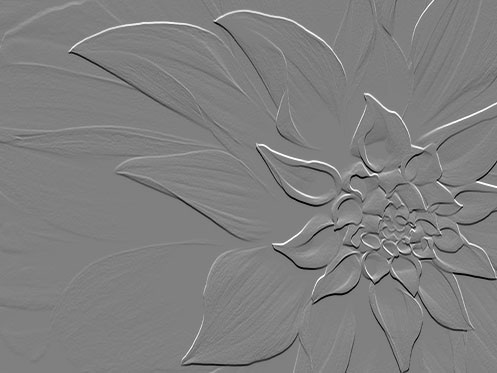
You own some beautiful portrait photos or flower pictures and want to create embossed photo frames from those photos. Some of the following simple steps will help you make it
You own some beautiful portrait photos or flower pictures and want to create embossed photo frames from those photos. Some of the following simple steps will help you easily do that with PhotoShop .
Step 1 :
Select the photo you want to touch, if you don't already have a photo on your phone, you can get the following photo:

Step 2 :
Go to Image > Adjustments > Desaturate to convert the image to black and white

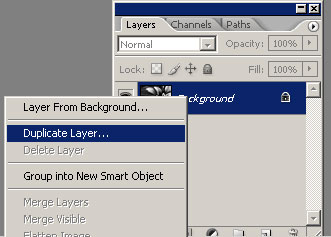
Step 3 :
In the Layer panel, right-click on the image layer and select Duplicate layer (duplicate the current layer). Rename the new layer according to the name you want.
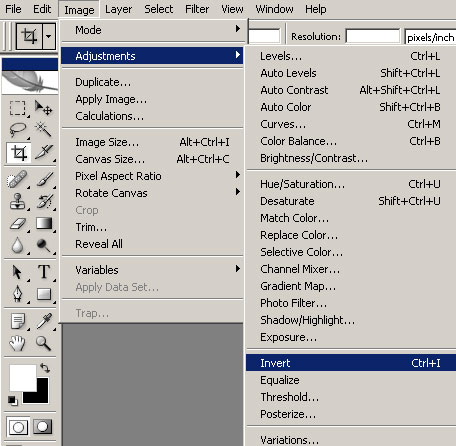
Step 4 :
Go to Image > Adjustments > Invert , you will have an image like an x-ray image.
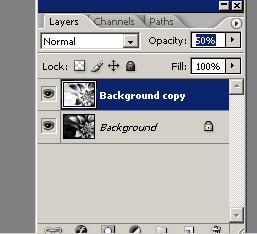
Step 5 :
In the Layer panel, set the Opacity of the new layer to 50% (the x-ray image layer), you will see your image turn into a gray background.
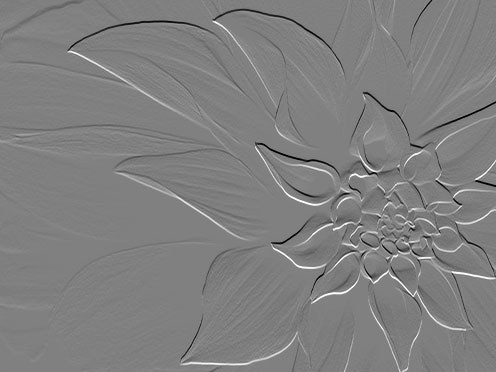
Step 6 :
Click the Move to tool (V) and use the arrow keys to move the upper layer image. If you move the image up, your photo will be a touch, move the image down, the image will be embossed.
Was this article helpful?
Your feedback helps us improve.
Related Articles
 How to use Photoshop CS6 (Part 2): Create fashion collage images23 minutes read
 How to cut circular images in Photoshop4 minutes read
 How to create a border for photos in Photoshop2 minutes read
 How to use Photoshop CS6 (Part 1): Create digital photos10 minutes read
 How to split photos with Photoshop11 minutes read
 How to create film effects, scratched photos in Photoshop2 minutes read
Reader Comments 0
Sign in with email or Google to join the discussion.