Instructions to remove Ribbon interface on Windows 8
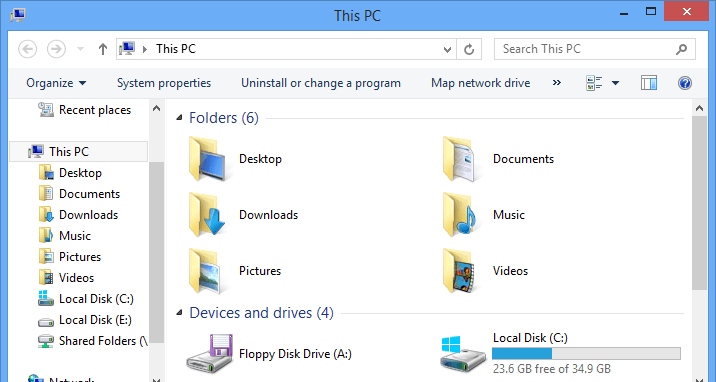
Ribbon interface is one of the new points on Windows 8 and Windows 8.1. The Ribbon interface provides users with a different look of Windows Explorer than the traditional Explorer interface. However, many users do not like the Ribbon interface because the new interface is difficult to use and occupy the area of Windows Explorer.
Table of Contents
Ribbon interface is one of the new points on Windows 8 and Windows 8.1. The Ribbon interface provides users with a different look of Windows Explorer than the traditional Explorer interface.
However, many users do not like the Ribbon interface because the new interface is difficult to use and occupy the area of Windows Explorer.
In the following article, Network Administrator will guide you 3 simple ways to remove Ribbon interface on Windows 8.
1. Rename the file Ribbon DLL
Note : Before you rename the Ribbon DLL file, you should back up the file and save it temporarily to avoid an error.
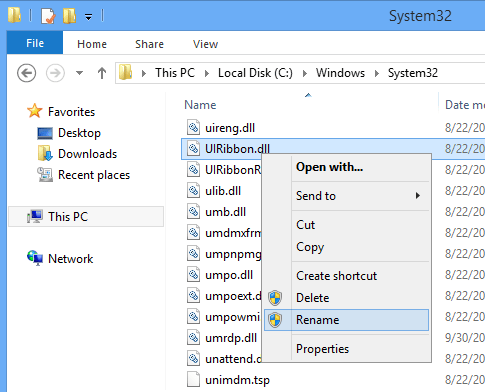
Open File Explorer then navigate to the path C: WindowsSystem32 "folder . Scroll down and find the file named UIRibbon.dll.

After selecting the UIRibbon.dll file, right-click the file and select Rename option to rename the file.
You can change the file name to UIRibbon_old.dll as shown below or change it to whatever name you want.
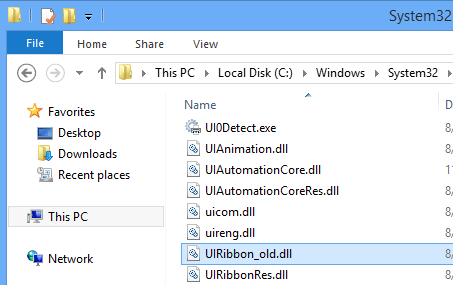
After renaming, restart your system. From now on the Ribbon interface will be changed by the old interface.
2. Edit the Explorer Ribbon DLL file with Resource Hacker
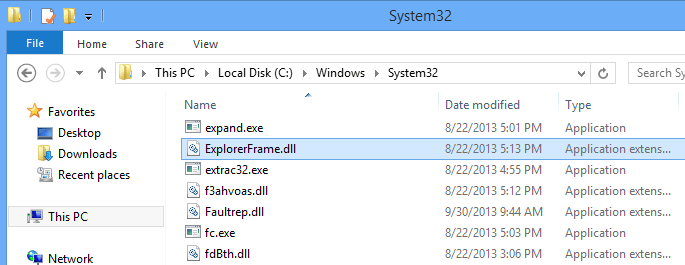
In addition to the above, you can disable the Ribbon interface by editing the ExplorerFrame.dll file .
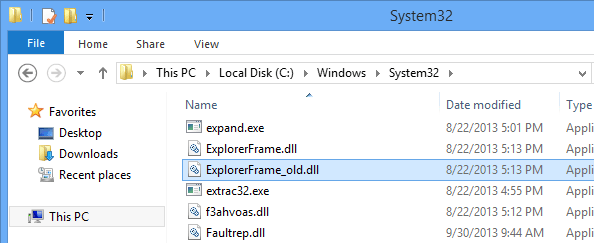
First open File Explorer and navigate to the path: C: WindowsSystem32 "folder . Here you drag down to find the file named ExplorerFrame.dll .
Next, copy and press Ctrl + V to paste the shortcut file. By default the copy file will have a different name than the original file (such as ExplorerFrame-copy.dll ).
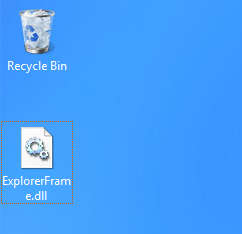
Continue to rename the copy file to whatever name you want.
Paste the copy file on the Desktop screen.
Now download the Resource Hacker application to your computer, install and open the application. After the application has opened, select the Open option under the File Menu.
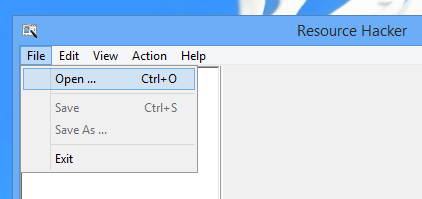
In this window, find the copied file on the Desktop to open it on Resource Hacker.
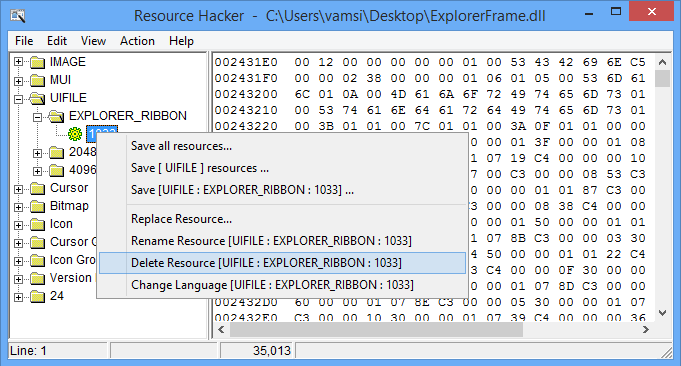
After the file is opened, navigate to the path: UIFILE -> EXPLORER_RIBBON -> 1033 and then right-click 1033 to access the Context Menu.
In the option in the right pane, select Delete Resource to delete the key.
Copy and paste the edited file directly on System32. If notified if you want to change the old file, select Replace file to continue.

After copying is complete, restart your system. From now on the Ribbon interface will be replaced with the old interface.
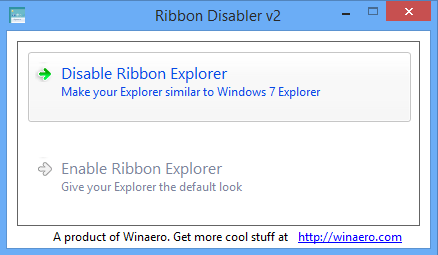
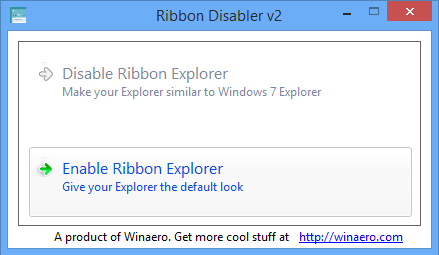
3. Ribbon Disabler application
Download the Ribbon Disabler application to your computer, extract and install the Ribbon Disabler file.
Then select Disable Explorer Ribbon .
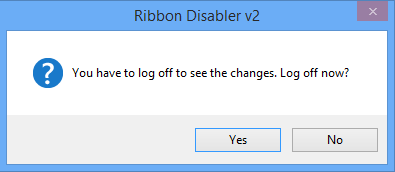
At this time, a popup window will appear with Log off notification to change options. You select Yes to Log off.
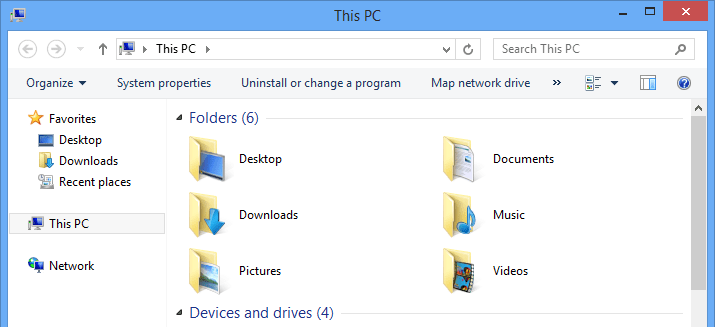
After Log in , on the screen you will see the Ribbon interface is replaced with the old interface.
If you want to re-enable the Ribbon interface, reinstall the Ribbon Disabler file again and select the option Enable Ribbo Explorer.
You can refer to some of the following articles:
-
11 tips to help you fix 100% Full Disk error on Windows 8.1
-
Use wireless network in Windows 8
-
2 steps to open virtual keyboard in Windows XP / 7/8 / 8.1
Wishing you and your family a happy new year!
Was this article helpful?
Your feedback helps us improve.
Related Articles
 How to switch the CAD interface (Ribbon) 2017 to Classic2 minutes read
 Get familiar with Acccess 2016 interface and basic operations6 minutes read
 4 essential tips for managing Excel Ribbon13 minutes read
 How to hide and show the Ribbon toolbar in Word and Excel3 minutes read
 How to delete Edge tabs from Alt + Tab2 minutes read
 Hide the Ribbon toolbar in Word 20132 minutes read
Reader Comments 0
Sign in with email or Google to join the discussion.